In this post, we will look at how to use Virtual Tables in the Power Platform and Dynamics 365. Virtual Tables were previous called Virtual Entities before Microsoft’s renaming of entities to tables.
Virtual tables are a powerful way to integrate 3rd party systems with Microsoft Dataverse. These types of tables are what you would imagine, tables that are “virtual”, i.e. not so much physical, so the data stored in these tables is of a temporary nature. A typical use can would be if you wanted to display data from a 3rd party system within Dynamics 365, but not have users change this data within Dynamics 365. The data would be read-only, examples being showing the total inventory on hand in a warehouse to a D365 user.
Let’s go through an example of how to set up and use virtual tables.
You can use Virtual Tables using a Data Source, or by using plugins to integrate with 3rd party systems. I will show both methods, but in this post I will show how to use Virtual Entity Data Sources, specifically the OData source.
I will be using an OData app service that I created in a previous post. You can follow along with that example, it is a simple service that returns products. The main thing to note so far is my service (at the time) is located at https://carlodatav4sample.azurewebsites.net/, but you should create your own endpoint using the instructions to try this properly (my endpoint probably won’t exist at time of publishing but below you will see how it fits together):

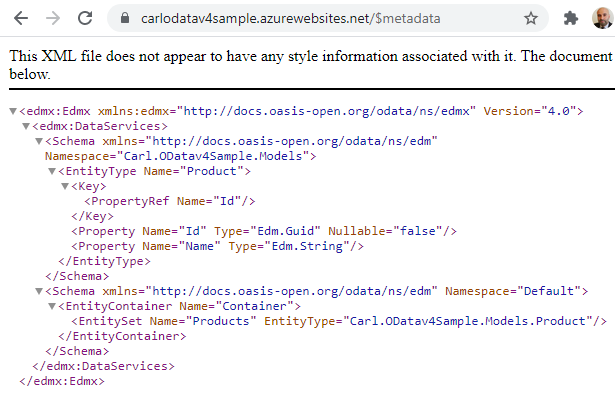
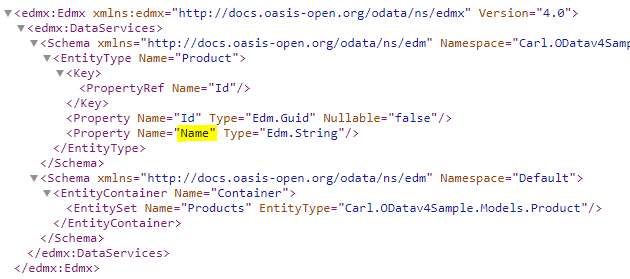
The metadata located at https://carlodatav4sample.azurewebsites.net/$metadata looks like this:
To get products returned, we can go to the URL https://carlodatav4sample.azurewebsites.net/products:

And we can perform select and filter operations.
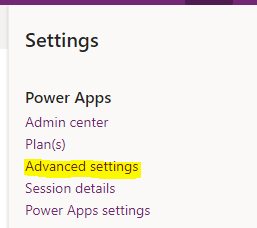
First, in the Power Apps Maker at https://make.powerapps.com, head over to Settings->Advanced Settings, which will open the Dynamics 365 Settings:
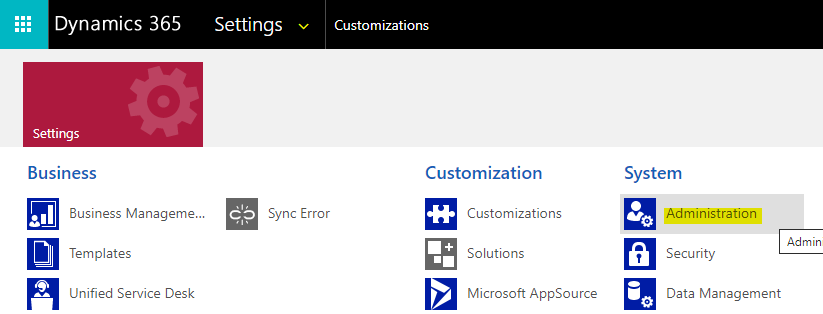
Then select Administration:
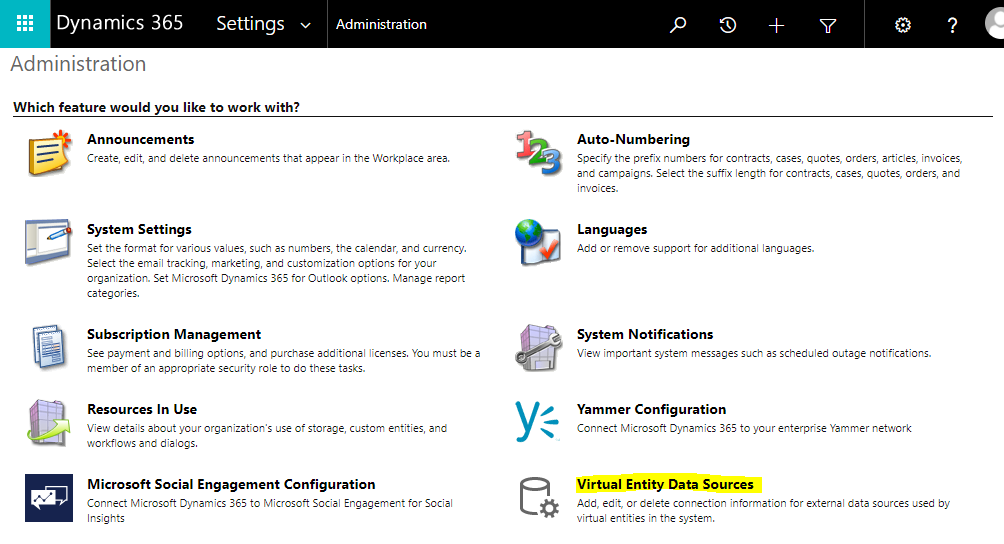
And select the Virtual Entity Data Sources:
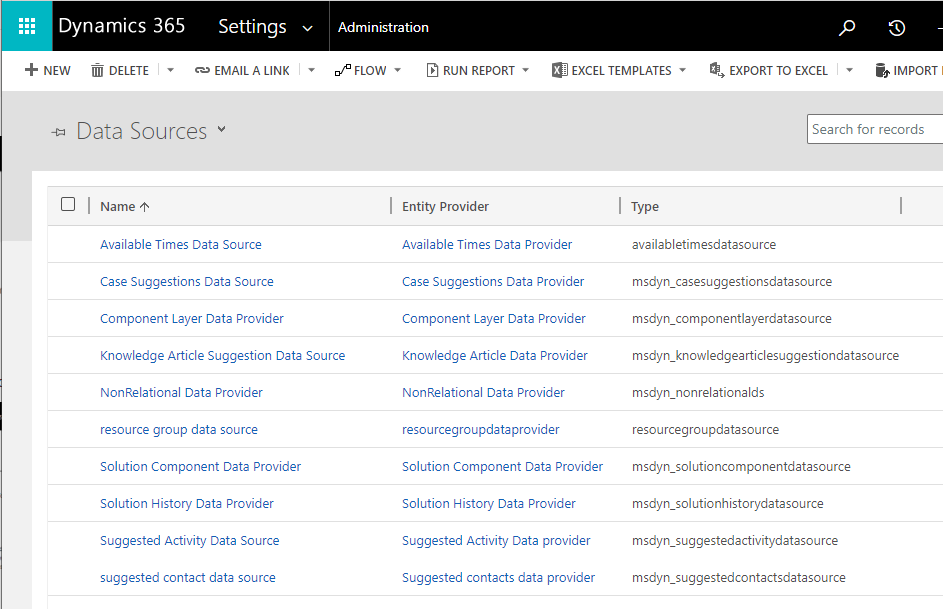
You will see a list of Virtual Entity Data Sources in your environment:
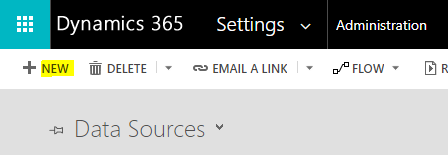
Let’s create a new Virtual Entity Data Source:
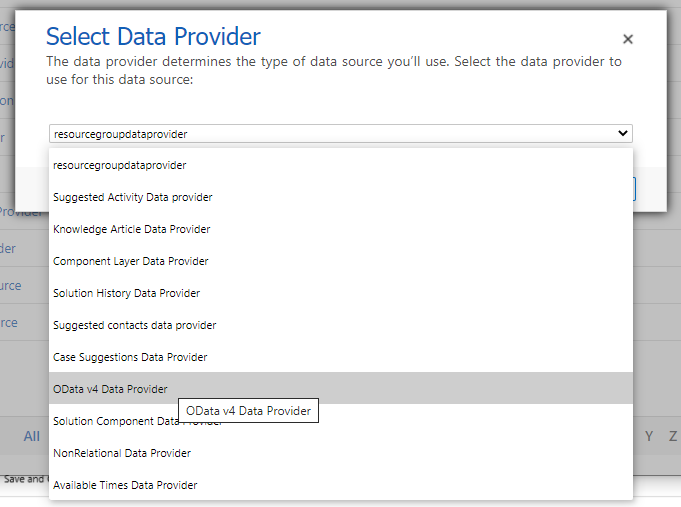
We are prompted to select a Data Provider. We will select the OData v4 Data Provider:
We now see the screen to enter in our data source information:
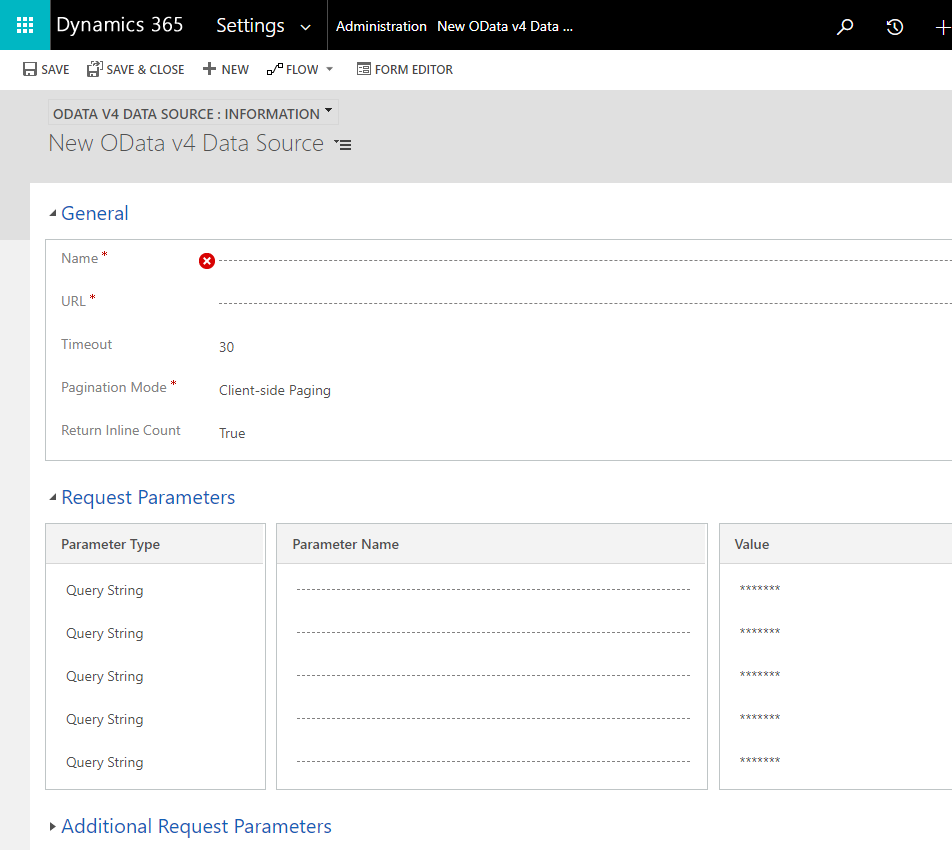
I’m going to connect to the endpoint from above. In terms of the structure, I am connecting to the root endpoint at https://carlodatav4sample.azurewebsites.net/. Note I am not connecting to the Products endpoint at https://carlodatav4sample.azurewebsites.net/products. We will connect our virtual table to the products endpoint later.
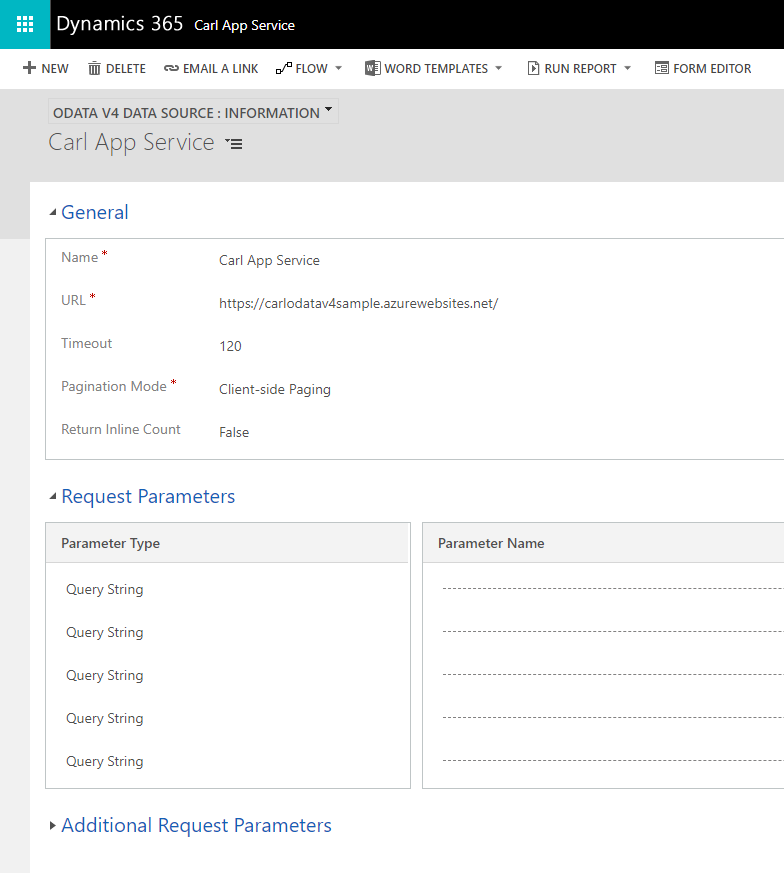
Note I am not adding any request parameters at this time.
Now in the Power Apps Maker, let’s create a new project called Virtual Tables Test. We will add our code to the project.
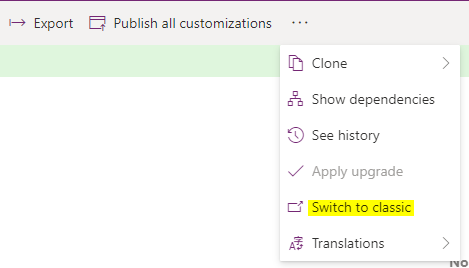
Next, let’s switch over to Classic Mode. We will need to create the table at this point in the classic interface. If we create it in the Power Apps Maker, we won’t be able to set it to virtual or change it after creating it.
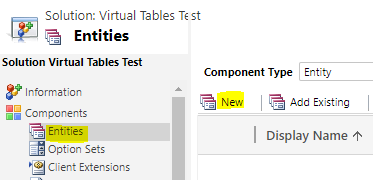
Next, let’s add a new table (entity):
And we will name the table Virtual Product. We will use our Virtual Entity Data Source which points to our app service to display product data within Dynamics 365. Once the Virtual Entity checkbox is checked, we see the following fields enabled – External Name, External Collection Name, Data Source. If I click on the down arrow next to the Data Source, we can see there are a few options in my Dataverse environment I can select, and we will select Carl App Service data source that we created:
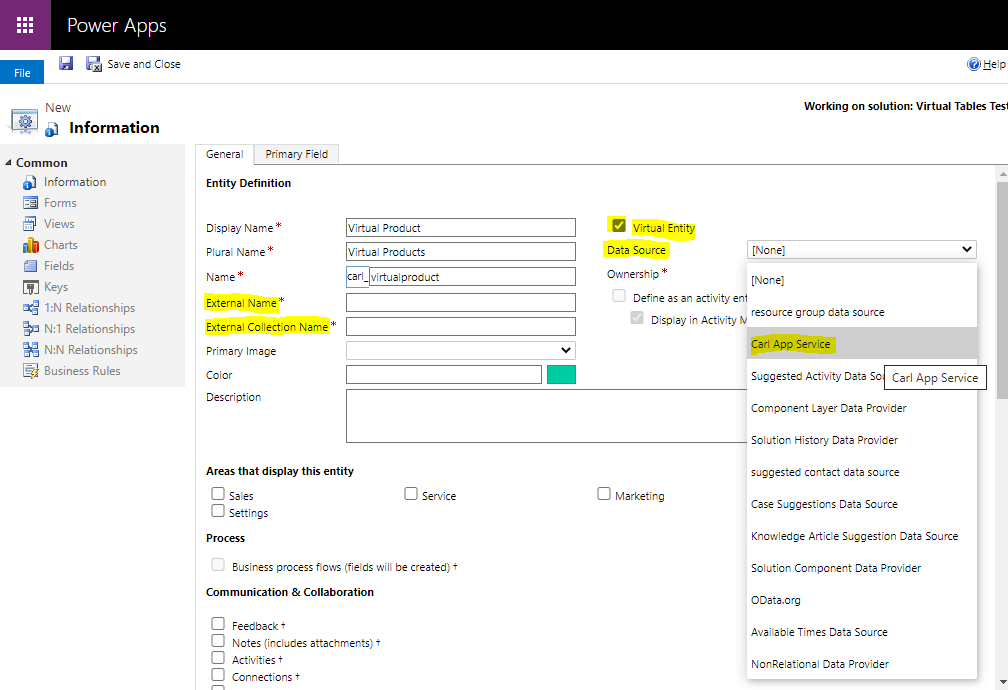
For the External Name, we will use Product and the External Collection Name we will use Products. We get this naming from our OData service.
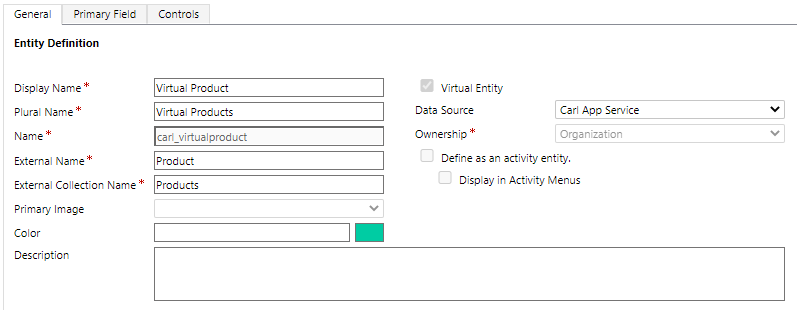
Save and Publish the table.

Now let’s go to Advanced Find for our new table:
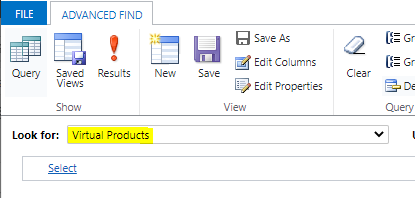
If we try to retrieve the data, we see “Entity could not be retrieved from data source. Please try again or contact your system administrator”:

Looking in the Plugin Trace Logs, we see the message “ExternalName is null or empty for attribute”:

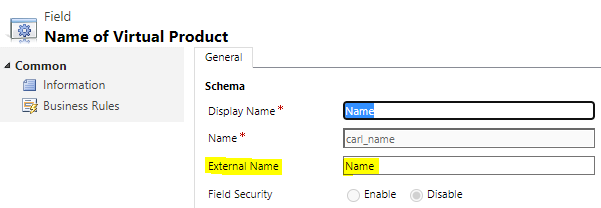
To resolve this, we need to go to the fields on the entity and map the field using the external name. So in our case, the carl_name is not mapped, so let’s open the field:
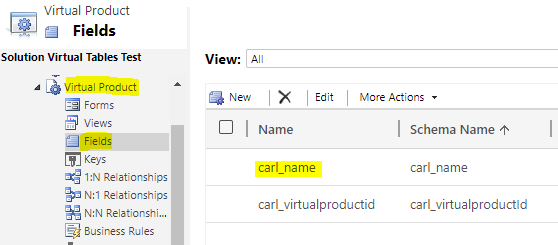
Here we see the External Name field is currently blank. We will set it to the “Name”, which is the external OData name:
OData:
If we try to run this again, we get the same message but this time for the Id field:

If we make the update to this Id field:

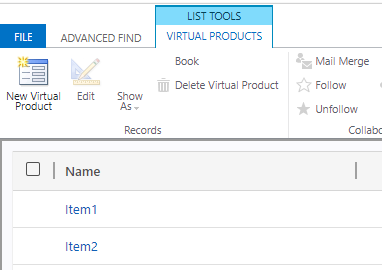
Now if we save and publish and try again, we can see the Advanced Find is returning data, our products directly from the app service:
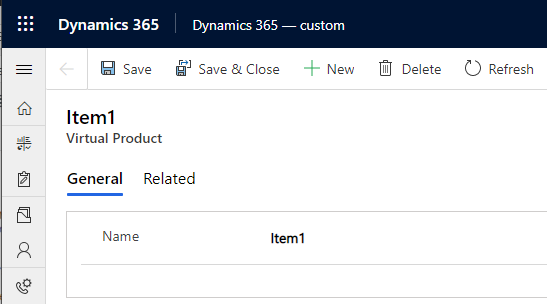
Clicking on a product opens it in a D365 form:
So that’s it, you can now view external data virtually in Dynamics 365. There are several things that could potentially go wrong in the setup of the virtual entity. In the next post, I will look at these and how to troubleshoot.
I AM SPENDING MORE TIME THESE DAYS CREATING YOUTUBE VIDEOS TO HELP PEOPLE LEARN THE MICROSOFT POWER PLATFORM.
IF YOU WOULD LIKE TO SEE HOW I BUILD APPS, OR FIND SOMETHING USEFUL READING MY BLOG, I WOULD REALLY APPRECIATE YOU SUBSCRIBING TO MY YOUTUBE CHANNEL.
THANK YOU, AND LET’S KEEP LEARNING TOGETHER.
CARL


