In this post, we will look at a new preview feature in Power Automate, the ability to use natural language to create Power Automate flows, and also the ability to build approvals with Dataverse using Power Automate. The technology behind the natural language flow creation is OpenAI, a descendant of GPT-3, which also powers GitHub Co-Pilot and Power Apps Ideas.
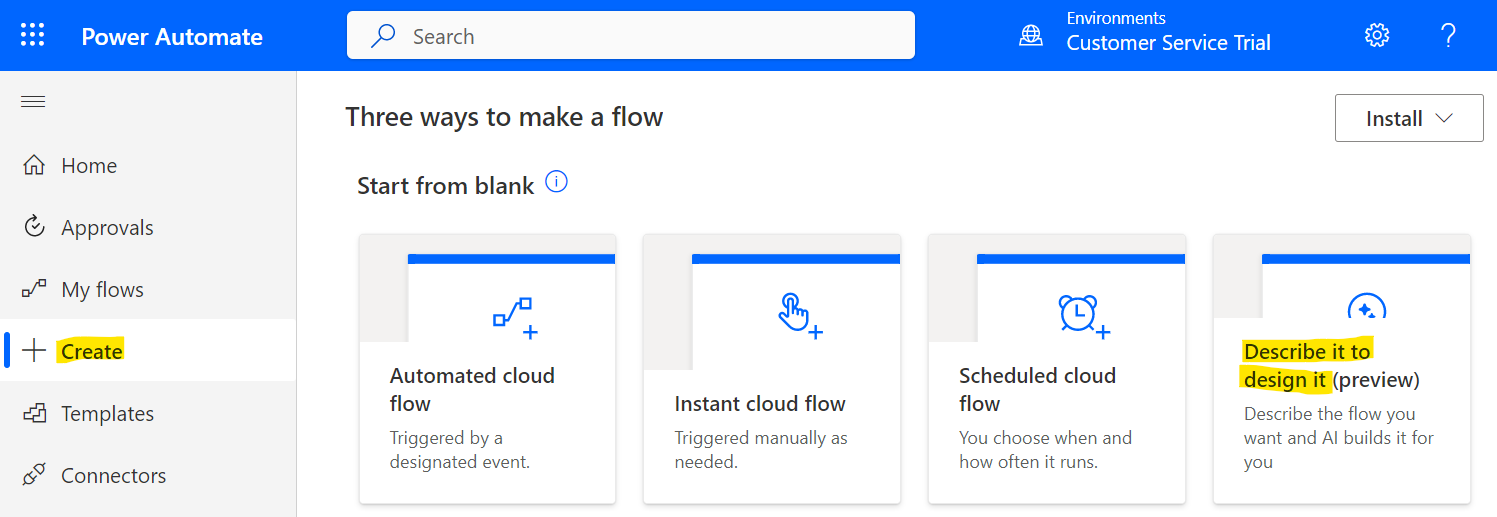
First, let’s go to Power Automate and click on Create, then Describe it to Design It (Preview):
Here we can type in natural language what we would like our flow to do. After we type it in, the flow will be built automatically for us:
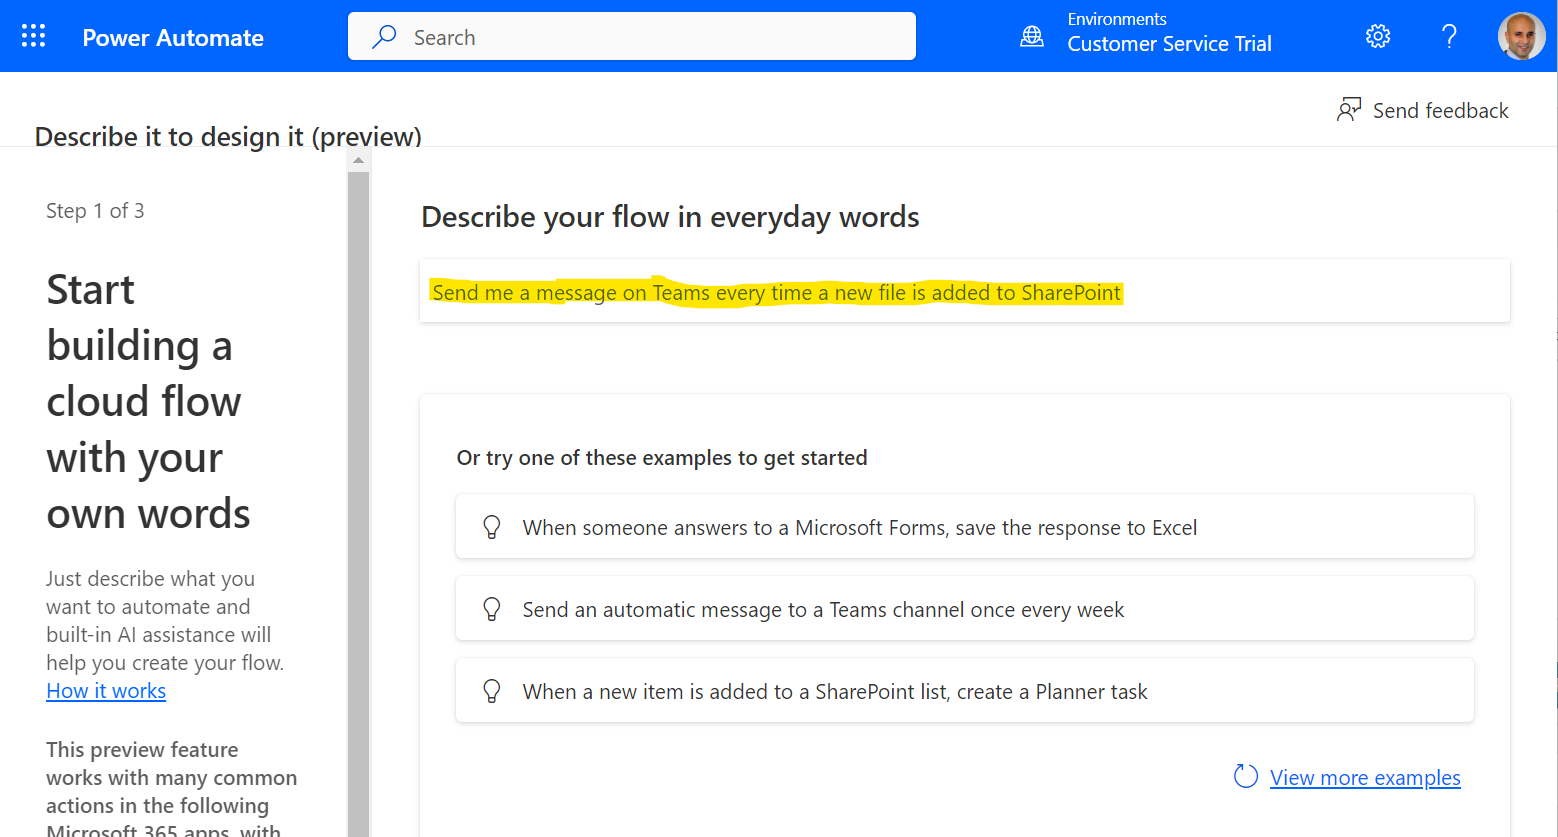
Examples of natural language queries include:
- Send me a message on Teams every time a new file is added to SharePoint
- When someone answers to a Microsoft Forms, save the response to Excel
- Send an automatic message to a Teams channel once a week
- When a new item is added to a SharePoint list, create a Planner task
- Send me a message on Teams every day
- Every week, copy data from an excel file to another excel file
- When a new item is created in Dataverse, create an approval and post a message in teams
- Once a hour, get all records from Dataverse. For those that are status rejected, send a message on Teams
You can see the language is basically defining when an event will occur, the trigger of the event, and what to do.
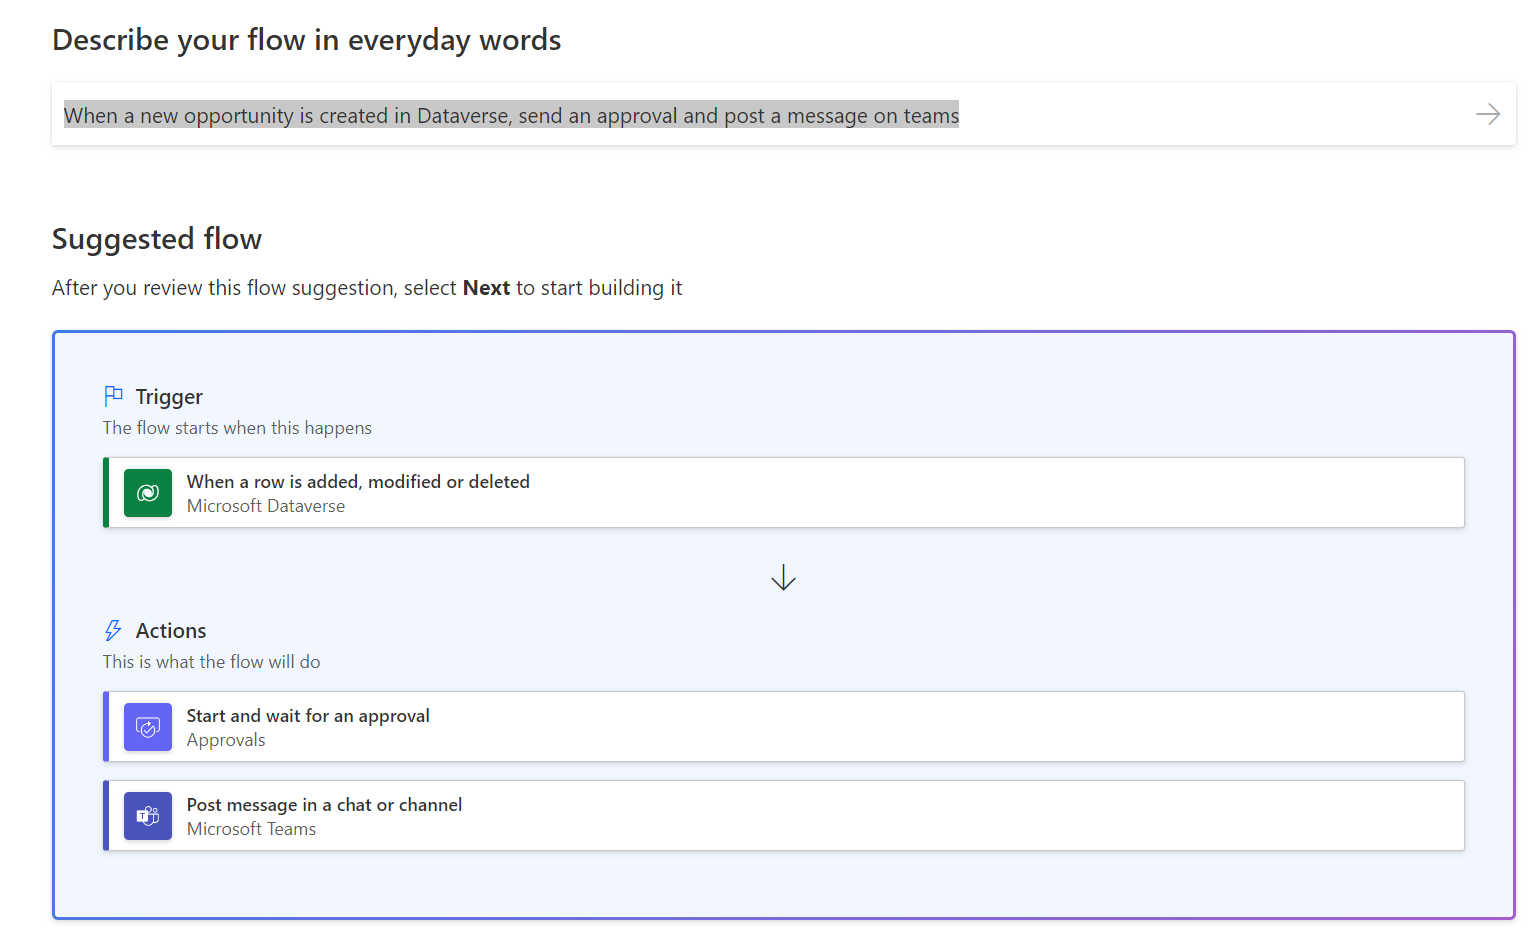
Let’s look at an example where “When a new opportunity is created in Dataverse, send an approval and post a message on teams”. This produces the flow below:
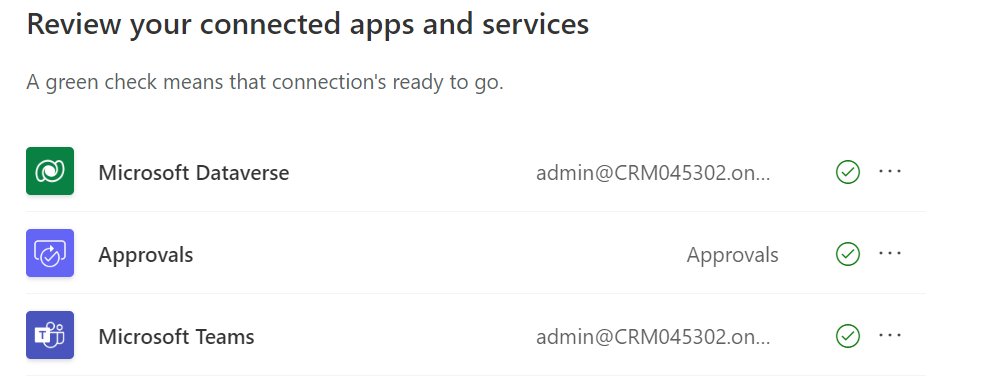
Confirm the connections:
We now need to confirm some things before the flow can be created. We can see even though the opportunity table was specified in the query, it was not automatically selected (hopefully this is a preview limitation):
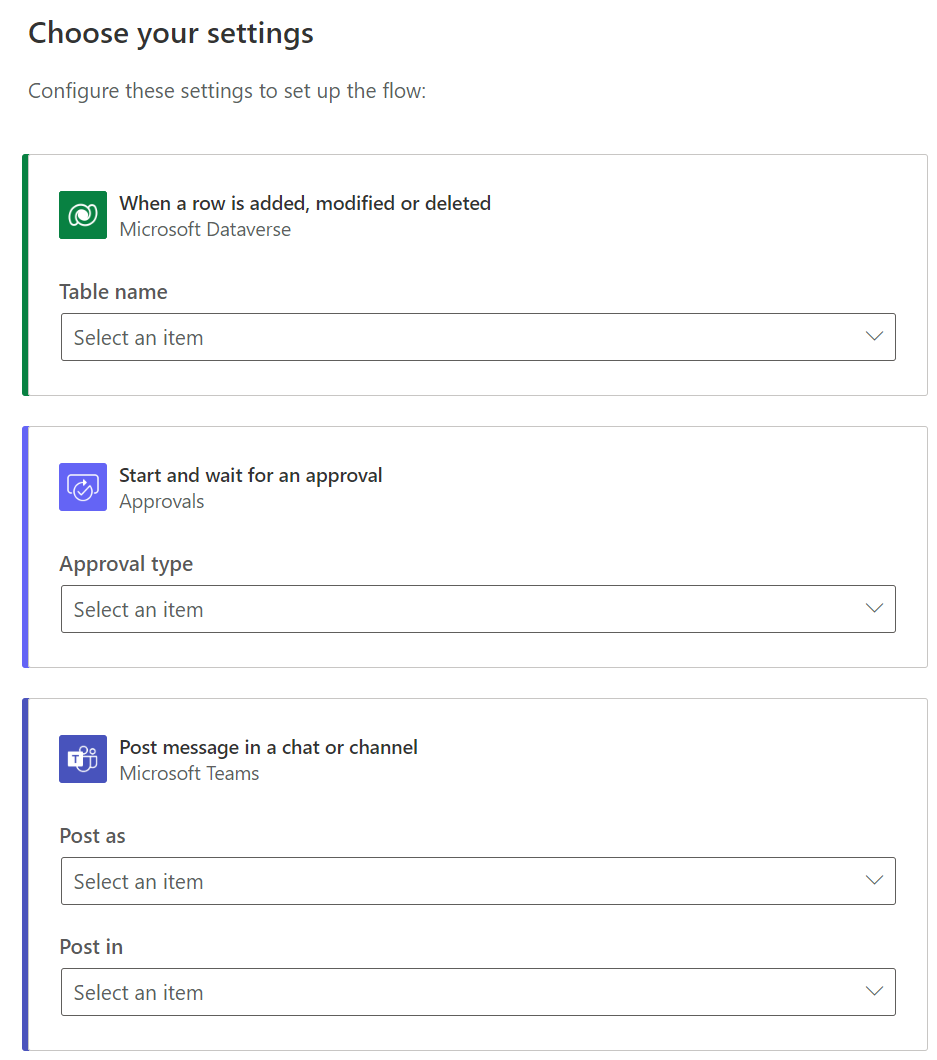
Let’s go ahead and select Opportunities:

For the approval, we have Approve/Reject – everyone must approve, Approve/Reject – First to respond, Custom responses – wait for all responses, and custom responses – Wait for one response:
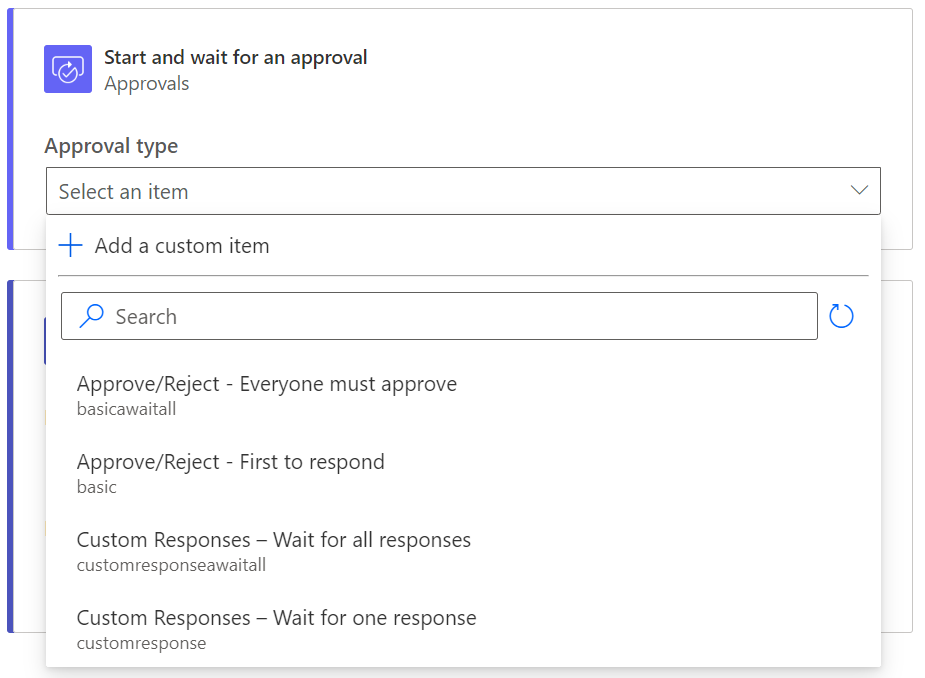
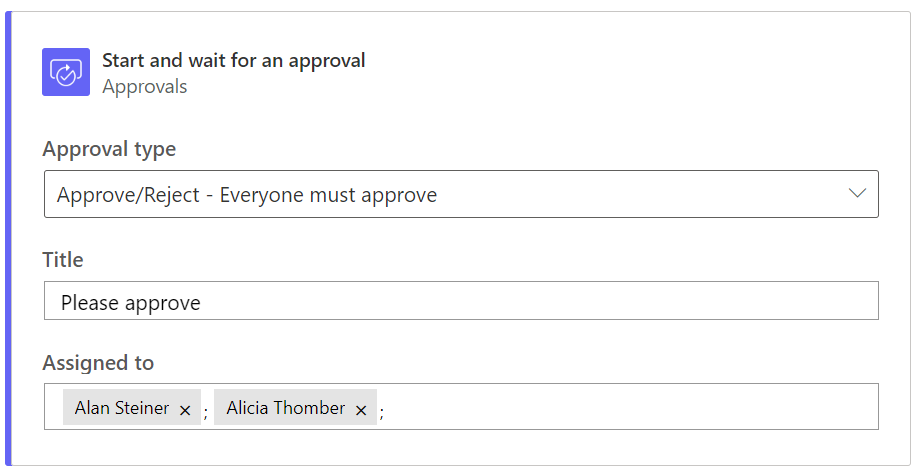
We will select Approve/Reject – everyone must approve. We’re now prompted to enter the title and who to assign the approval to:
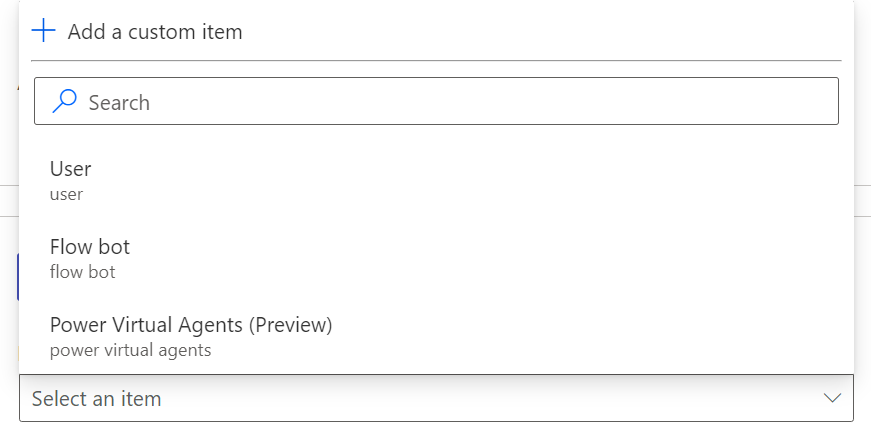
Finally, for Post As in Teams, we can select User, Flow Bot, or Power Virtual Agents (Preview):
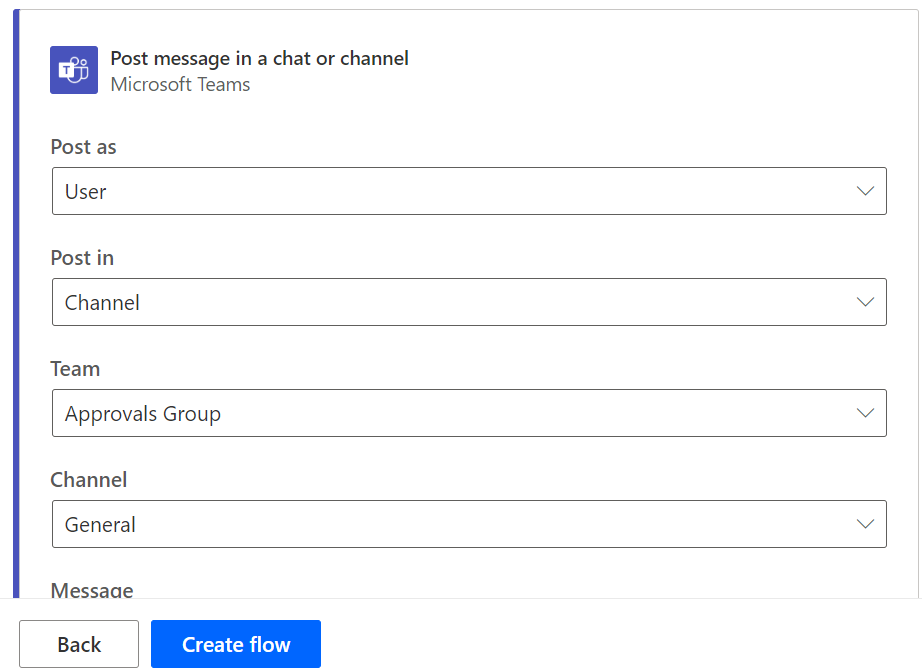
We’re then asked to select if we want to post in a Group Chat or Channel. We will select Channel, then the team name and channel name. We created a team with the 2 approvers called “Approvers Group” and add a message. We can now create the Flow:
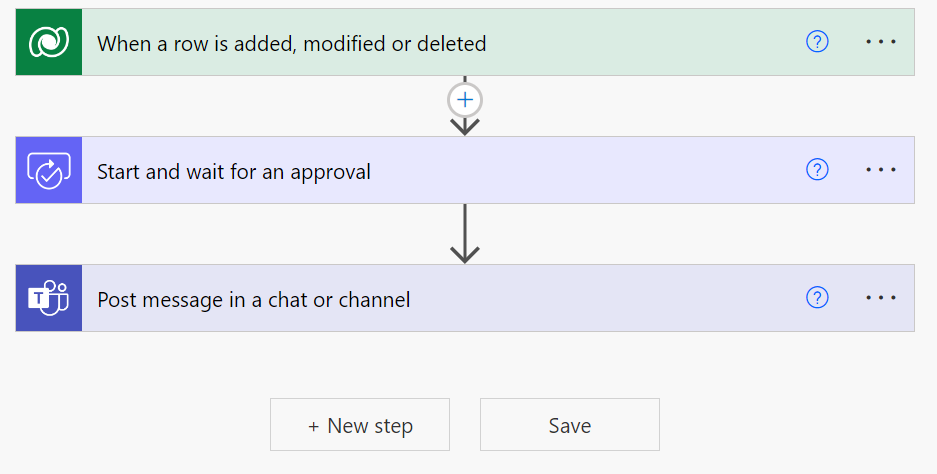
Our flow is now created. Note, you can always modify the flow here to add additional filters, steps, etc:
In the flow checker, you may see the message “Power Automate Approvals has not been installed for this environment. Run this approval flow to initiate provisioning” or “Flow save failed with code ‘InvalidOpenApiConnectionOperationType’ and message ‘The operation ‘Start_and_wait_for_an_approval’ must be of type “OpenApiConnectionWebhook” as the corresponding operation ‘StartAndWaitForAnApproval’ in the API definition is a webhook.’.”
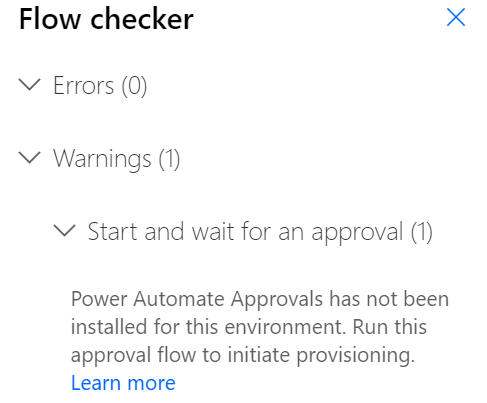
In a separate tab, you can create a separate manual flow with an approval to trigger the installation of approvals in the environment. This may take a few minutes to provision:

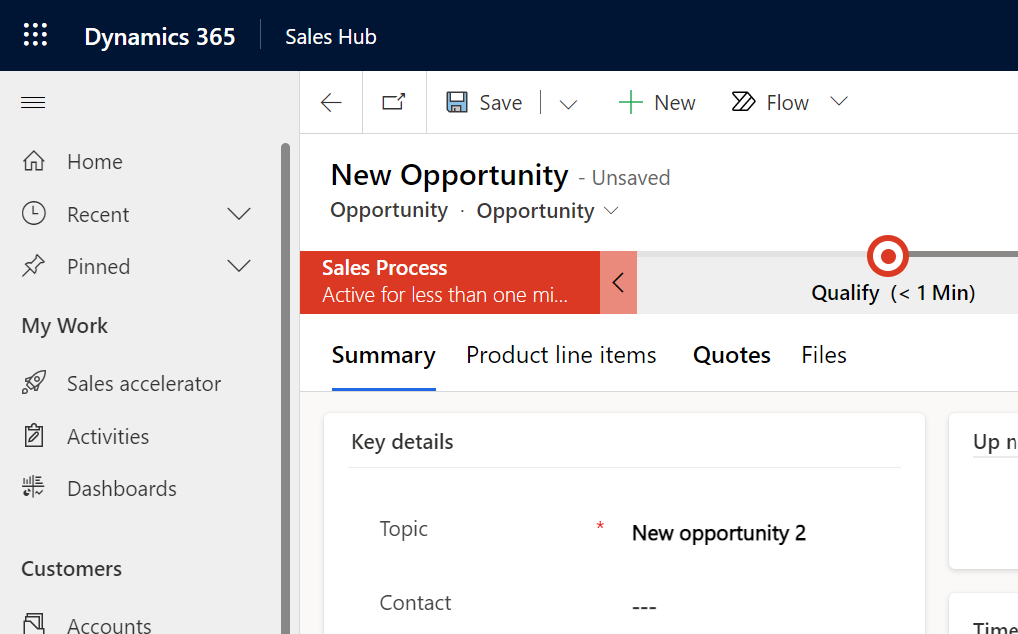
You can then save the original flow and test it out. Create a new opportunity:
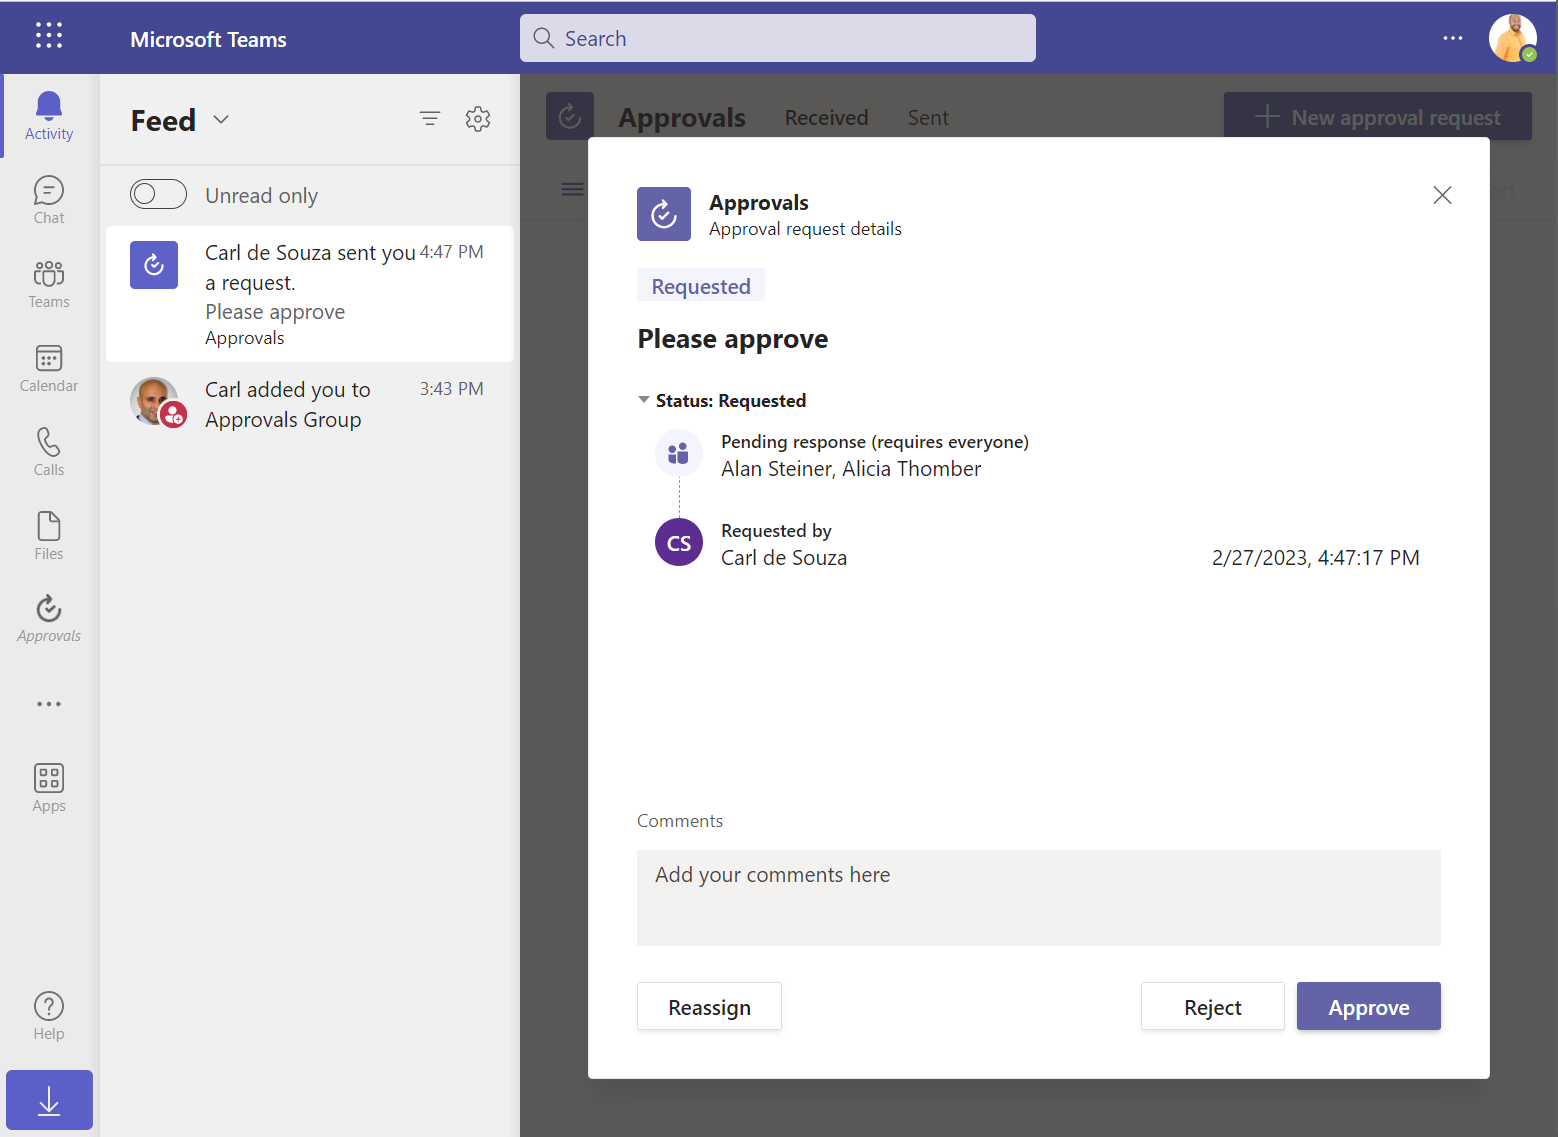
Alan then receives the Teams request to approve:
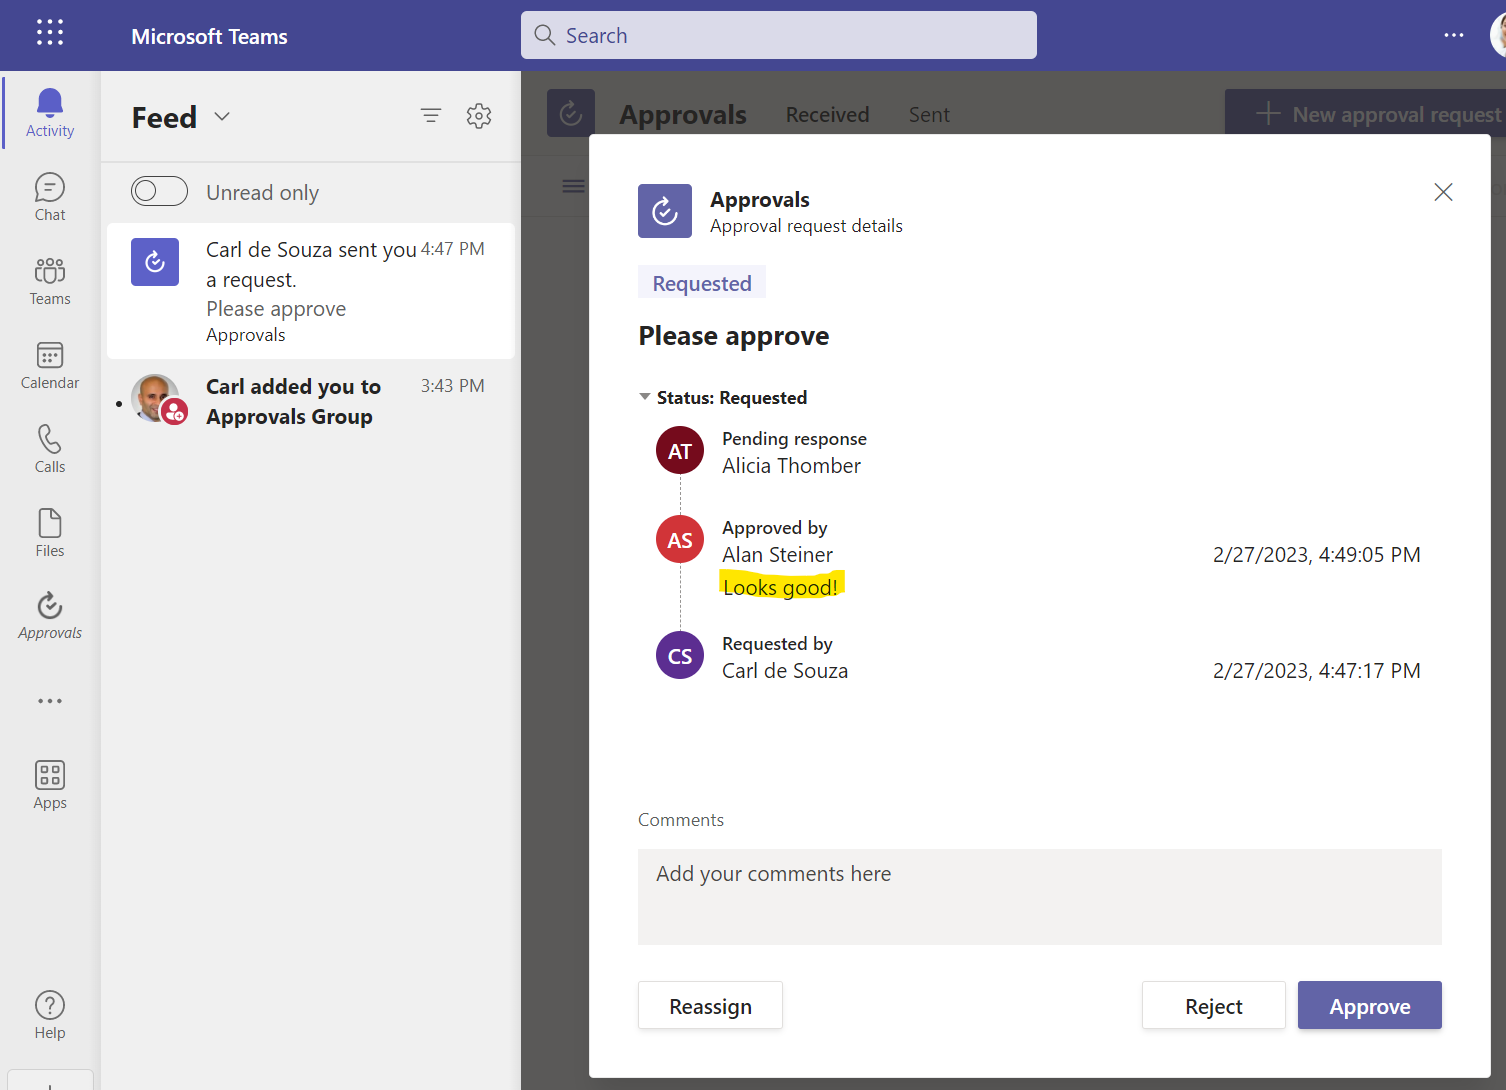
Alan can also enter comments:

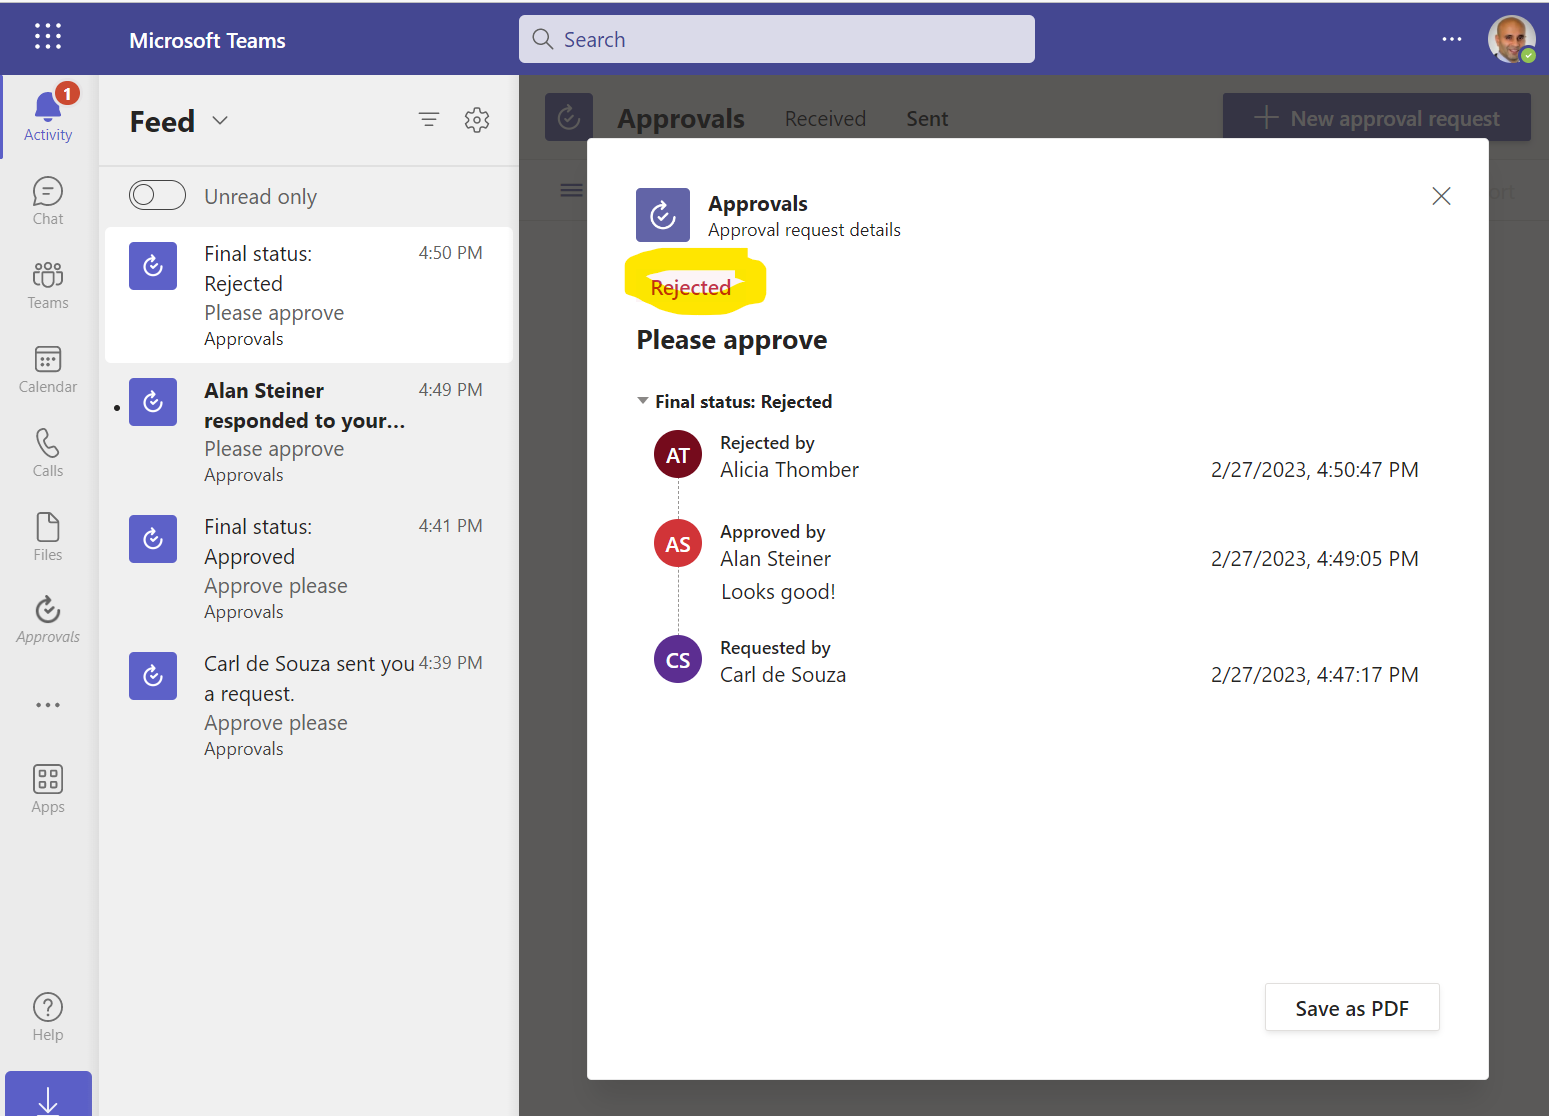
And if Alicia approves after Alan, she will see Alan’s approval or rejection, and comments. Let’s say Alicia rejects this:
I then get a final status of Rejected, which can be exported to PDF:
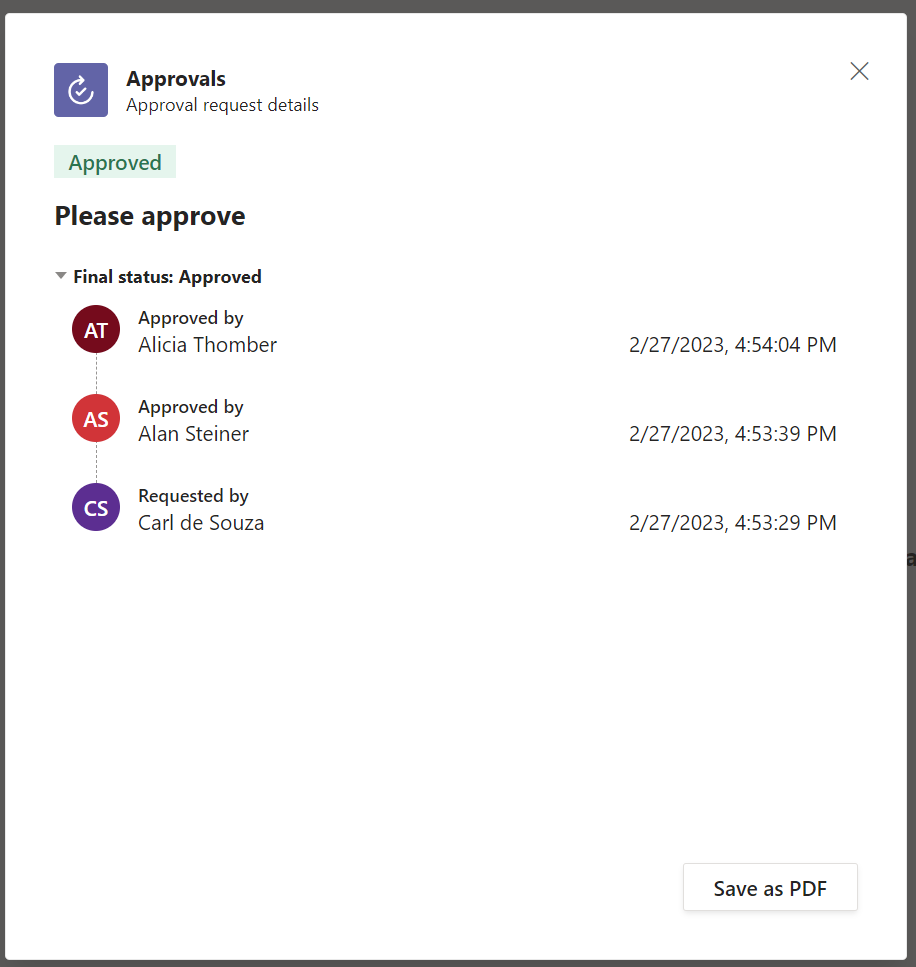
An approval will look like this:
Interesting functionality, looking forward to seeing how it improves over time.
I AM SPENDING MORE TIME THESE DAYS CREATING YOUTUBE VIDEOS TO HELP PEOPLE LEARN THE MICROSOFT POWER PLATFORM.
IF YOU WOULD LIKE TO SEE HOW I BUILD APPS, OR FIND SOMETHING USEFUL READING MY BLOG, I WOULD REALLY APPRECIATE YOU SUBSCRIBING TO MY YOUTUBE CHANNEL.
THANK YOU, AND LET’S KEEP LEARNING TOGETHER.
CARL


