Landing pages are a nice way to greet a user of an app, and provide them with personalized information.
In this post, we will look at how to create a landing page for model driven apps. Landing pages are basically the first page a user sees when they land on an app.
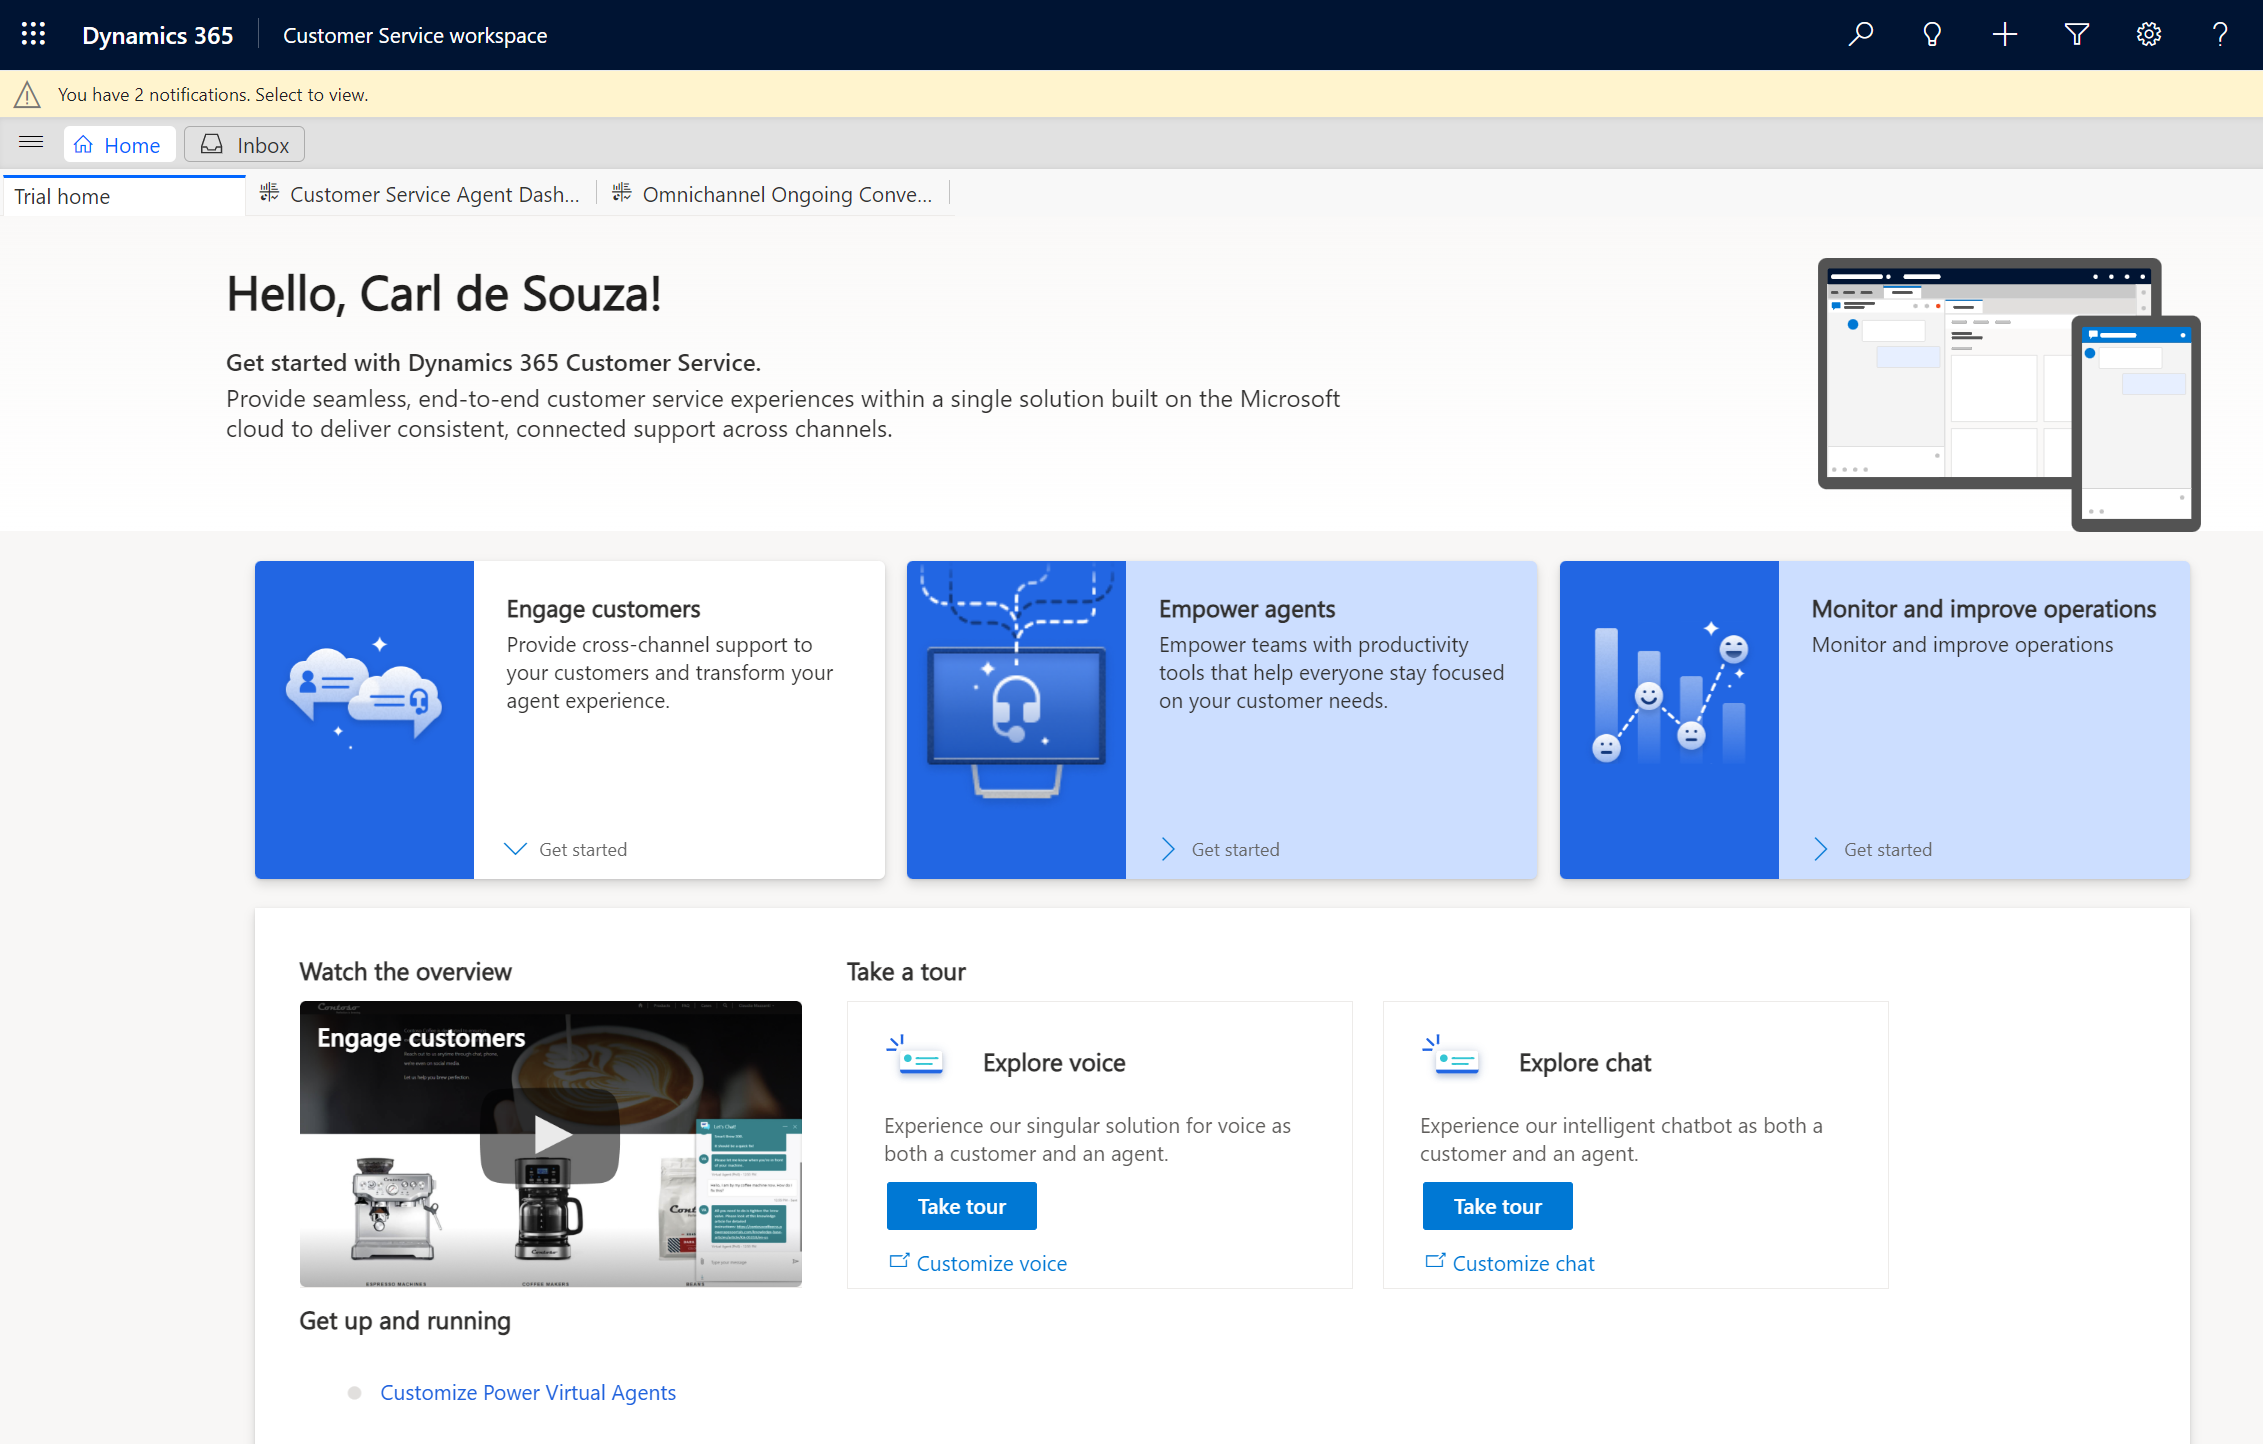
An example landing page I like is the Trial Home you get with a Customer Service workspace trial:
To build something like this, let’s go to the Power Apps Maker portal at https://make.powerapps.com and edit the app we want this page to reside. Let’s use the Sales Hub app as an example. Under Apps, select it and click Edit:

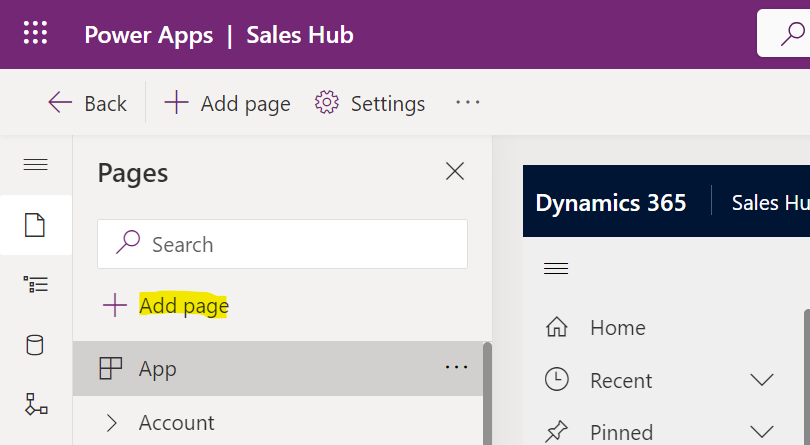
Now click Add Page:
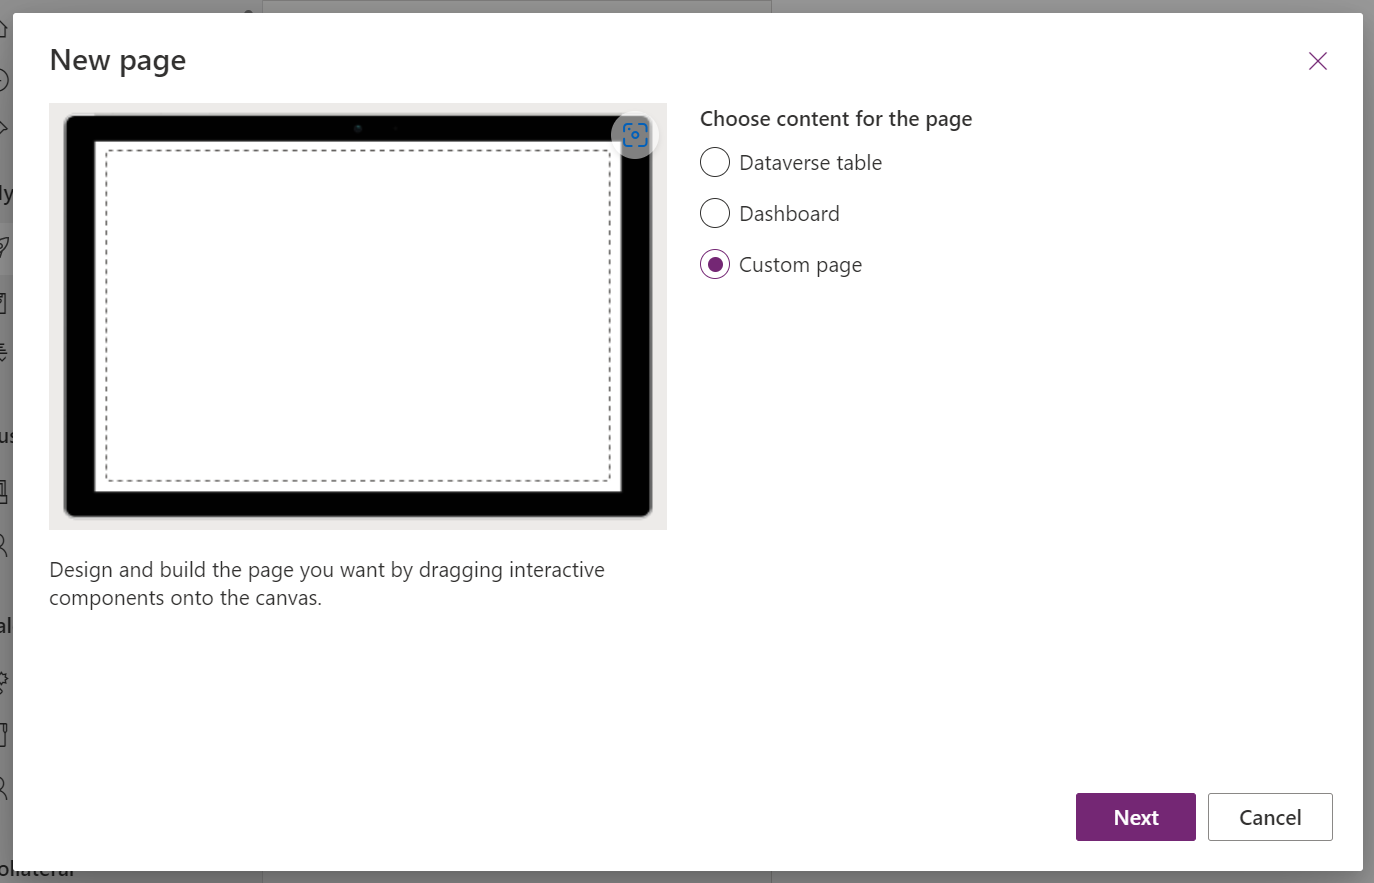
Select Custom Page and click Next:
Give the page a name. We will name it Landing Page:
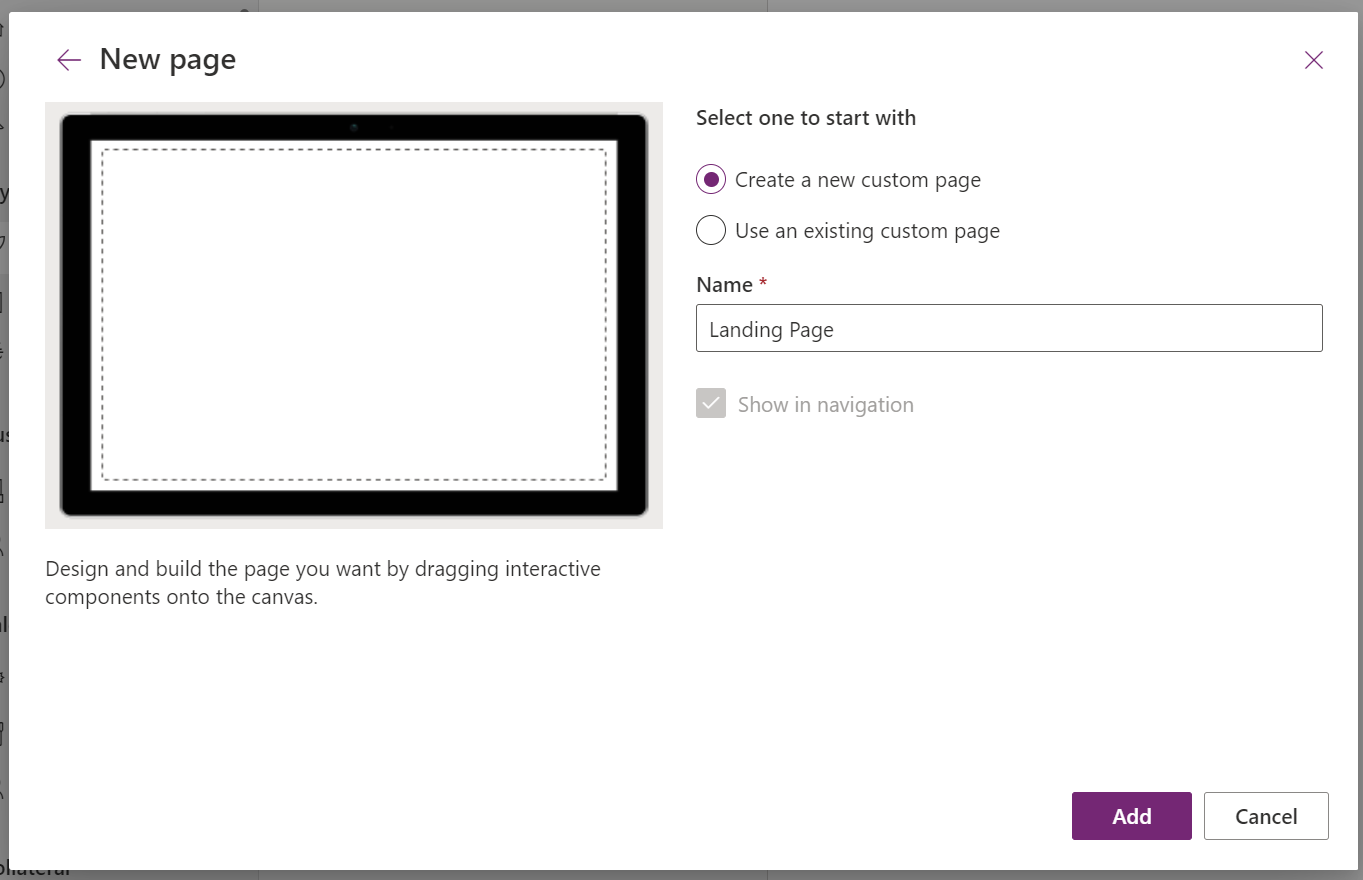
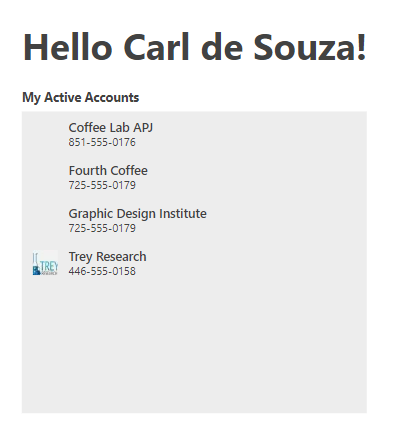
Now, on the canvas, let’s add a label, and on the Text property let’s add the code:
“Hello ” & User().FullName & “!”
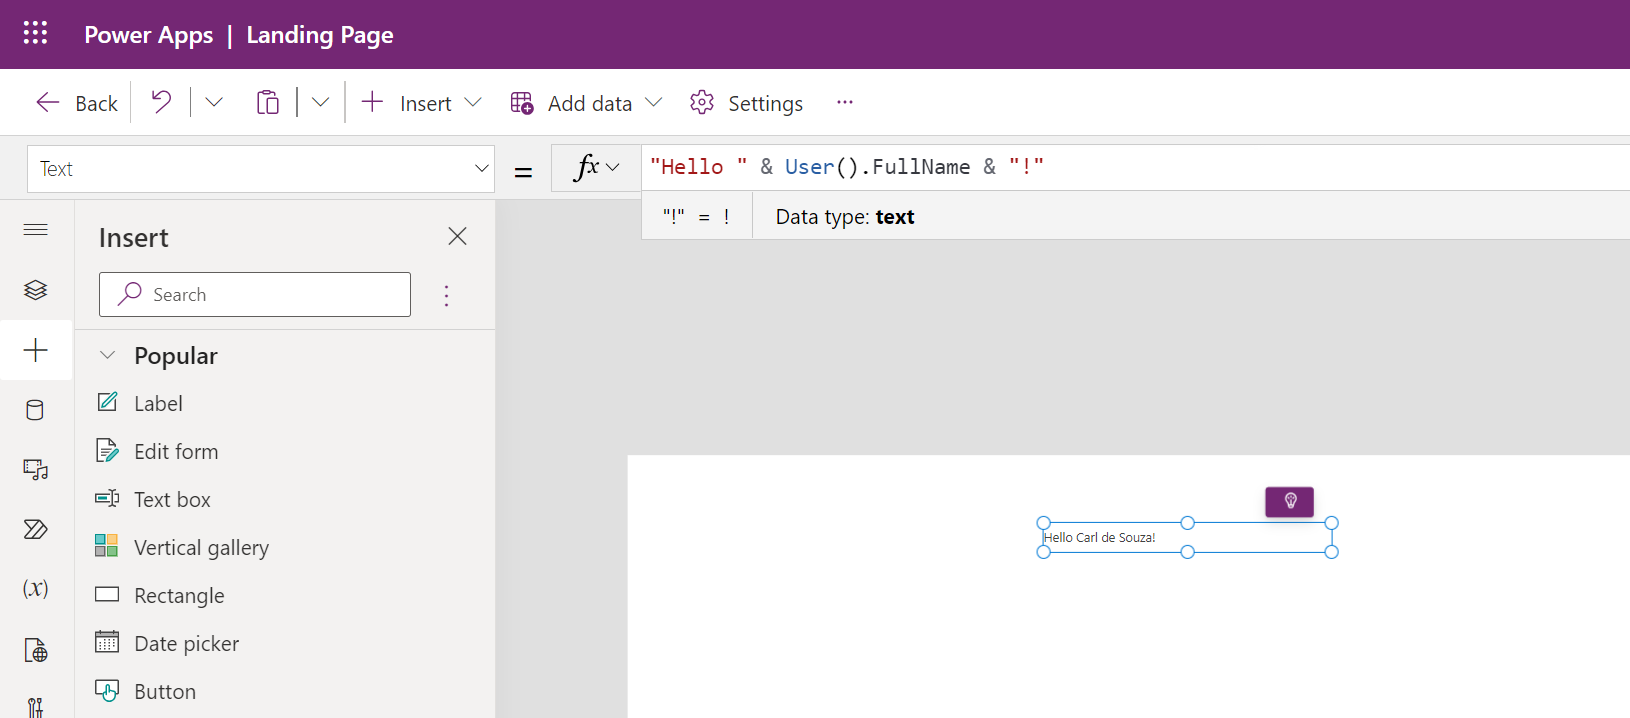
We can see my name is displaying on the label. The User() function also contains Email and Image.
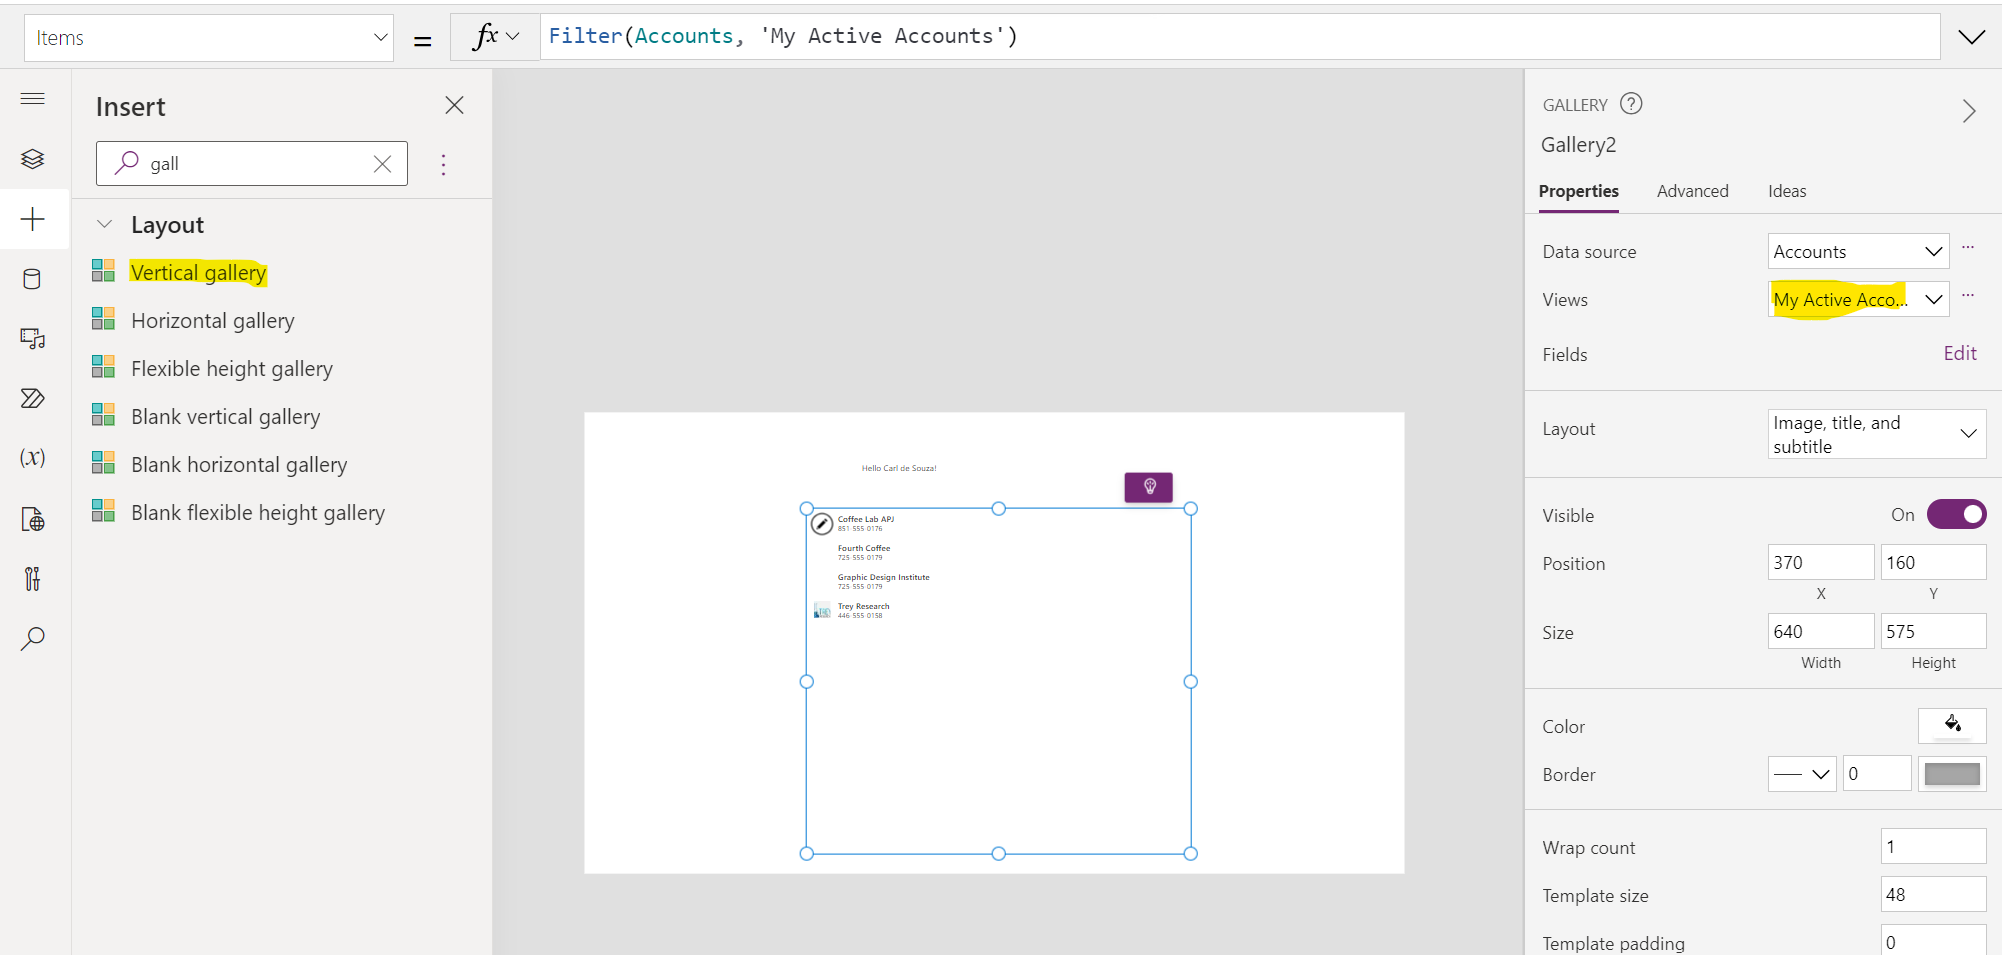
Now let’s add a Vertical Gallery, and we will set the view to My Active Accounts:
We can add a label for this accounts grid too:
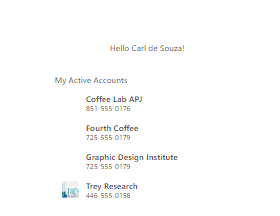
Now, go ahead and save and publish, then leave the canvas and go back to editing the app. We see the custom page in the navigation:
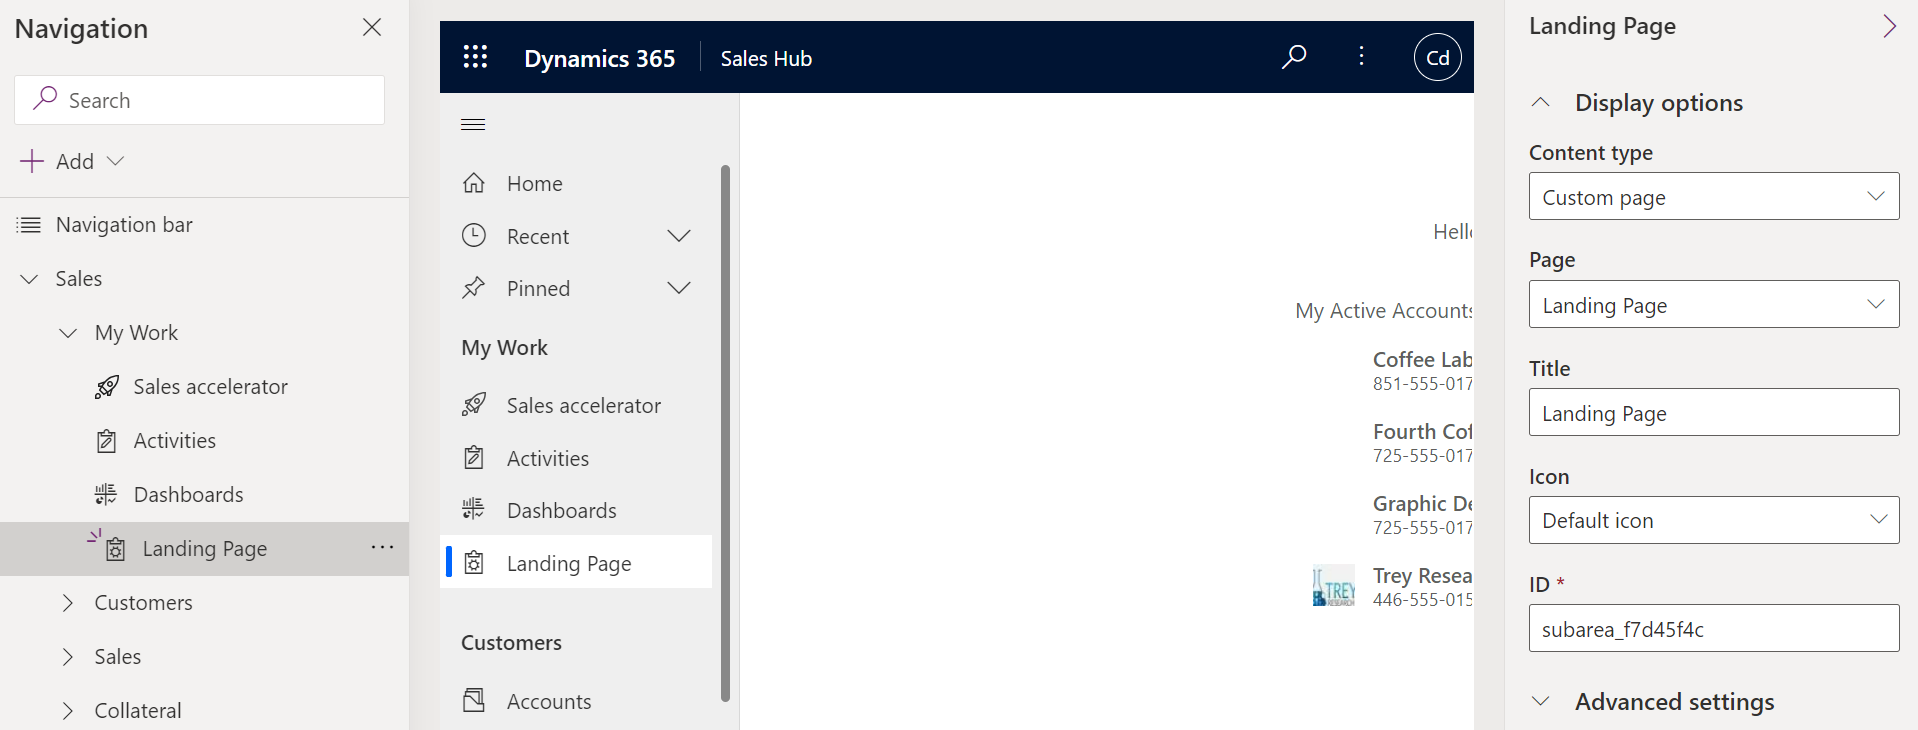
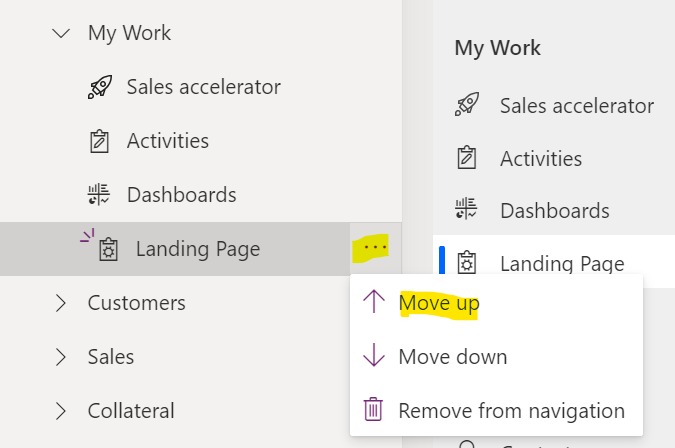
Now move up so Landing Page is the first option:
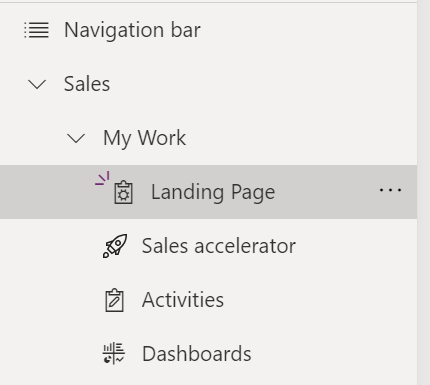
Let’s save and publish the app, and try it out. When we open the app, we are brought to our landing page.
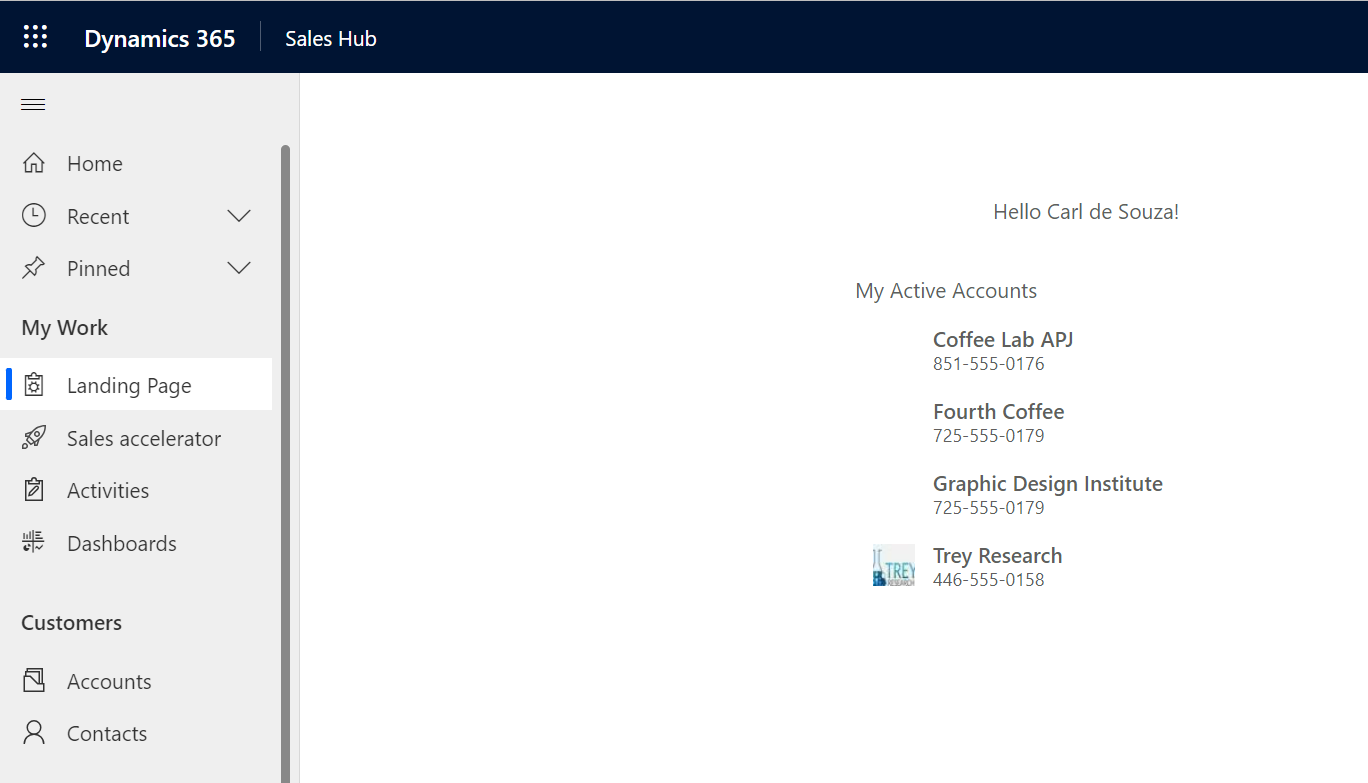
Of course, you can make page look much nicer!
I AM SPENDING MORE TIME THESE DAYS CREATING YOUTUBE VIDEOS TO HELP PEOPLE LEARN THE MICROSOFT POWER PLATFORM.
IF YOU WOULD LIKE TO SEE HOW I BUILD APPS, OR FIND SOMETHING USEFUL READING MY BLOG, I WOULD REALLY APPRECIATE YOU SUBSCRIBING TO MY YOUTUBE CHANNEL.
THANK YOU, AND LET’S KEEP LEARNING TOGETHER.
CARL


