In this post, we will look at how to use context in PCF Controls. The context provides us with many features such as being able to call Power Apps and Dynamics 365 native functionality that we may normally access through JavaScript and the API. Being able to do this from within a PCF control is very useful for building our controls.
First, let’s create a new PCF control called SampleXrmControl, we will use the standard template (not the React template) for this example:
pac pcf init -n SampleXrmControl -ns carl -t field
Let’s add some simple code to display a button in the init function. This HTMLButtonElement button will call an onclick function when clicked. The function calls a standard JavaScript alert, and then it calls the context that we get with PCF controls. The context has navigation capabilities, and these have openAlertDialog, which we use when building Power apps and Dynamics apps. Let’s open a dialog this way:
const button: HTMLButtonElement = document.createElement("button");
button.innerHTML = "Click me";
button.onclick = () => { alert("Hello World"); var alertStrings = { confirmButtonLabel: "Yes", text: "This is an alert.", title: "Sample title" }; var alertOptions = { height: 120, width: 260 }; context.navigation.openAlertDialog(alertStrings, alertOptions).then( function (success) { console.log("Alert dialog closed"); }, function (error) { console.log(error.message); }); }
container.appendChild(button);
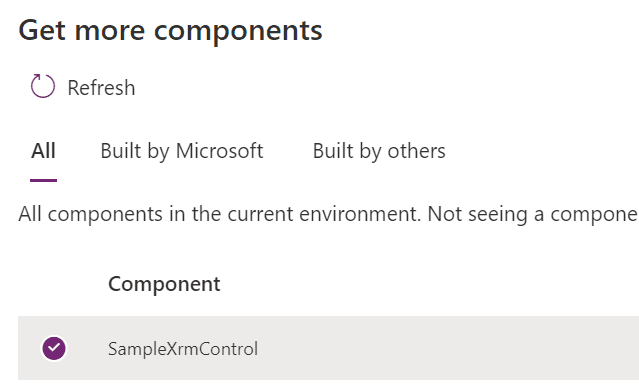
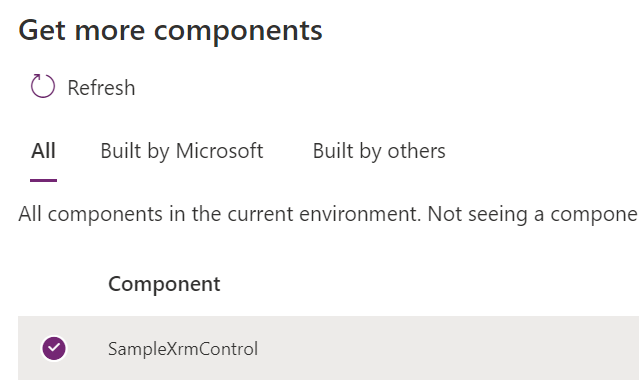
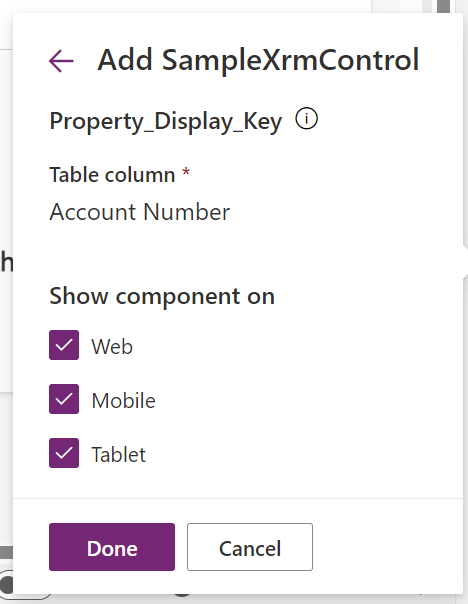
That’s all we need to do. We can publish this to our org using the same steps as previously described in this series. Once published, add a field to a form and go to Components to change it to our new PCF component. Here we will bind it to the Account Number field on the Account form, and we can select our SampleXrmControl:
Once added we see the control rendered with the Click Me button:

Let’s Save and Publish so we can see it on a record. We now see:
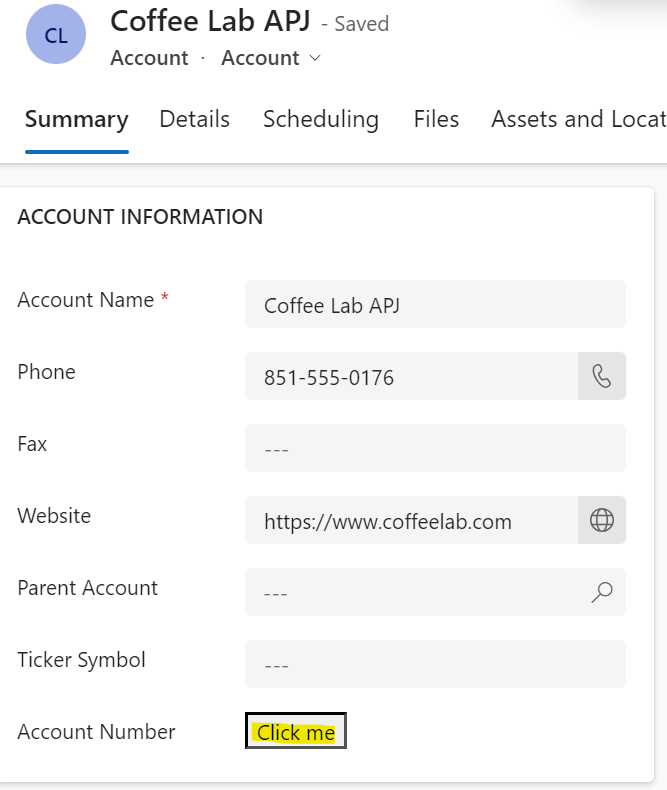
Clicking the button, the standard JS alert:

And the Dynamics 365 alert dialog is displayed:
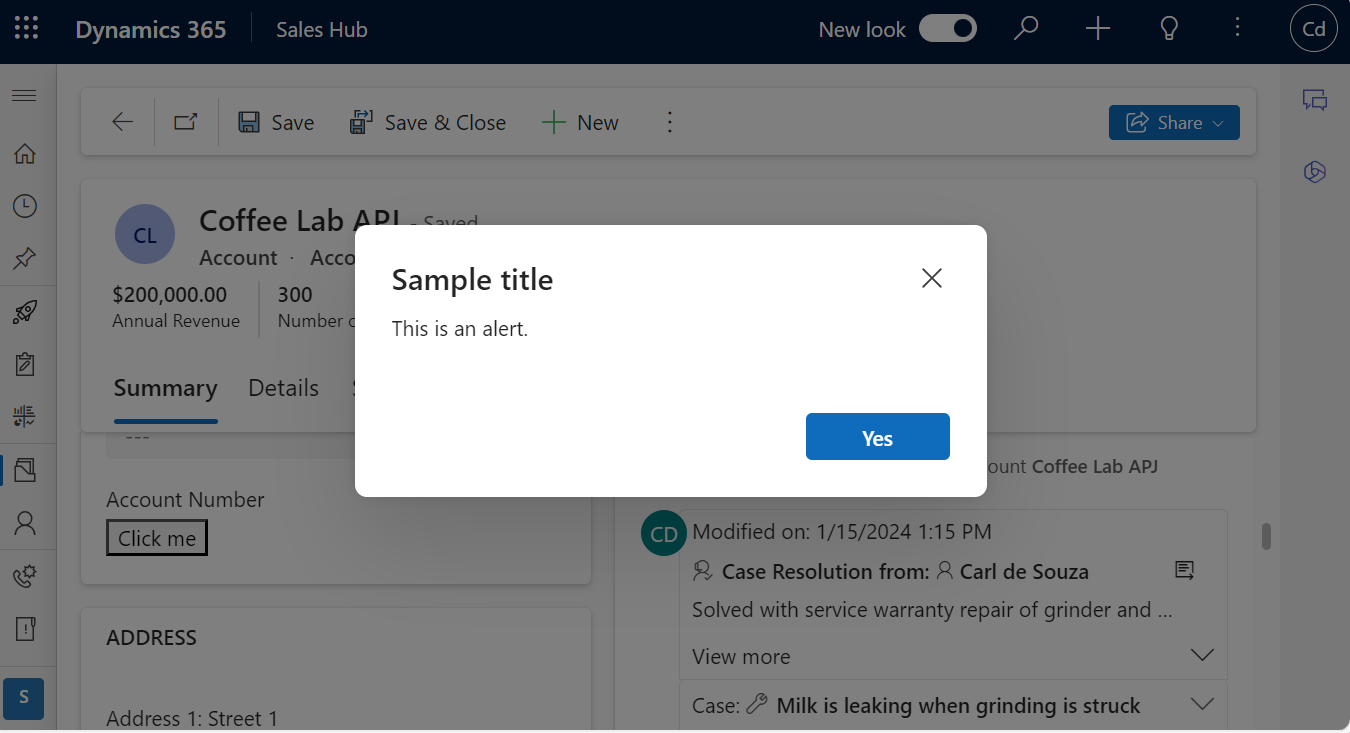
And clicking Yes closes the alert dialog and logs to the console:
![]()
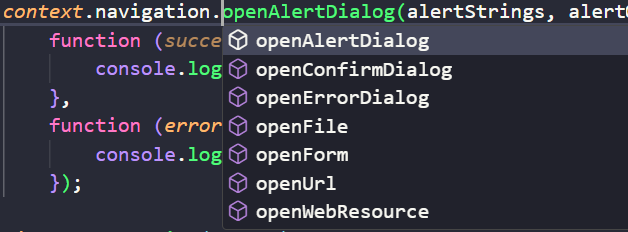
Let’s look at some of the other functionality we get with context.navigation. We have openConfirmDialog, openErrorDialog, openFile, openForm, openUrl, and openWebResource:
Let’s add some code to do the openUrl:
var openUrlOptions = { height: 500, width: 500 };
context.navigation.openUrl("https://microsoft.com",openUrlOptions);
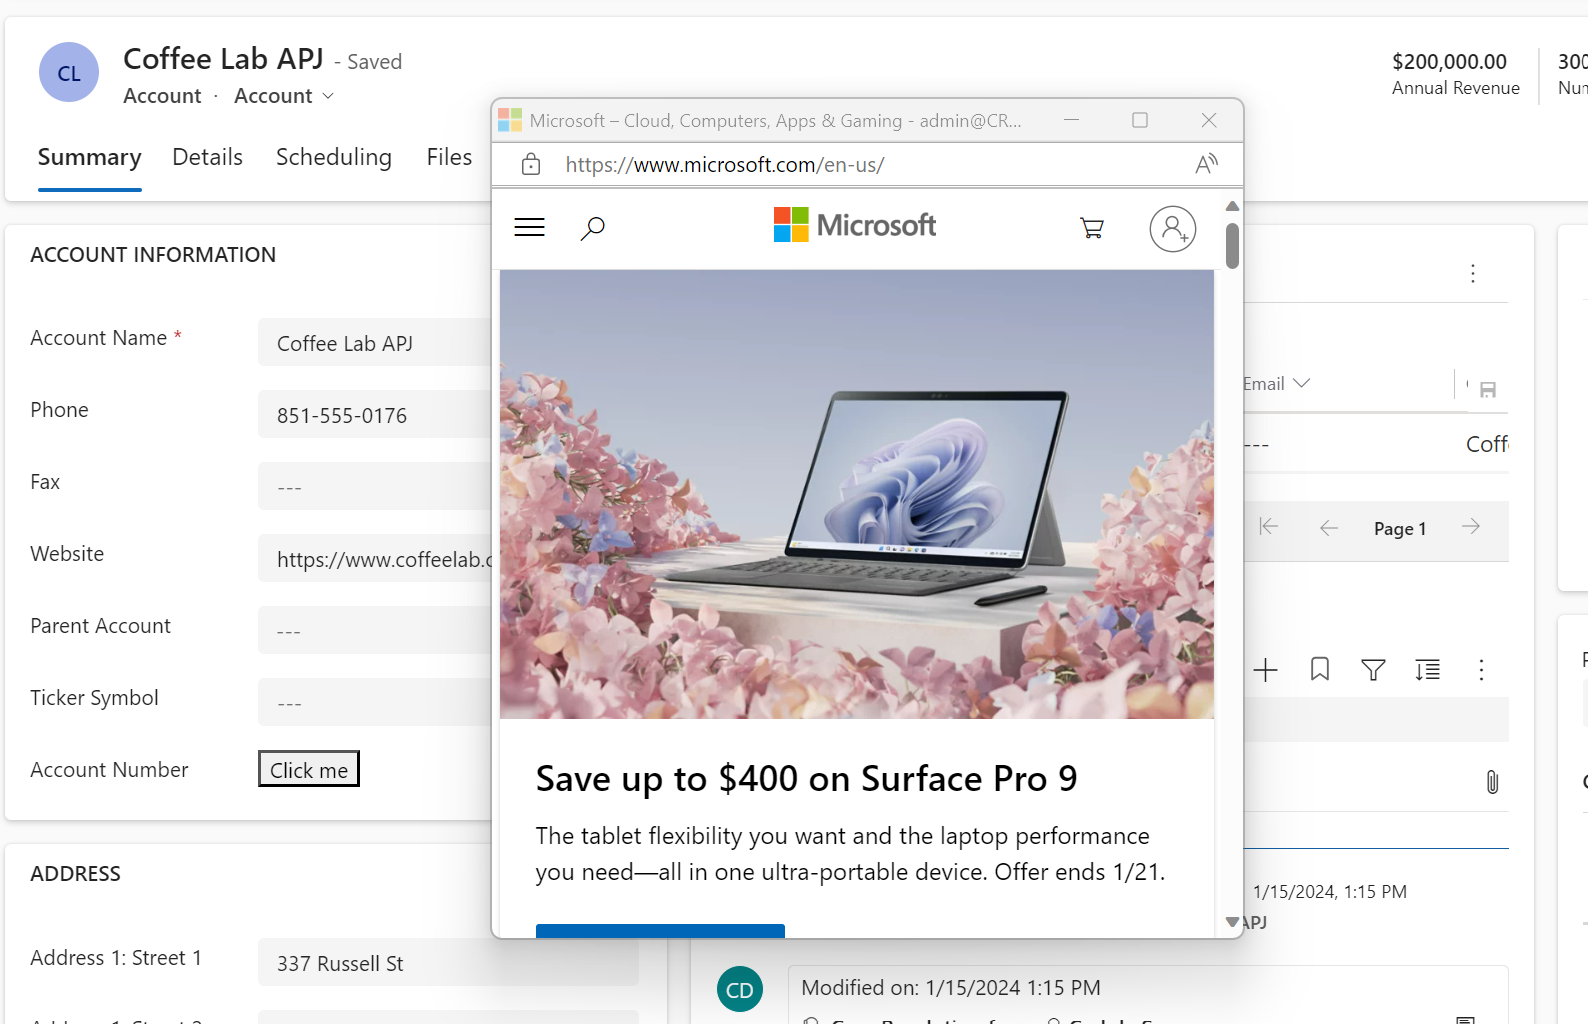
We now see a browser window open to the dimensions and URL specified:
Let’s now take a look at the userSettings context. We have the following:
- dateFormattingInfo
- getTimeZoneOffsetMinutes
- isRTL
- languageId
- numberFormattingInfo
- securityRoles
- userId
- userName
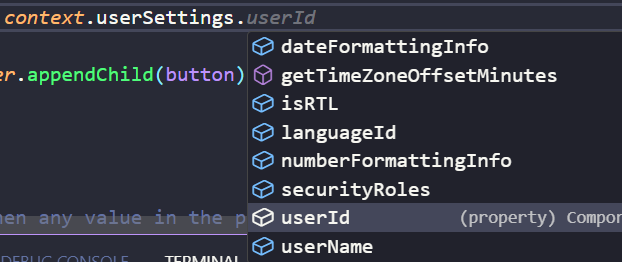
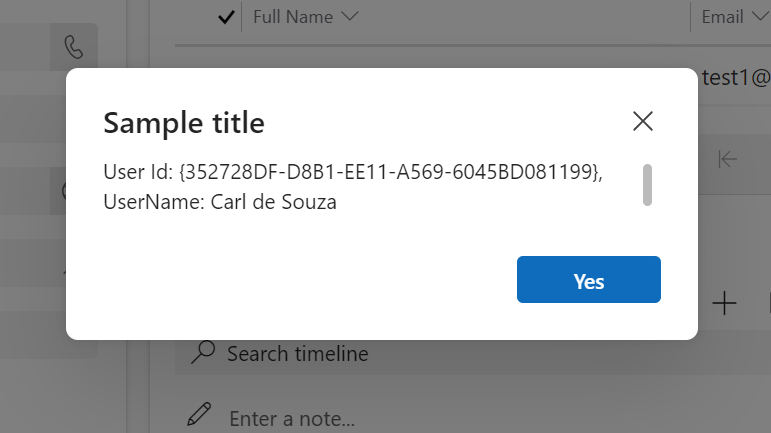
Let’s try the userId and userName, printing it on the screen using the previously used openAlertDialog:
var DisplayText = `User Id: ${context.userSettings.userId}, UserName: ${context.userSettings.userName}`;
var alertStrings = { confirmButtonLabel: "Yes", text: DisplayText, title: "Sample title" };
var alertOptions = { height: 120, width: 260 };
context.navigation.openAlertDialog(alertStrings, alertOptions).then( function (success) { console.log("Alert dialog closed"); }, function (error) { console.log(error.message); });
On running this, we see the User Id and User Name displayed:
I AM SPENDING MORE TIME THESE DAYS CREATING YOUTUBE VIDEOS TO HELP PEOPLE LEARN THE MICROSOFT POWER PLATFORM.
IF YOU WOULD LIKE TO SEE HOW I BUILD APPS, OR FIND SOMETHING USEFUL READING MY BLOG, I WOULD REALLY APPRECIATE YOU SUBSCRIBING TO MY YOUTUBE CHANNEL.
THANK YOU, AND LET’S KEEP LEARNING TOGETHER.
CARL


