In this post, we will look at how to use Power Fx in a model-driven app button.
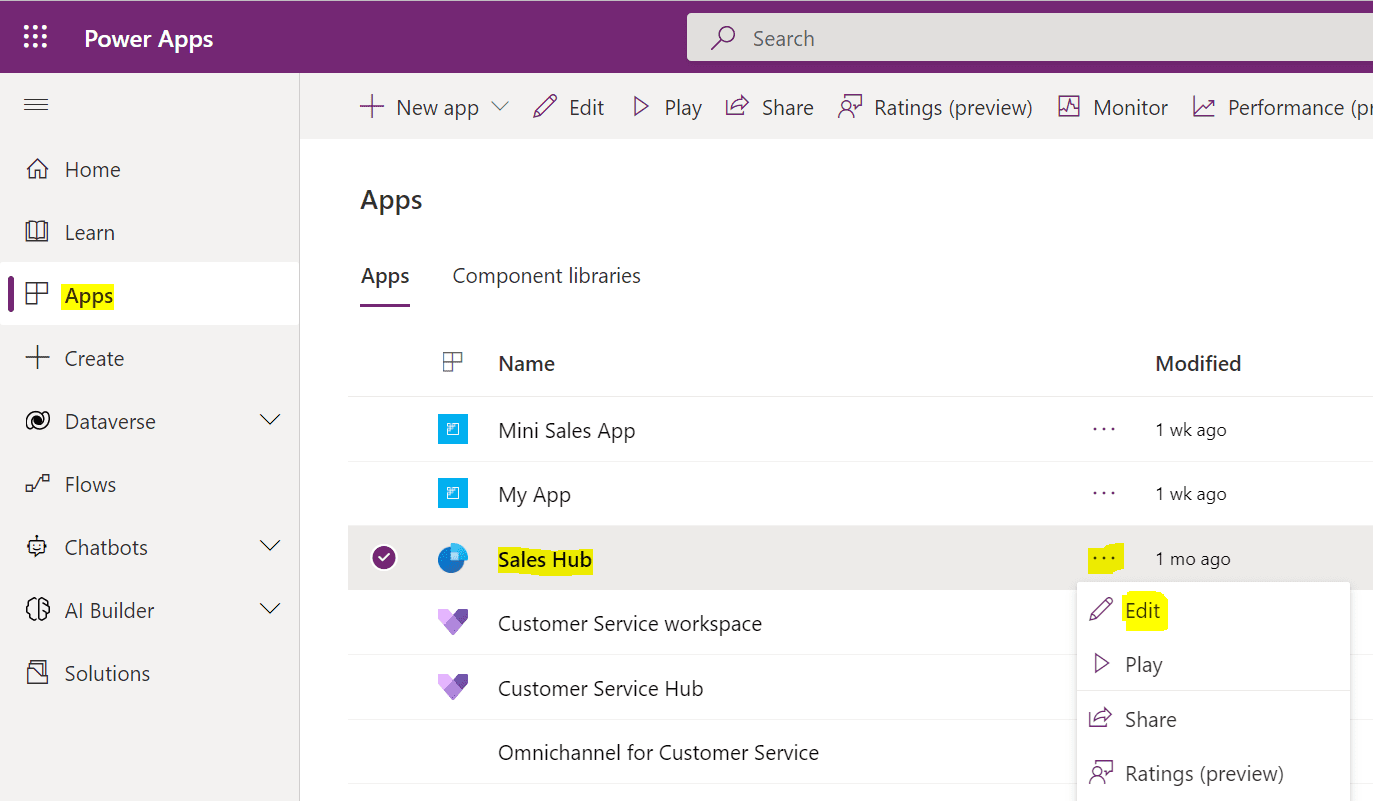
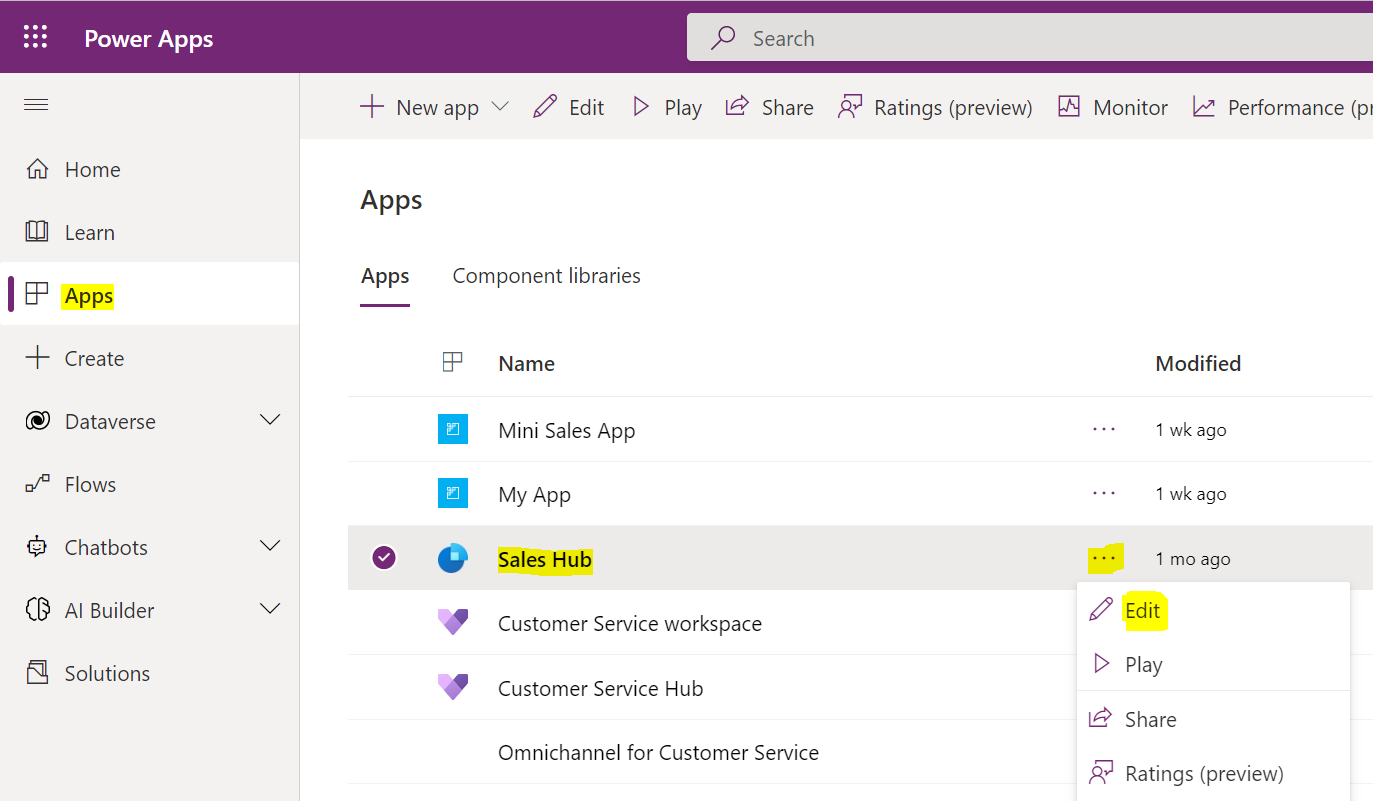
First, let’s go over to the Power Apps Maker portal at https://make.powerapps.com and select Edit:
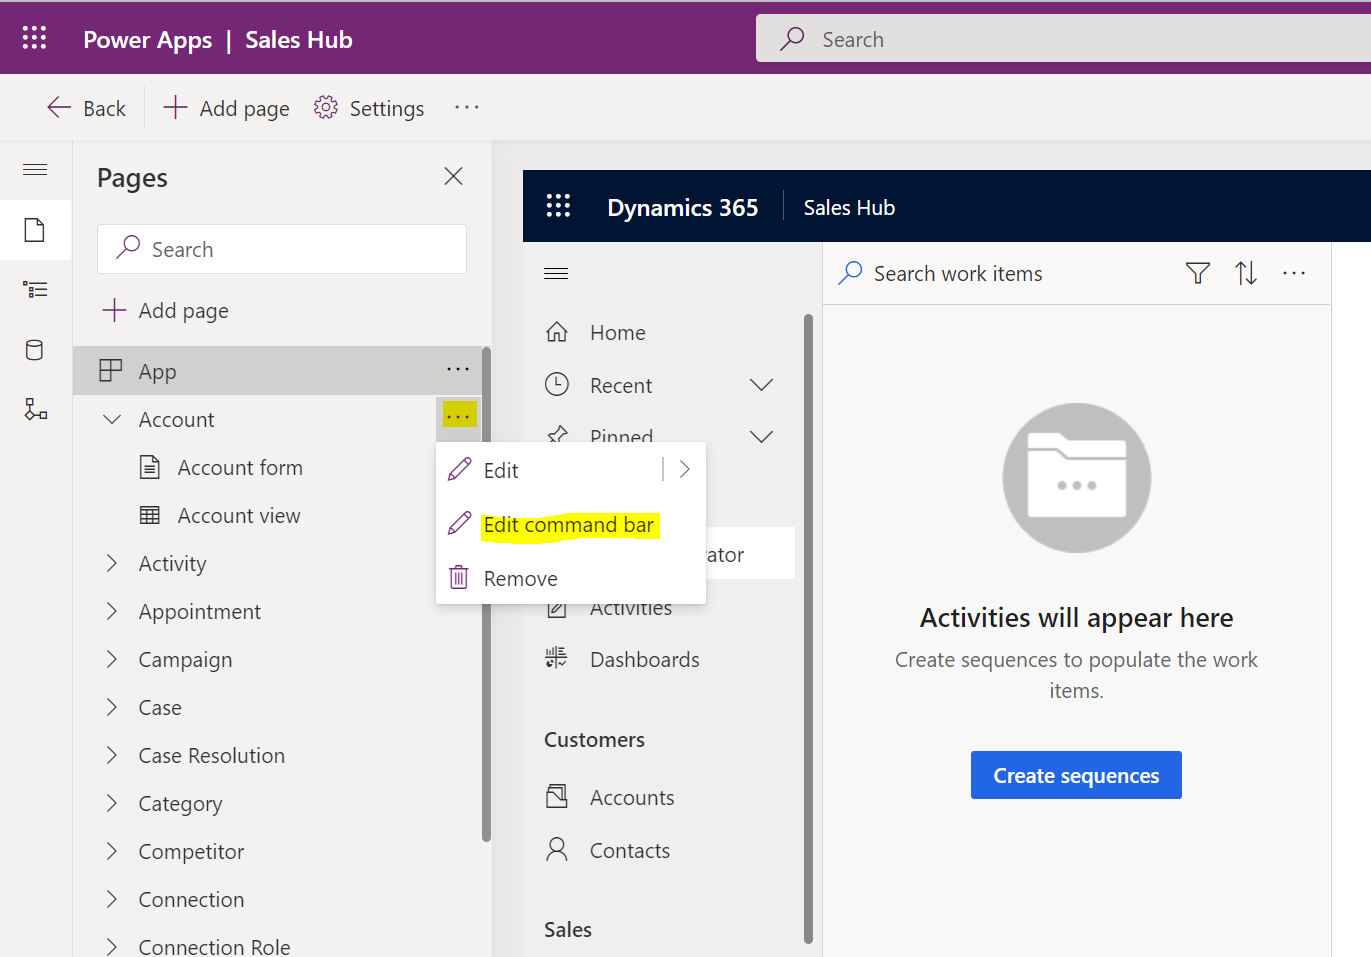
This takes us to the app designer, and from here we can select an entity such as the Account and then Edit the Command Bar:
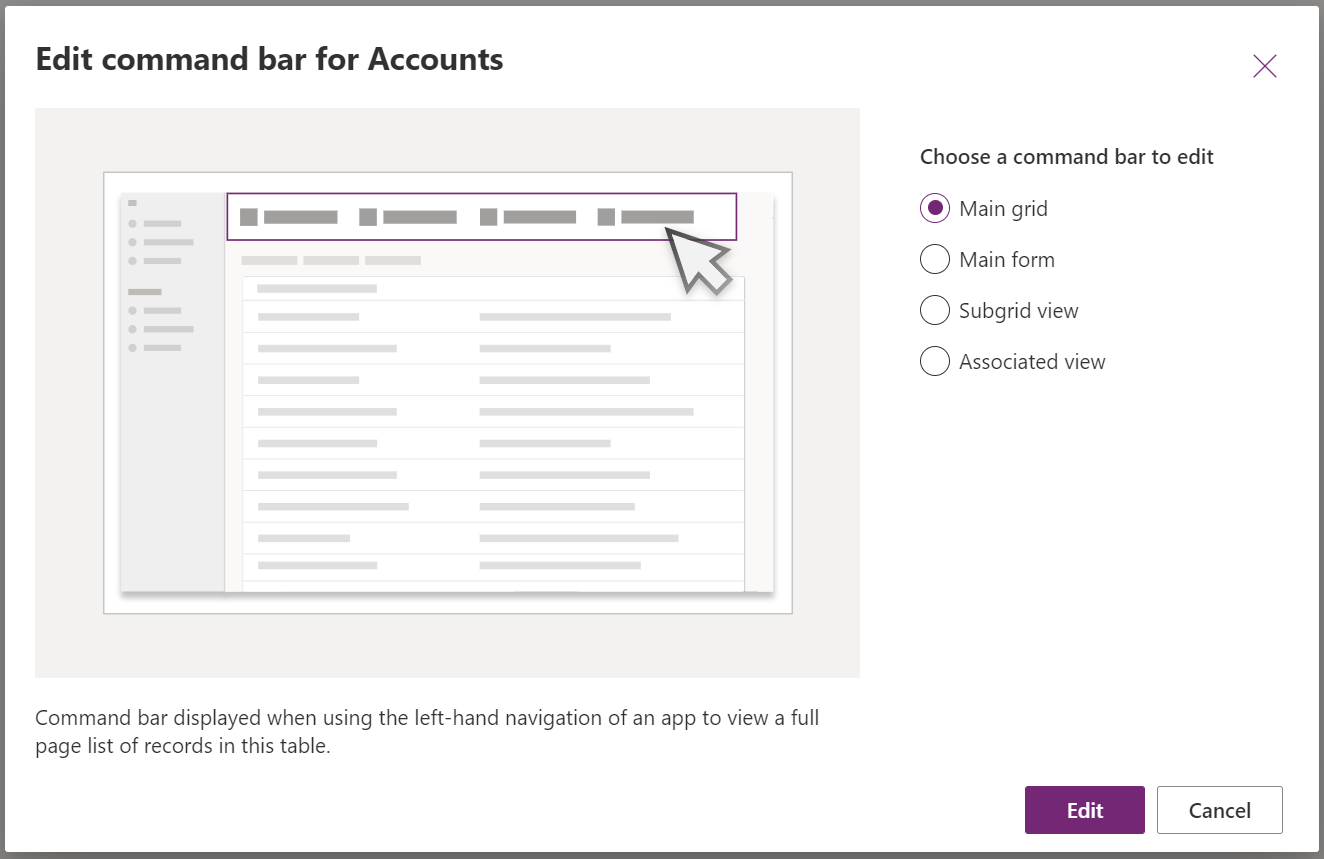
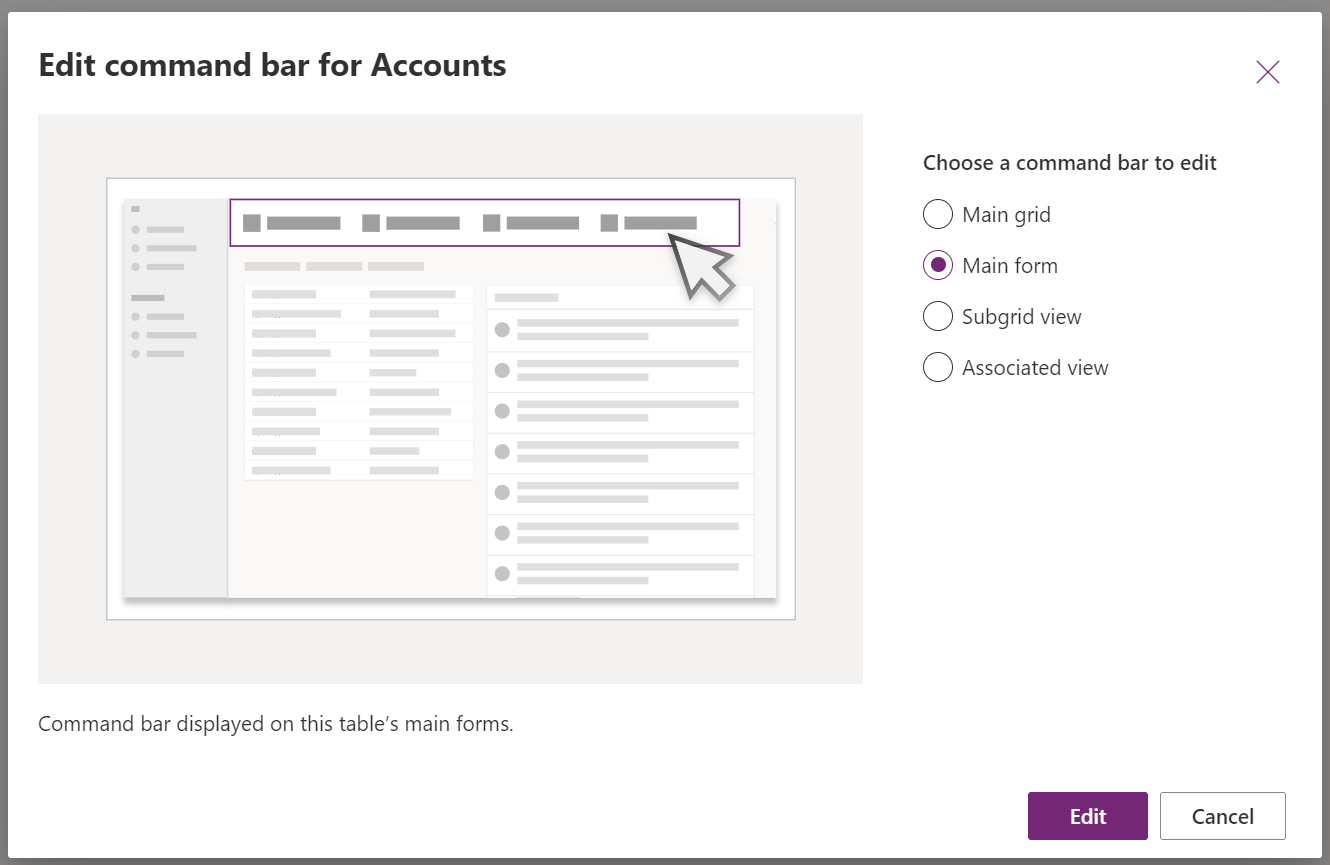
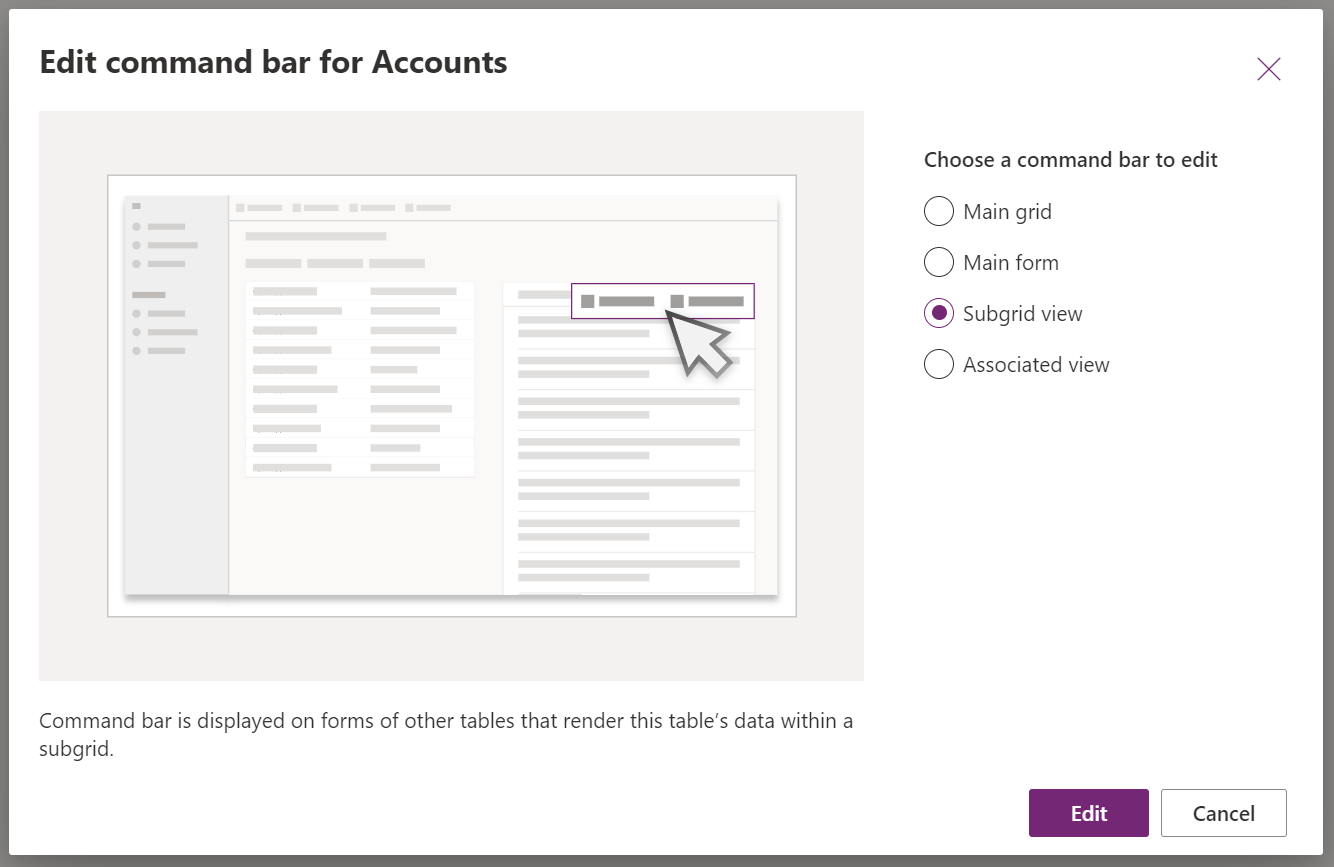
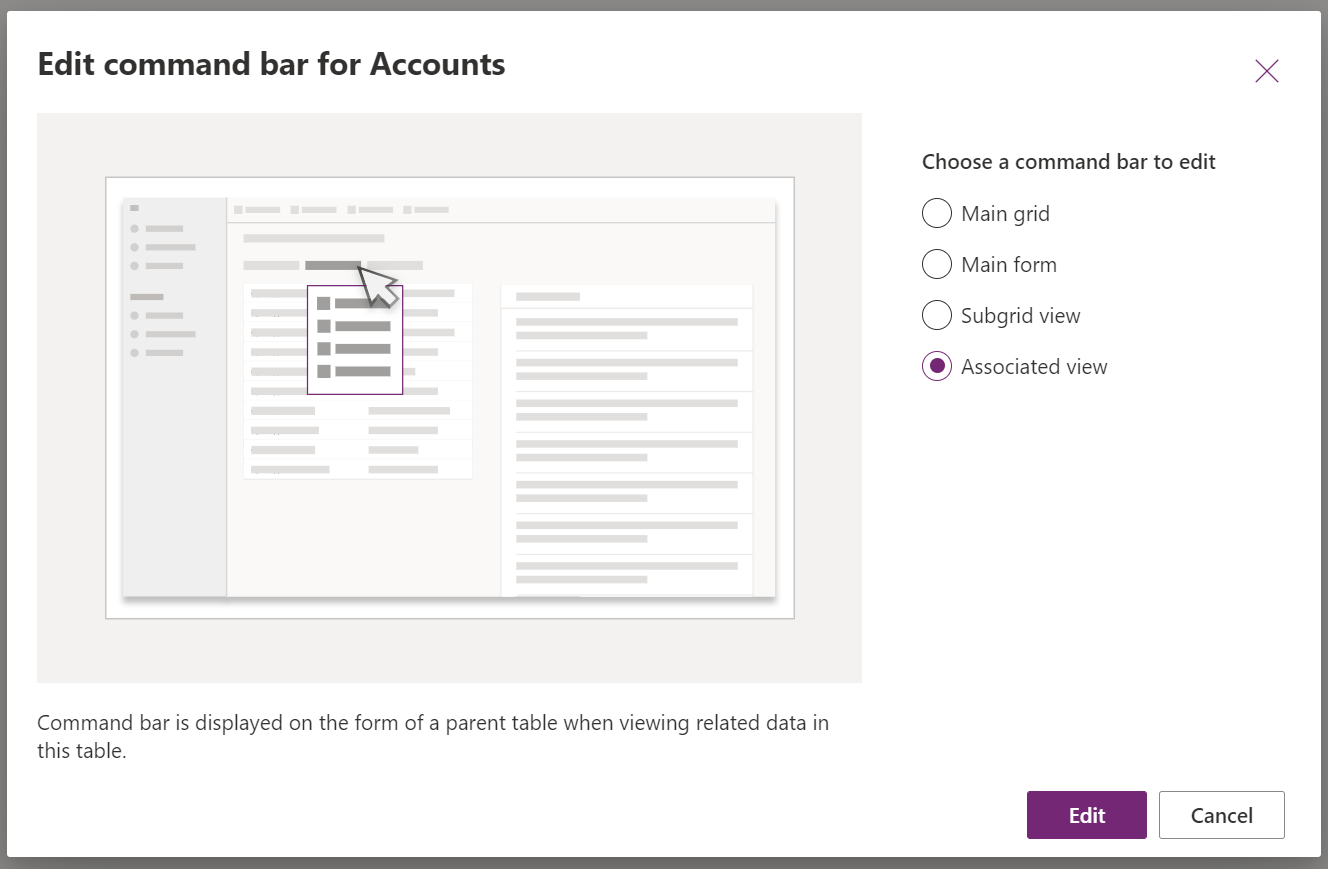
We are now prompted to select which command bar to edit. The choices are below (note the graphic changes when you select an option so you can see what you are changing):
- Main grid

- Main form

- Subgrid view

- Associated view

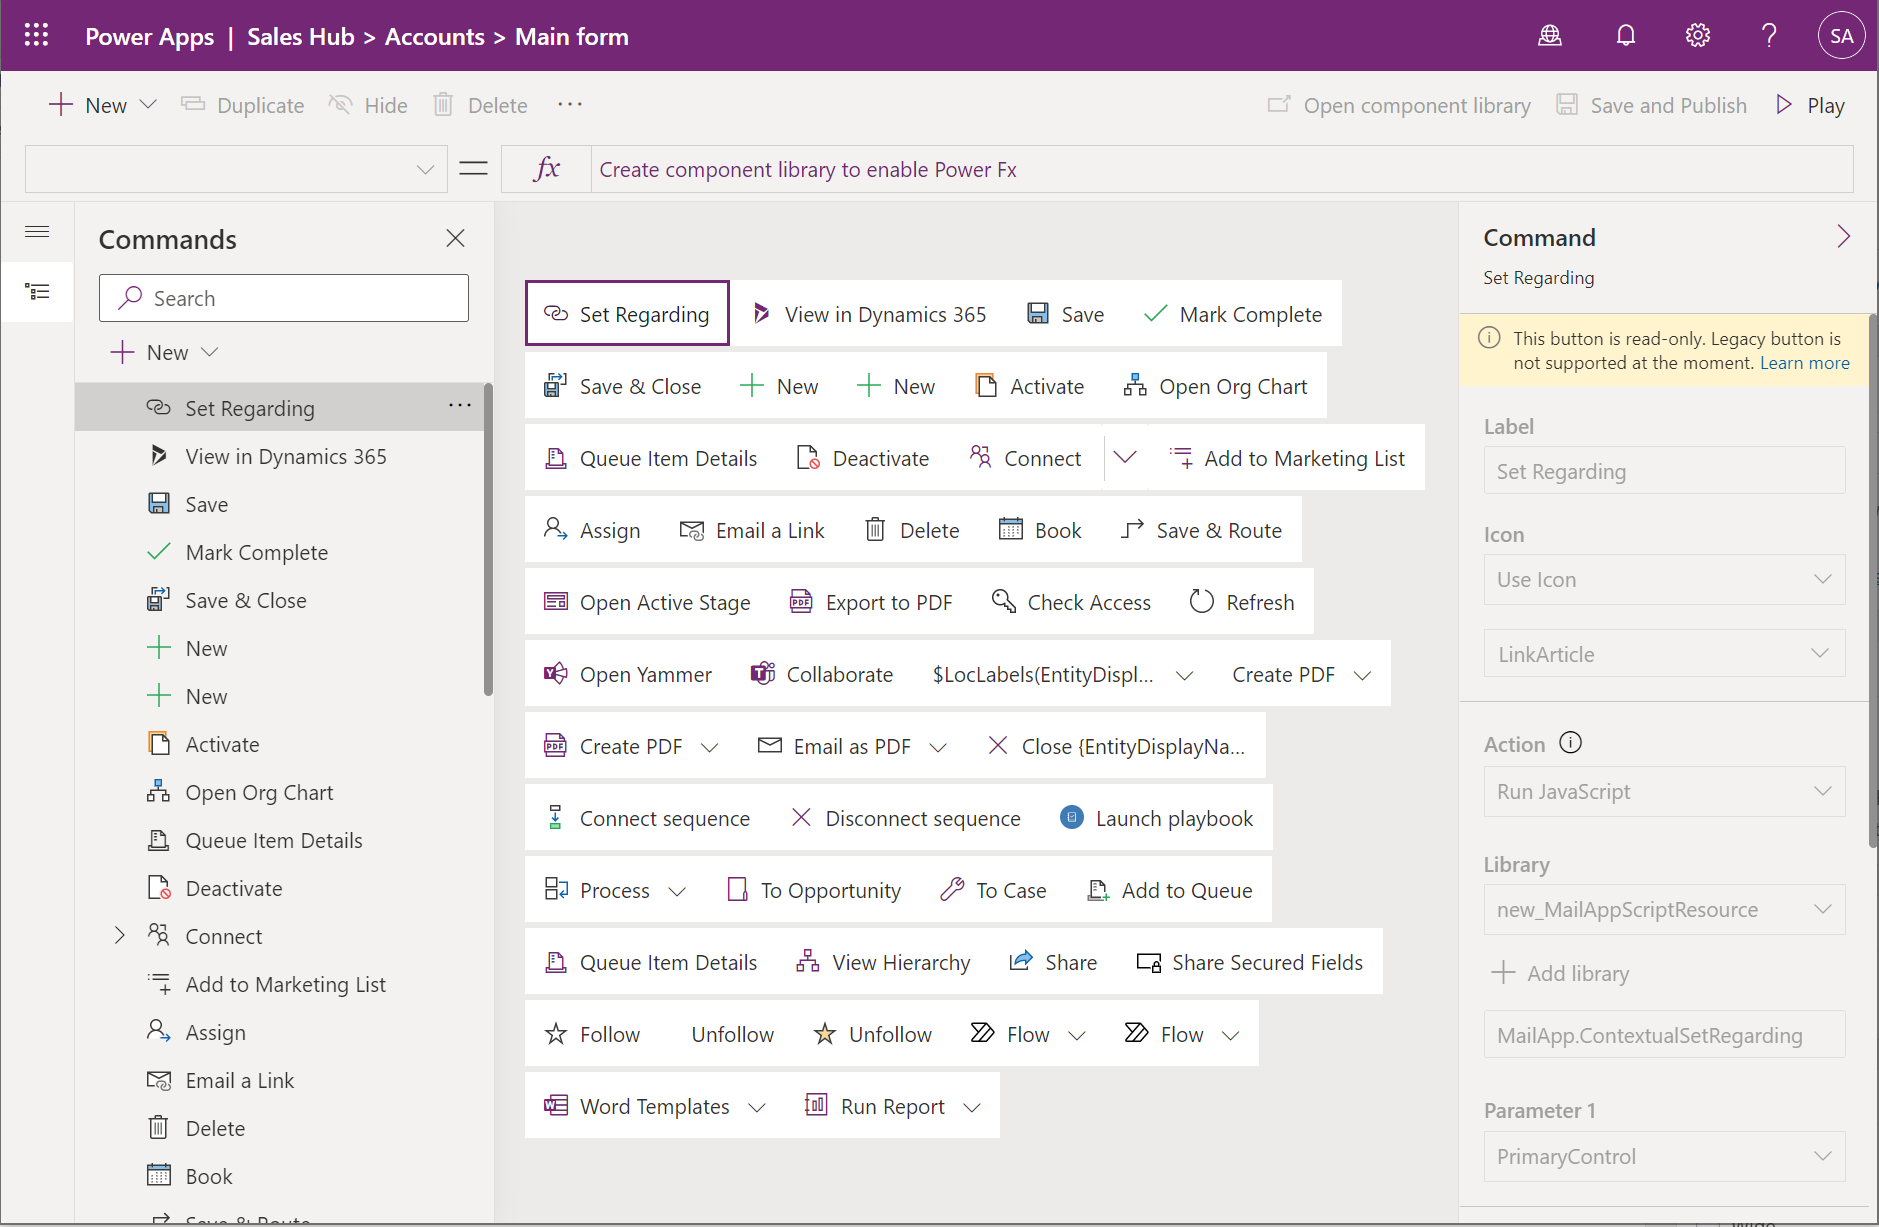
Let’s select the main form, and click Edit. We see the buttons available on the form:
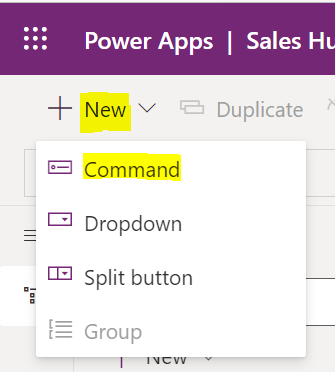
Let’s click on New and select Command:
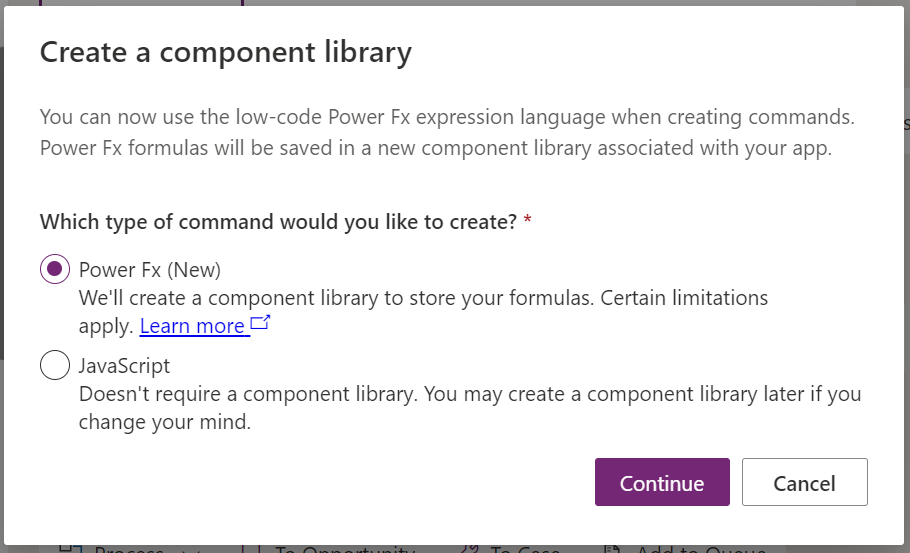
We now have the option to use Power Fx or JavaScript. Let’s go with Power Fx. Note the Learn more link takes you here:
Our new command is placed on the page:
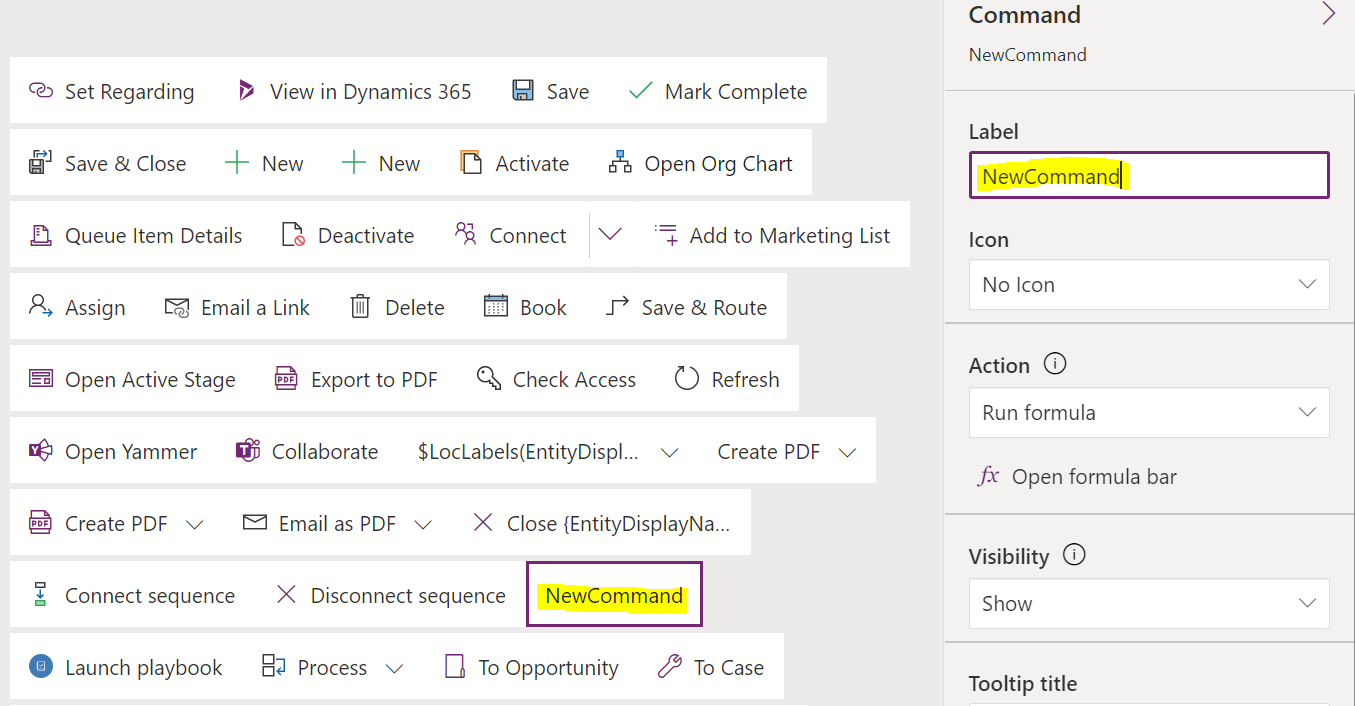
Let’s change the label to Run Power Fx (you would name yours something more useful) and we will open the formula bar:
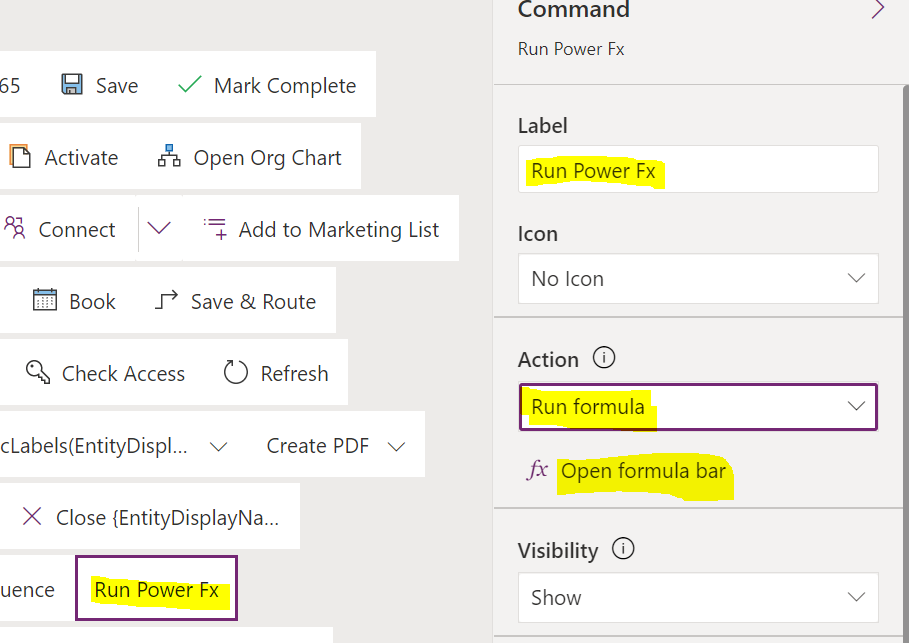
This places us in the formula bar:
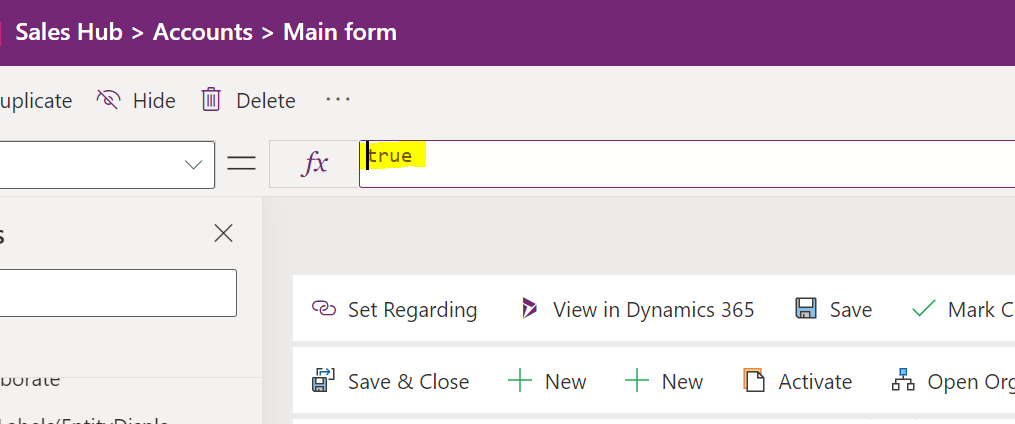
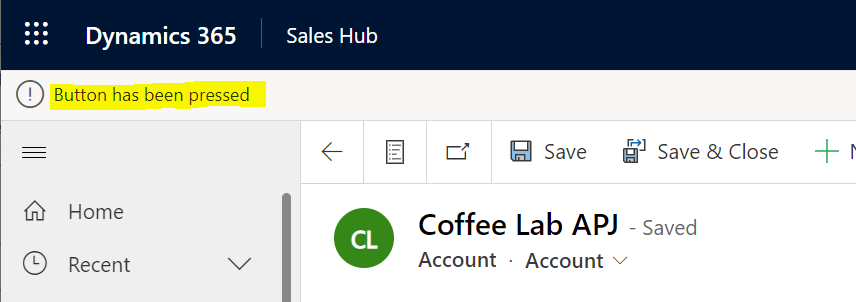
Let’s run the Power Fx command Notify, which displays a message in the notification bar at the top of the form:

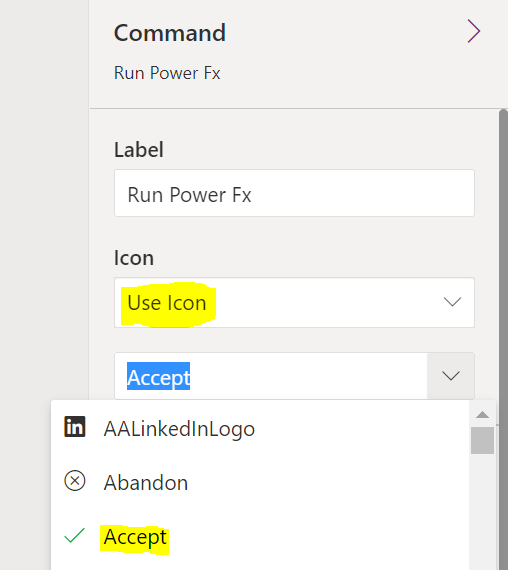
Now let’s Save and Publish, then Play. You may need to refresh after pressing Play:
![]()
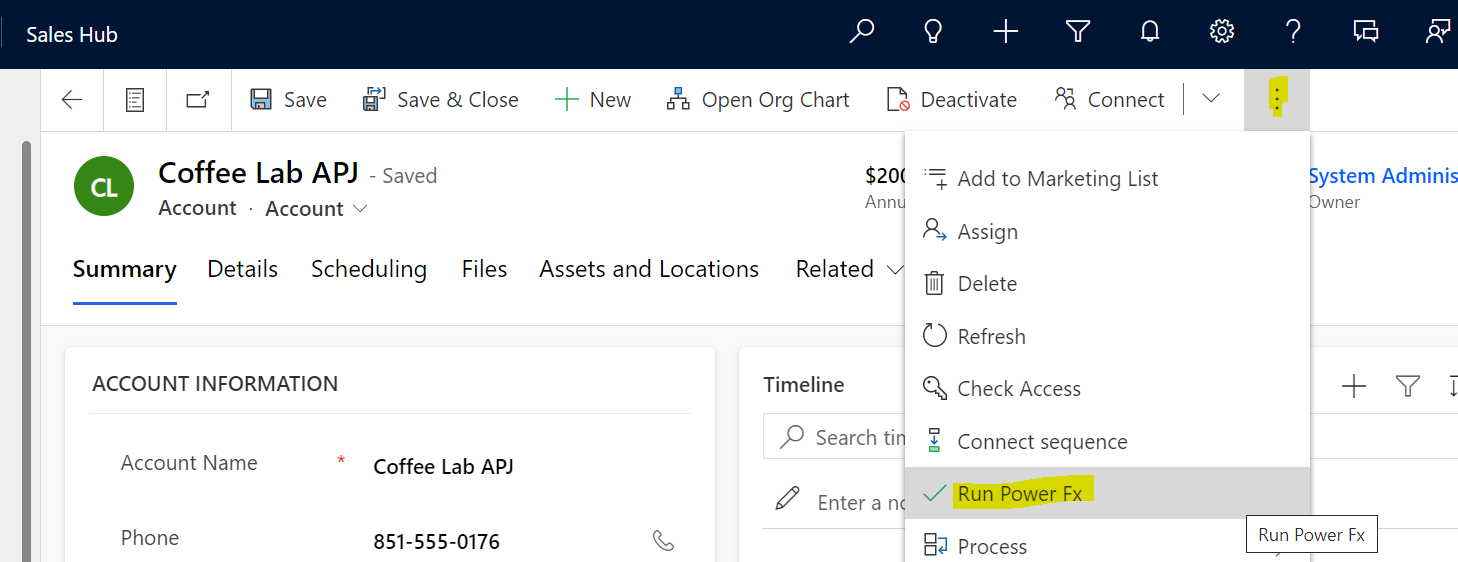
We get the notification:
I AM SPENDING MORE TIME THESE DAYS CREATING YOUTUBE VIDEOS TO HELP PEOPLE LEARN THE MICROSOFT POWER PLATFORM.
IF YOU WOULD LIKE TO SEE HOW I BUILD APPS, OR FIND SOMETHING USEFUL READING MY BLOG, I WOULD REALLY APPRECIATE YOU SUBSCRIBING TO MY YOUTUBE CHANNEL.
THANK YOU, AND LET’S KEEP LEARNING TOGETHER.
CARL


