Lists in Power Pages as a refreshed design with new capabilities. In this post, we will take a look at the new modern list in Power Pages. We will also look at the original list to compare it to the modern design.
First, let’s look at a custom entity we have created called Pets. Each Contact in the system can have multiple pets:
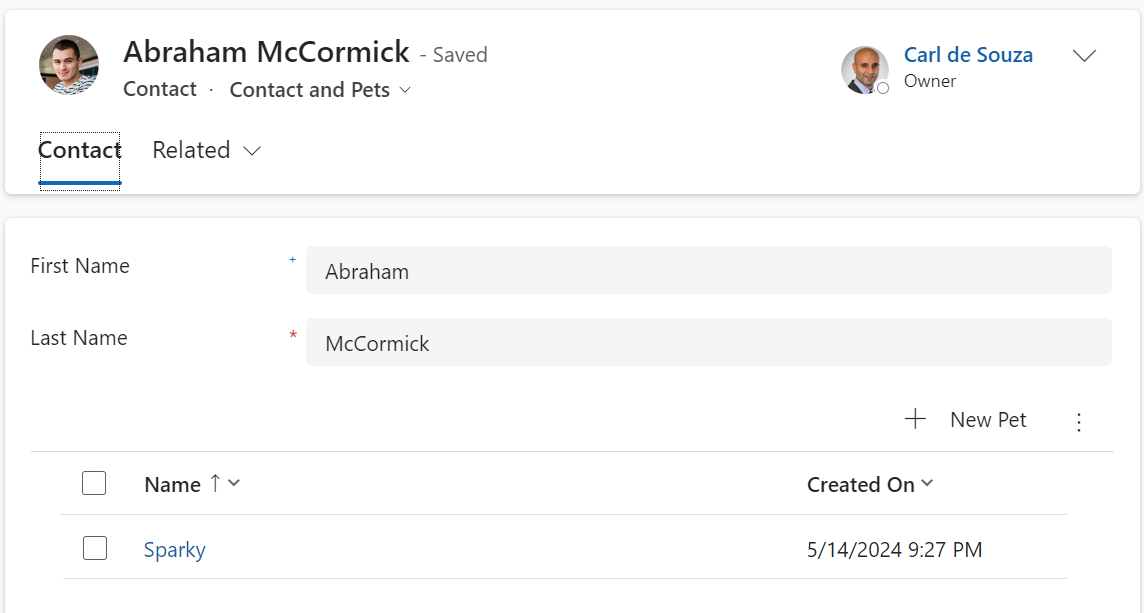
We will display a list of pets for each contact on our portal, so when a contact signs in they see their list of pets.
The high level steps we will do are as follow:
- We will use an existing custom table called Pets which has a many to 1 relationship to Contacts.
- We will create a new List in Power Pages
- We will create a model-driven app form that will be used when a list item is viewed/created/updated.
- We will create new Power Pages forms for use in our list:
- A Pets read-only form tied to the model-driven app form
- A Pets editable form tied to the model-driven app form
- A Pets insert form tied to the model-driven app form
- Assign these forms to the actions in the list
Adding a List
Let’s go to the Power Pages maker portal where I have a site created, and add a new list:

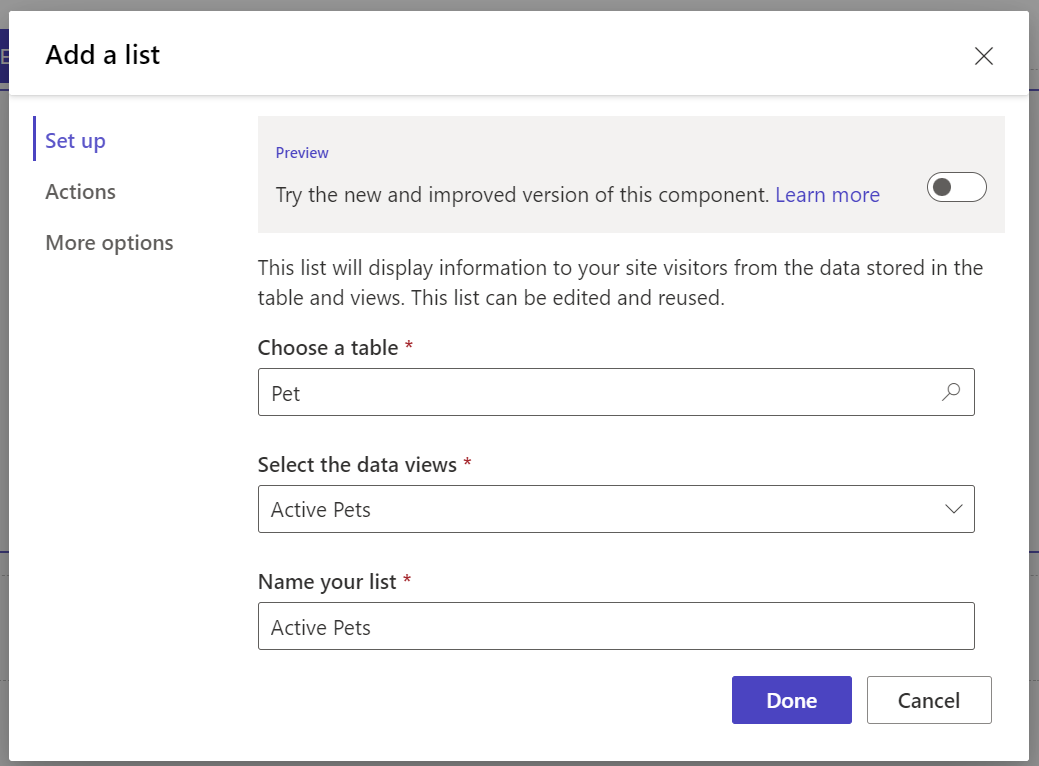
At the top, we have the ability to turn on the new list. We will keep this off for now. We will select our Pet table, and choose the Active Pet View. We will control which records are displayed next:
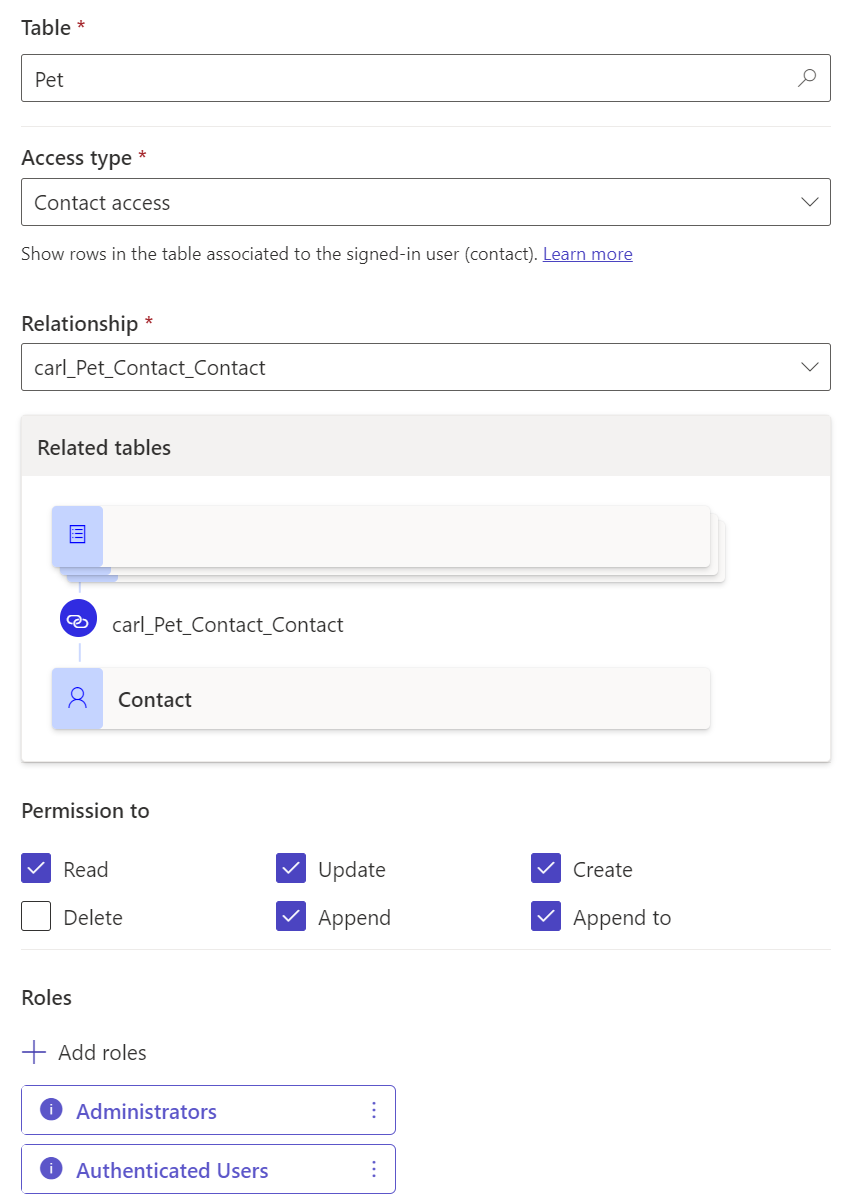
Now, let’s set the access level to be Contact access, so the logged in user only sees pets for their contact record:
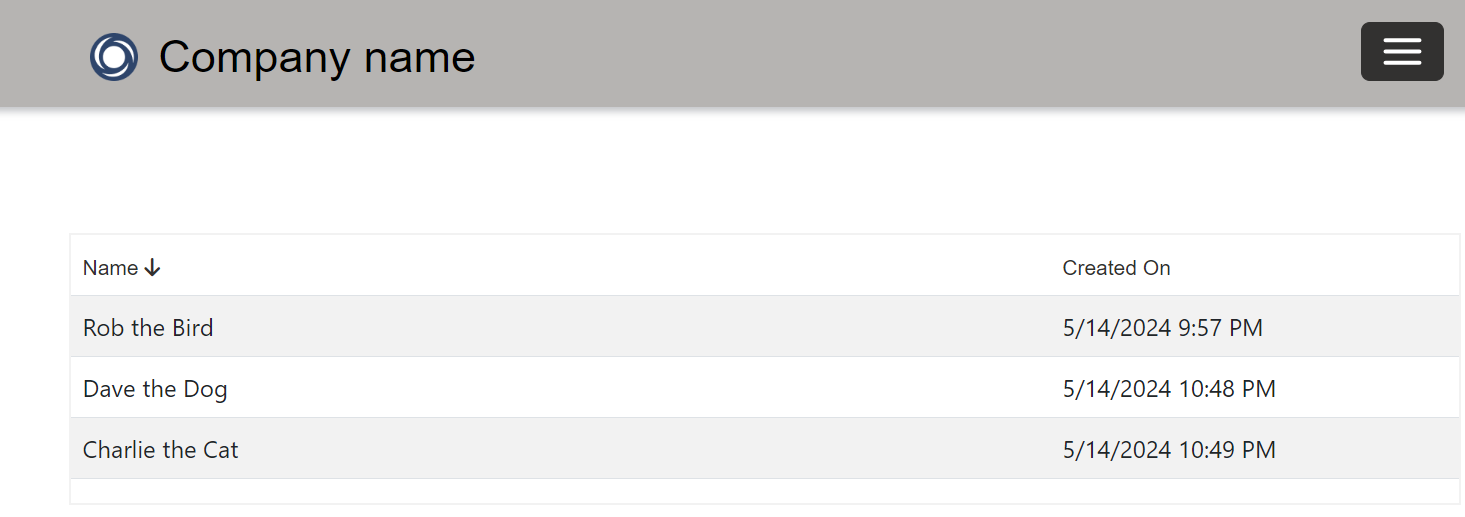
Now, if we go to our portal, we see our list displayed. The list shows all of my pets in a simple view. Note I can’t do anything with these pets right now, i.e. create new ones, delete, update, etc:
Creating Power Pages Forms
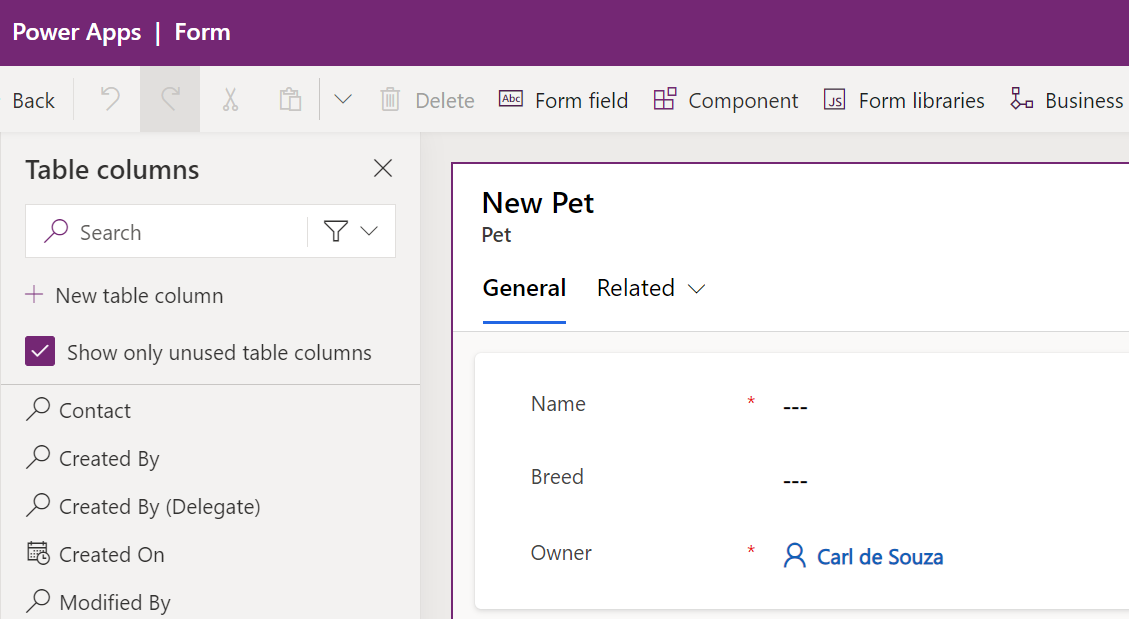
Now, let’s add a Create action. But first we will need a form created. I have a form created in my model-driven app to create a new pet:
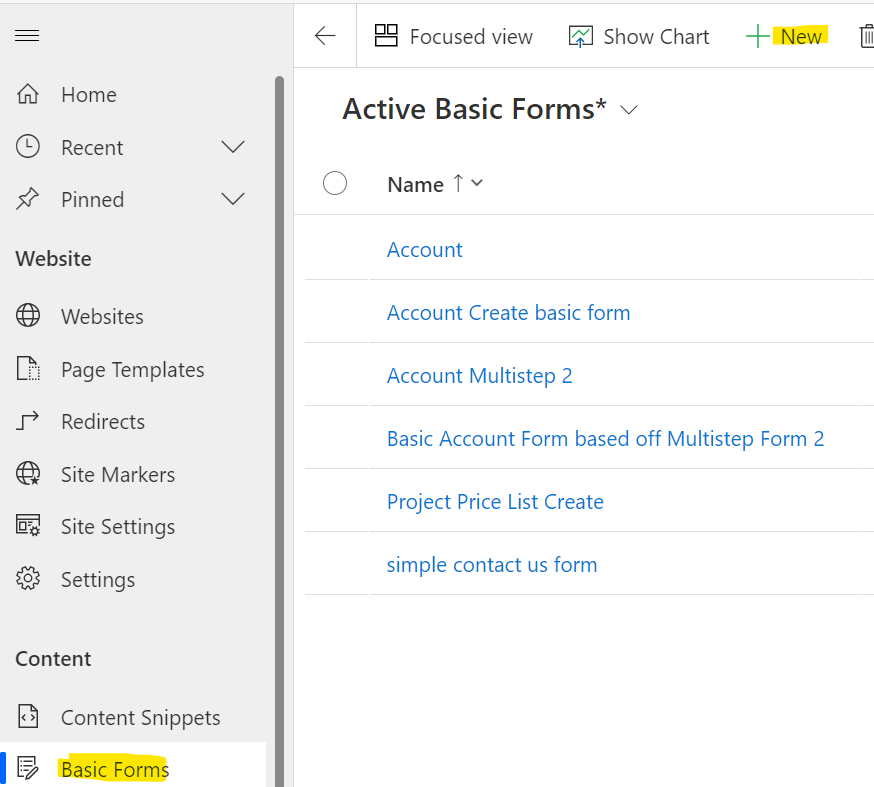
However, we will need to add a corresponding portal form to use this on the portal. Head over to Basic Forms and click New:
We can create a new record and select the Pet form above. The form mode is Insert (other options are read-only and edit):

Now in the Power Pages maker, edit the form and turn on Create a new record. We see the options to select the target type (of the options form, webpage and URL, we select form) and we can set the form to the portal form created above. If you don’t see this form, refresh the page:

On clicking done, and syncing, we see the option now to create a new record:
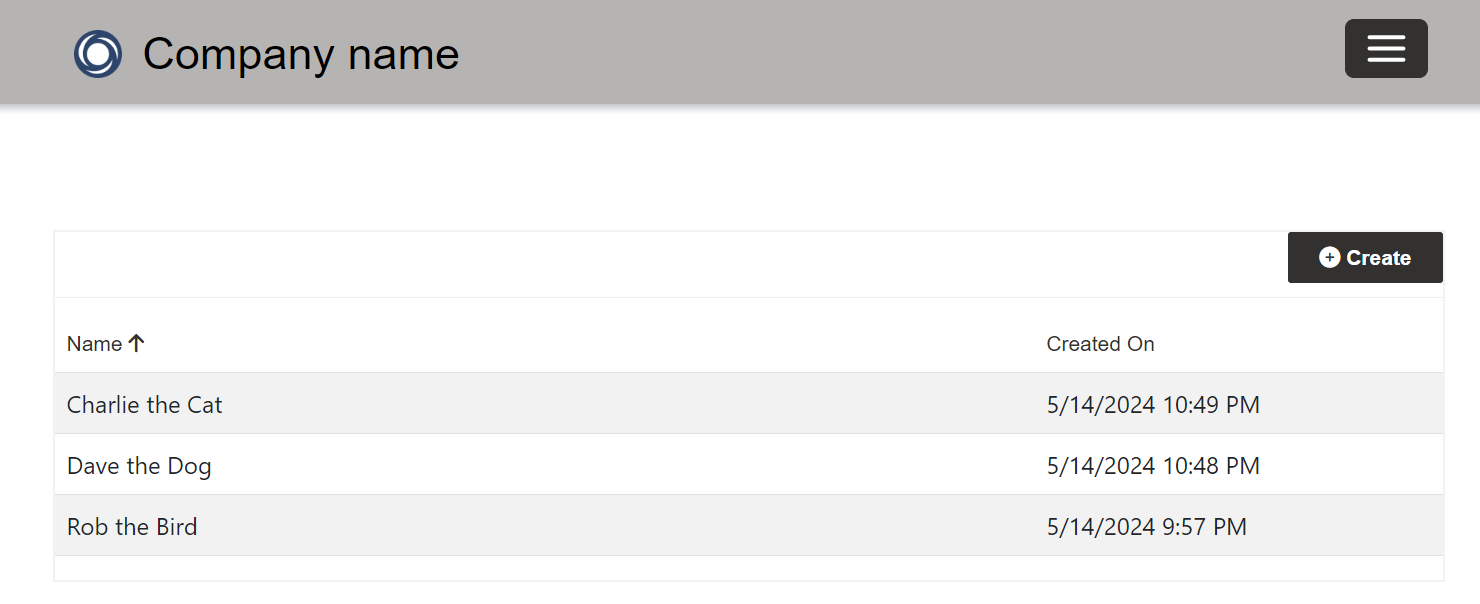
Clicking Create, a modal opens which displays our form. We can enter a new record:
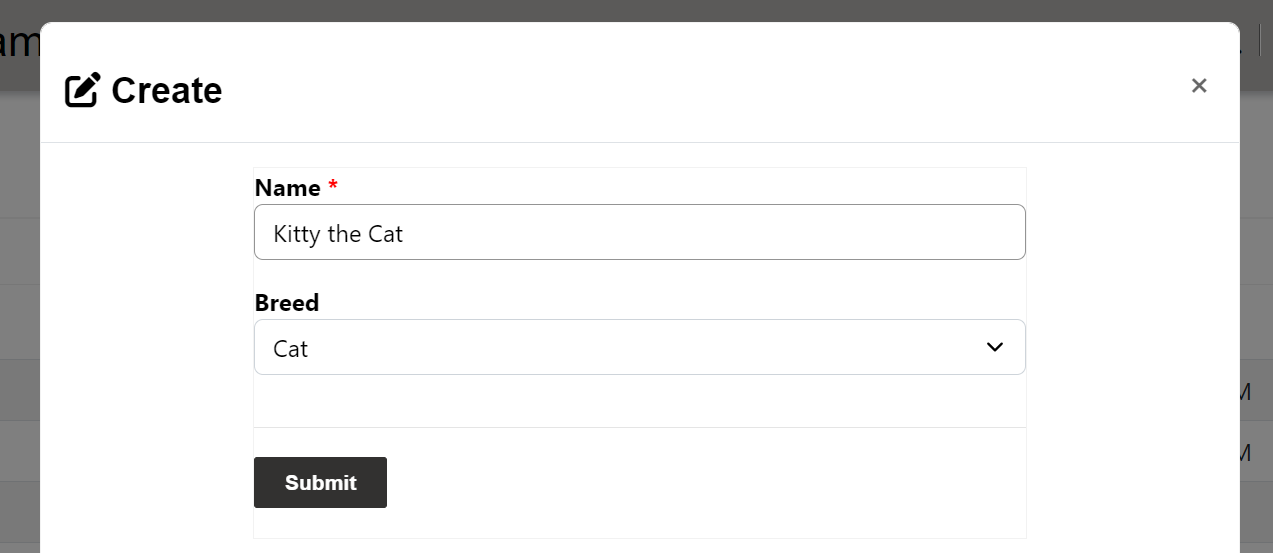
Saving a record in the create form does not relate it to the contact record, it simply creates a new record in the system. We will look at how to add a related record shortly.
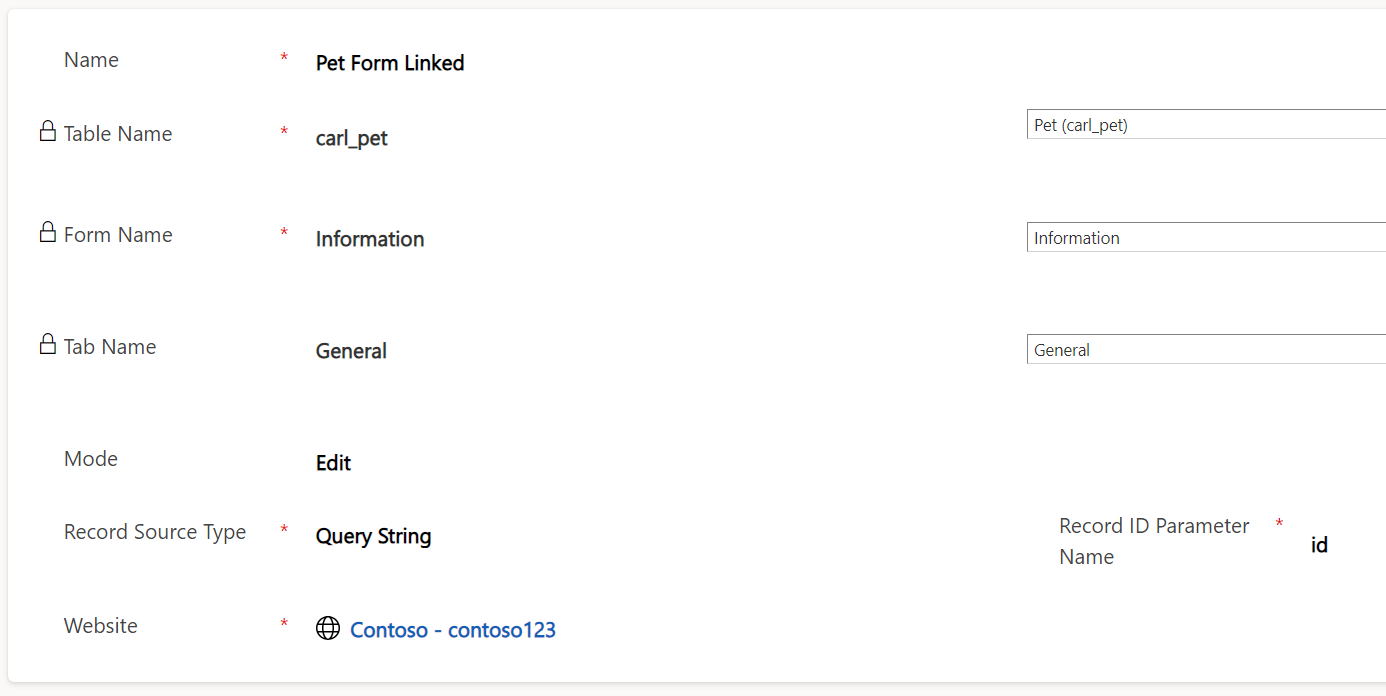
And turn on the option to view, edit, delete, and enable Search. For the view, edit, delete, we will create a new form just like the Pet Form, but we will be passing through the Query String the id so it knows which record to open (if we didn’t do this the form opened would be empty). The form looks like:
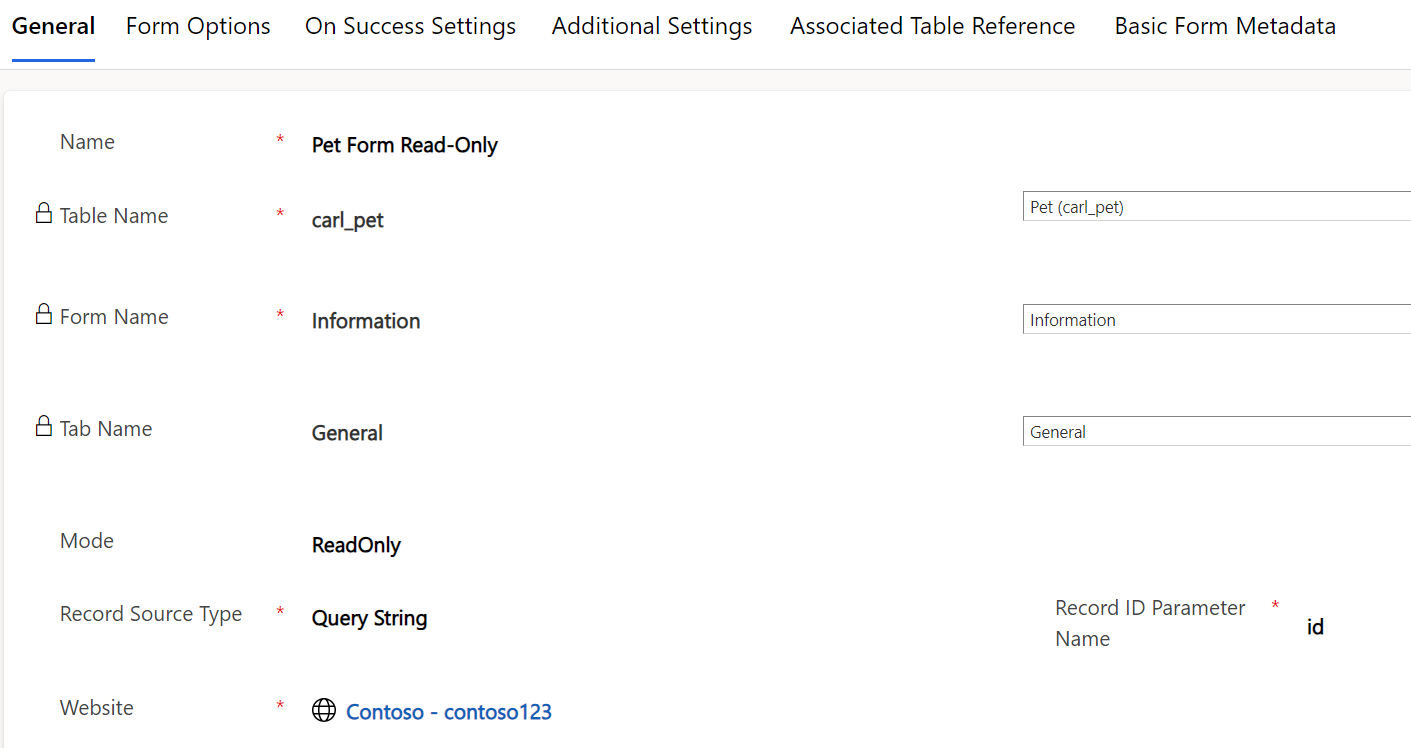
And for a read-only form:
Our view settings:
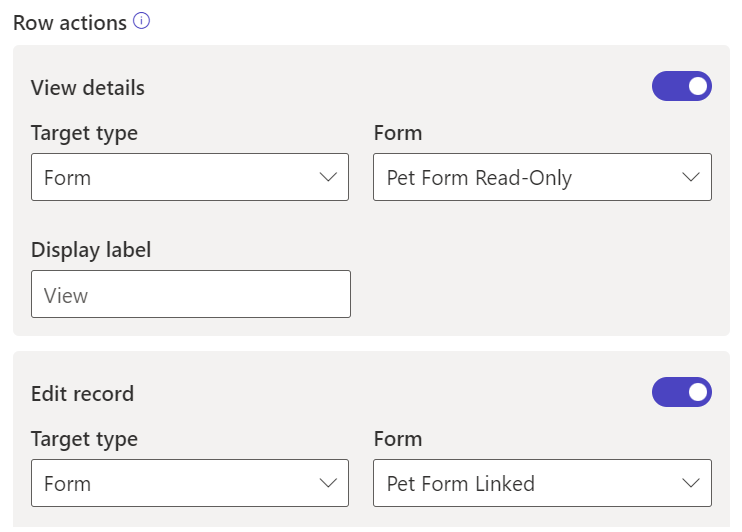


View gives us a hyperlink over the Name, as well as the carrot with View details option:

View:

Edit:

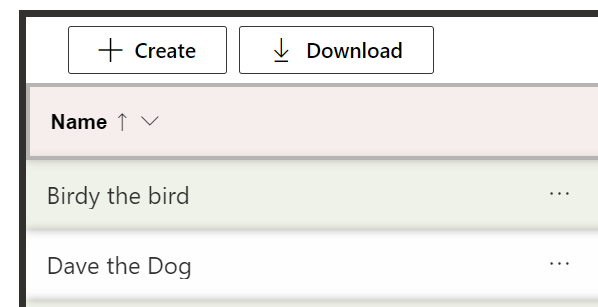
Download
Back on the form details, we can also enable a Download button:

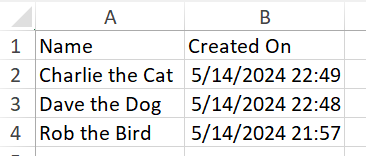
Clicking Download creates a spreadsheet (XLSX) of the view:
Search
The search option requires you to press the lookup for the search to be invoked:

Now let’s turn on the modern view:

Our view now looks like:
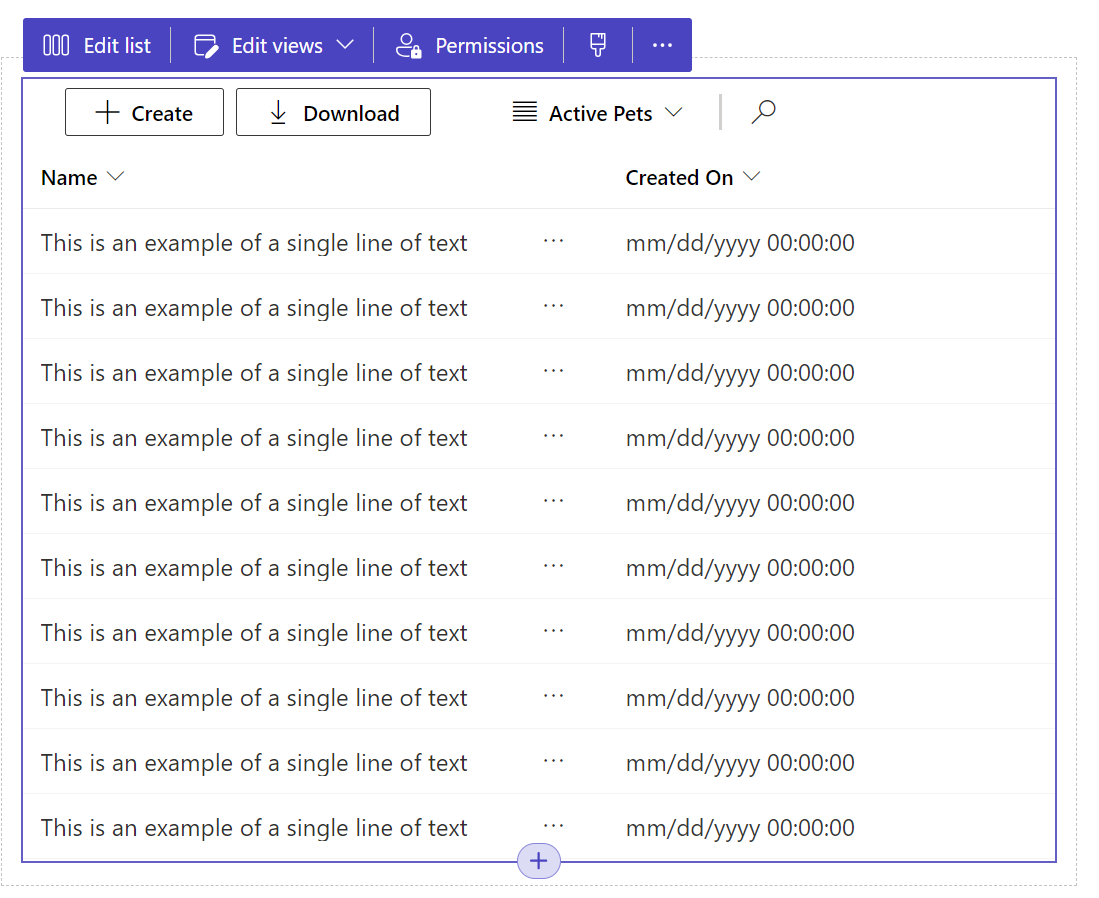
Without any further changes, we get a nice modern view:
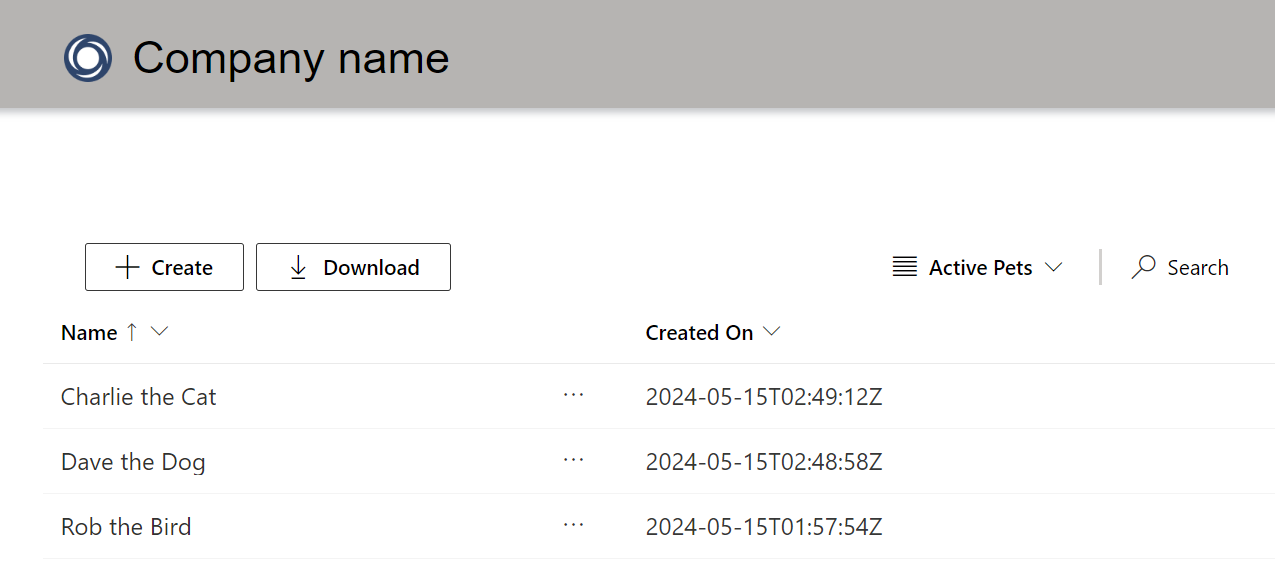
Some notes:
- The view shows a shimmer when loading:

- The details are now inside an ellipse:

- Search is as you type, without clicking the lookup button:

- Hovering over each row changes the background color to highlight the current row:

Design
Now, back in the maker, we get a Designer icon which isn’t in the older list:

And we get to control the border/height/margin/passing/shadow:
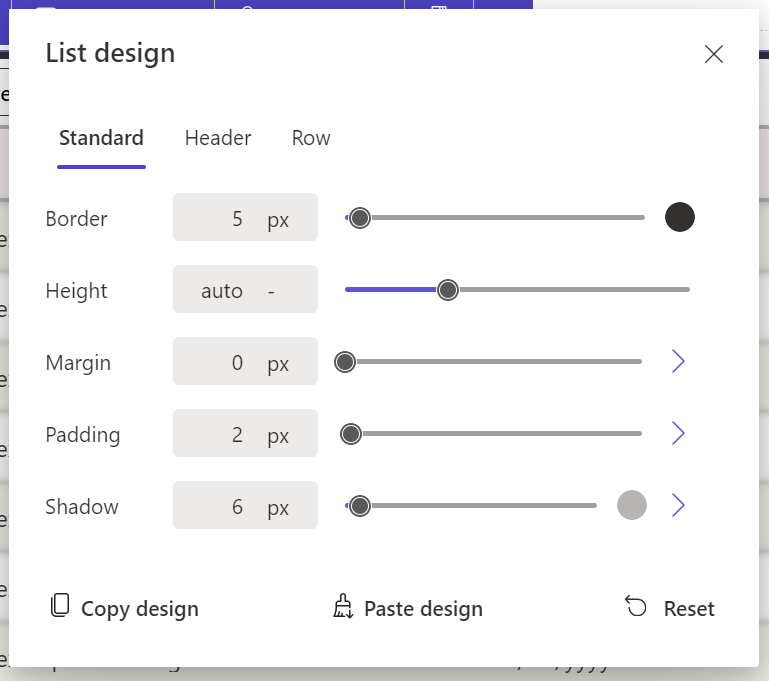
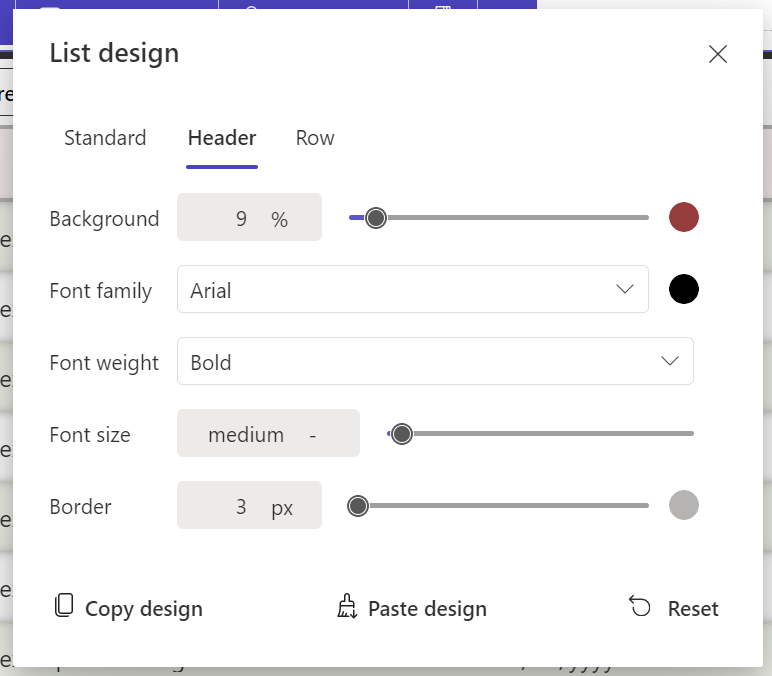
As well as the header:
And rows (we can have alternating row colors):
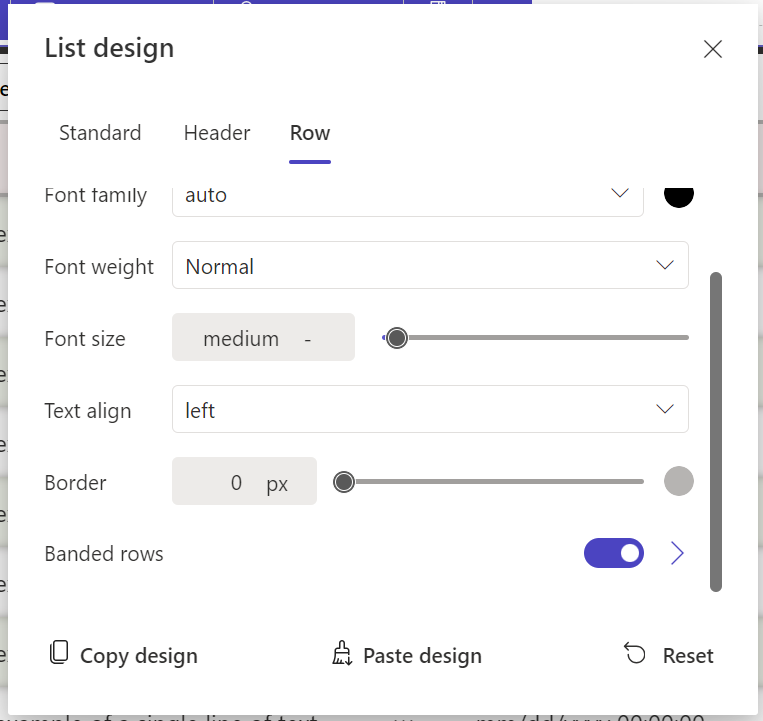
I’m sure you can make this look much nicer, but it’s good to have this ability to easily style lists on our sites:

Delete
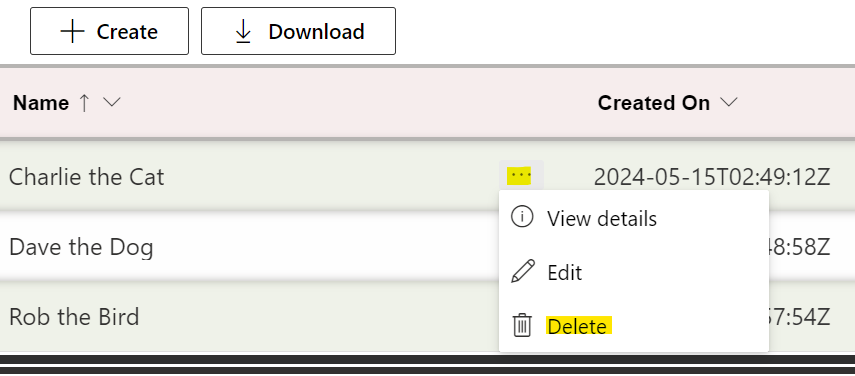
Note we didn’t see the delete button on our form, and this is because we didn’t assign delete permissions to our users. So even with the Delete enabled on the form, the button won’t appear due to permissions. Let’s enable the delete permission, and we now see the delete button:
Now let’s look at a couple of tweaks we can make, creating related record data and opening forms in a webpage instead of a modal.
Creating Related Records
As mentioned when creating a new record currently we are creating a record that is not related to our contact. Let’s go over to the Power Pages Management app and open our Active Pets list, then check Associate Current Portal User and set the lookup to our Contact:

Now when we create a new record:
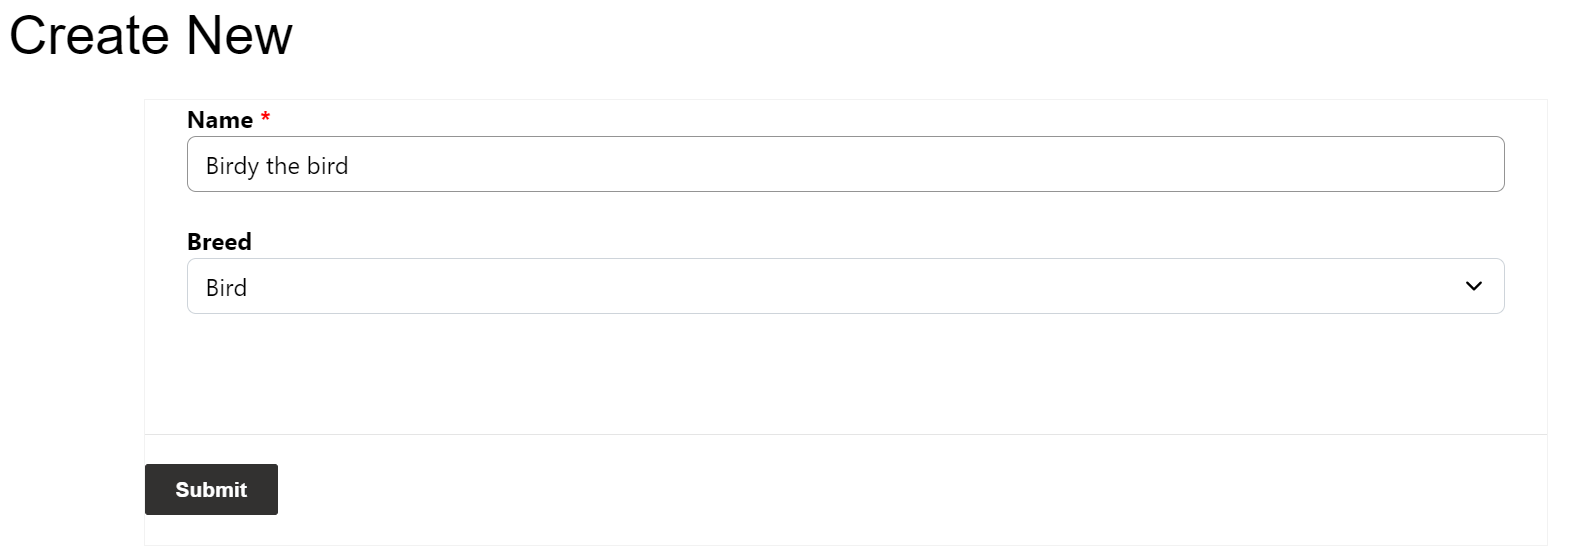
The record is displayed automatically in our list and associated to this user:
Opening Forms in a New Page
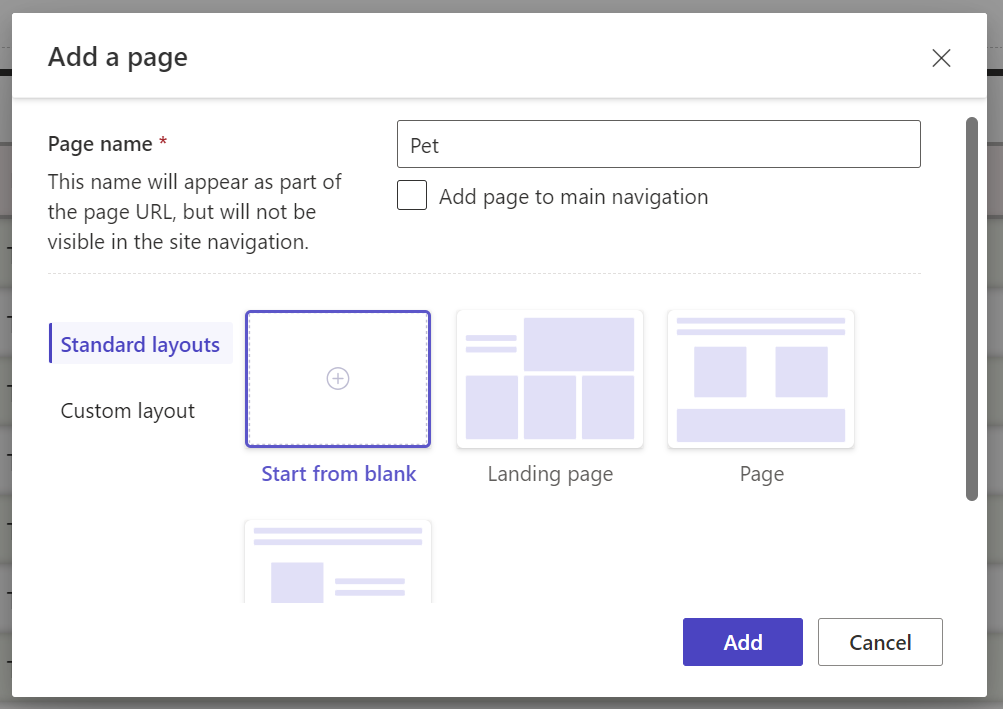
And finally, what if we want to open a record in a webpage instead of a modal? Let’s create a new page:
Add a new form:

We will select the read-only form we already created:

And set the list to open a webpage type with the new Pet page selected:

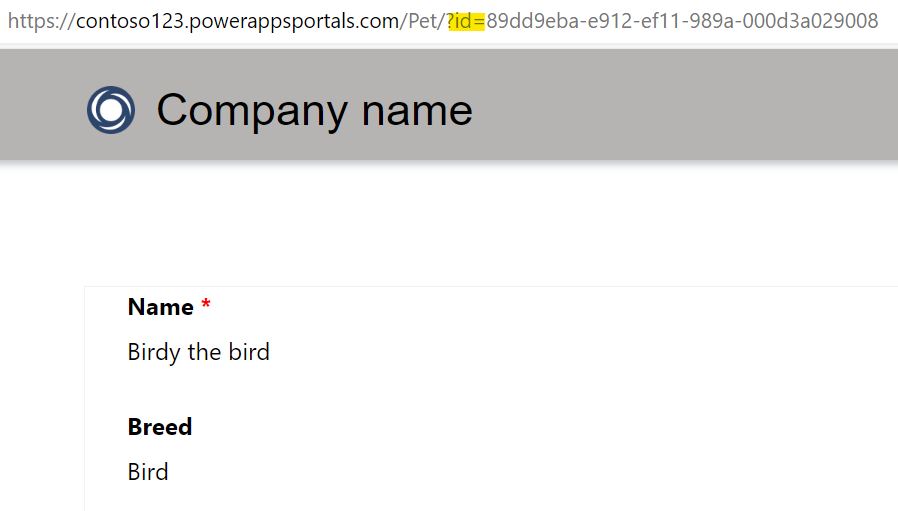
Now when we view details:

We see the Id passed in and the record displayed:
I AM SPENDING MORE TIME THESE DAYS CREATING YOUTUBE VIDEOS TO HELP PEOPLE LEARN THE MICROSOFT POWER PLATFORM.
IF YOU WOULD LIKE TO SEE HOW I BUILD APPS, OR FIND SOMETHING USEFUL READING MY BLOG, I WOULD REALLY APPRECIATE YOU SUBSCRIBING TO MY YOUTUBE CHANNEL.
THANK YOU, AND LET’S KEEP LEARNING TOGETHER.
CARL


