In this post, we will look at Unified Routing in Customer Service in Dynamics 365. Unified Routing is enterprise-grade routing that routes incoming work to the best agent. It classifies work, then assigns work based on parameters we provide and it can also utilize machine learning. Let’s take a look at it. We will go through the example of routing cases for sales and support to the best agent based on skill level.
Check out the video on my YouTube channel.
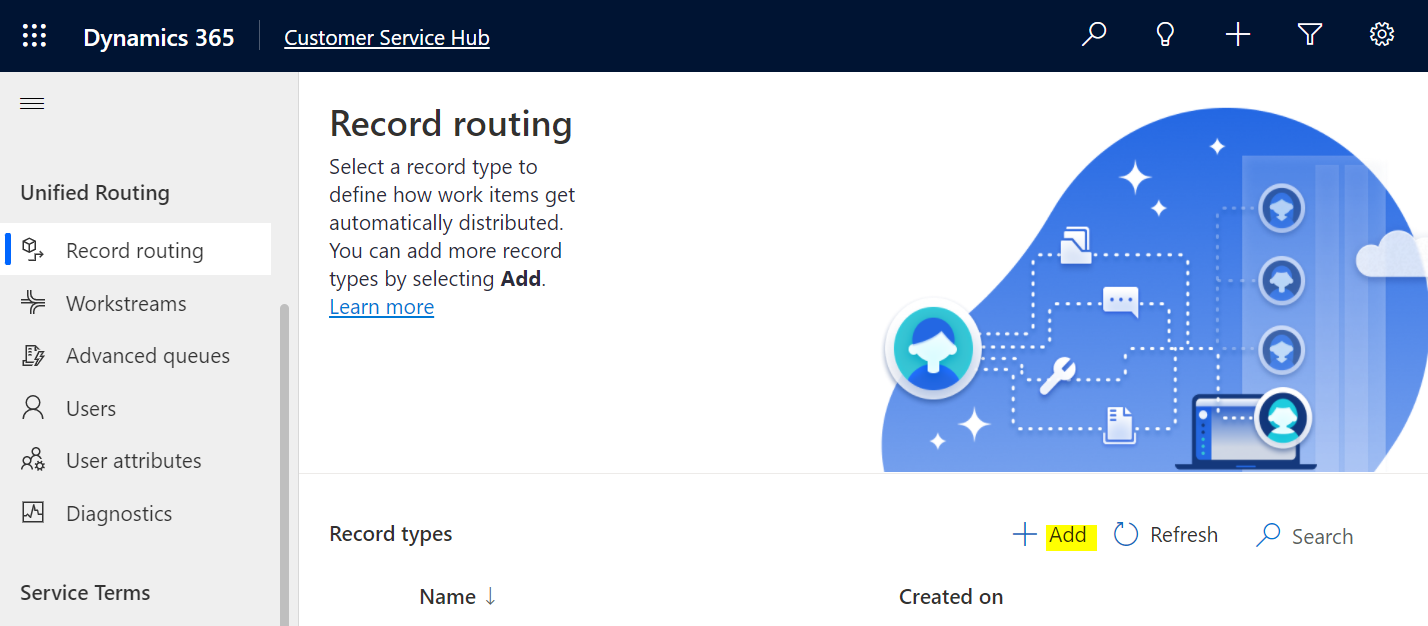
To use Unified Routing, go to the Customer Service Hub app. Note, a similar method to deal with Unified Routing will be available in the upcoming Customer Service admin center app, which is currently in Preview:

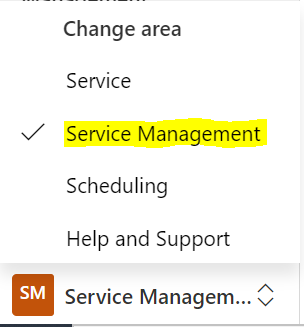
In the bottom left, select Service Management:
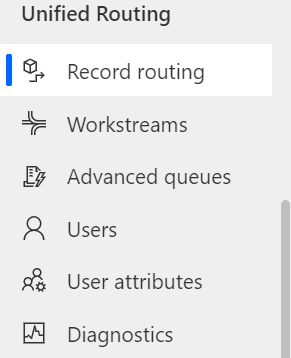
You will then see Unified Routing:
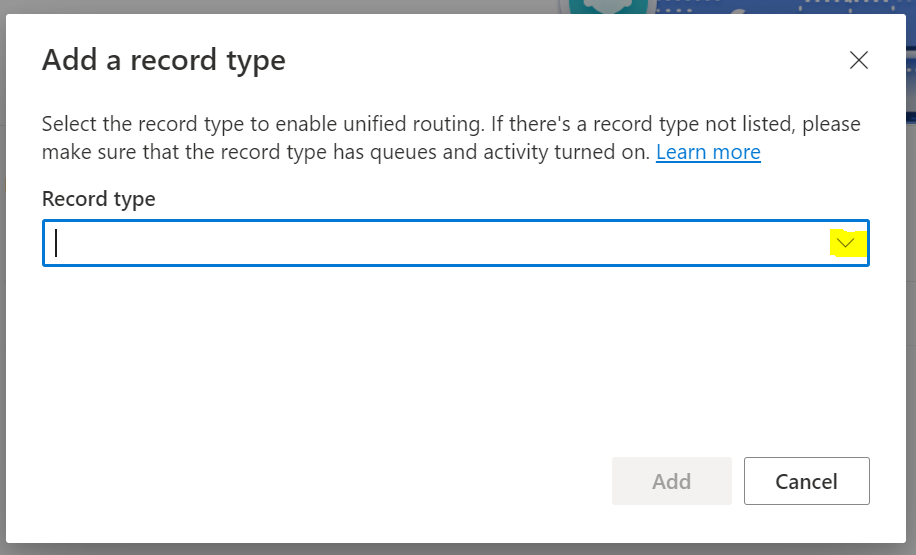
Select Add in Record Routing:
And click the drop-down menu:
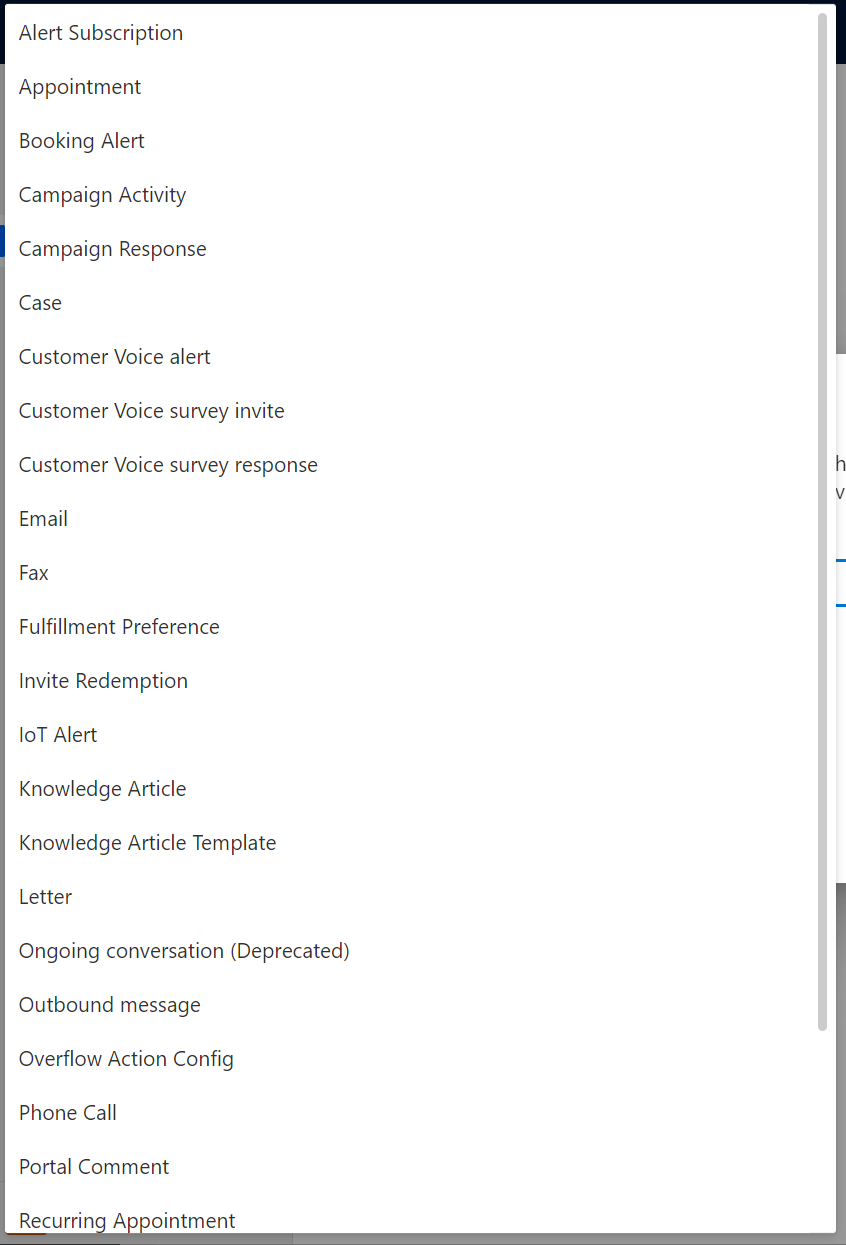
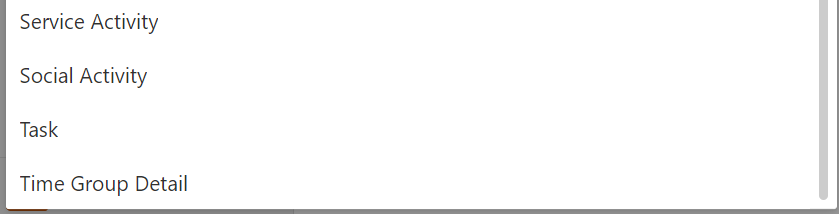
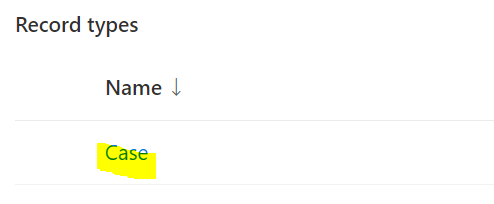
We see the following options:
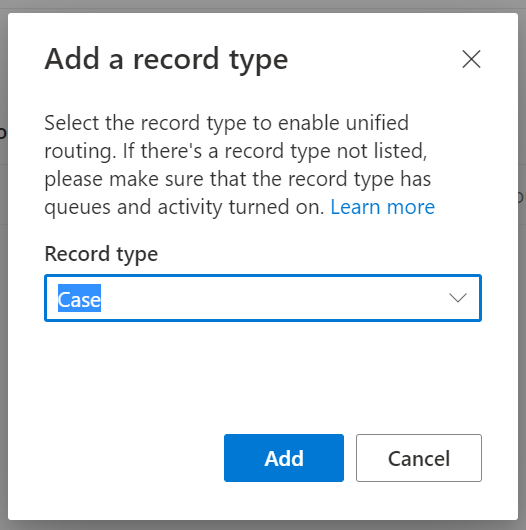
We will select Case:
The record type for Case is created. Click on it:
We now see below:
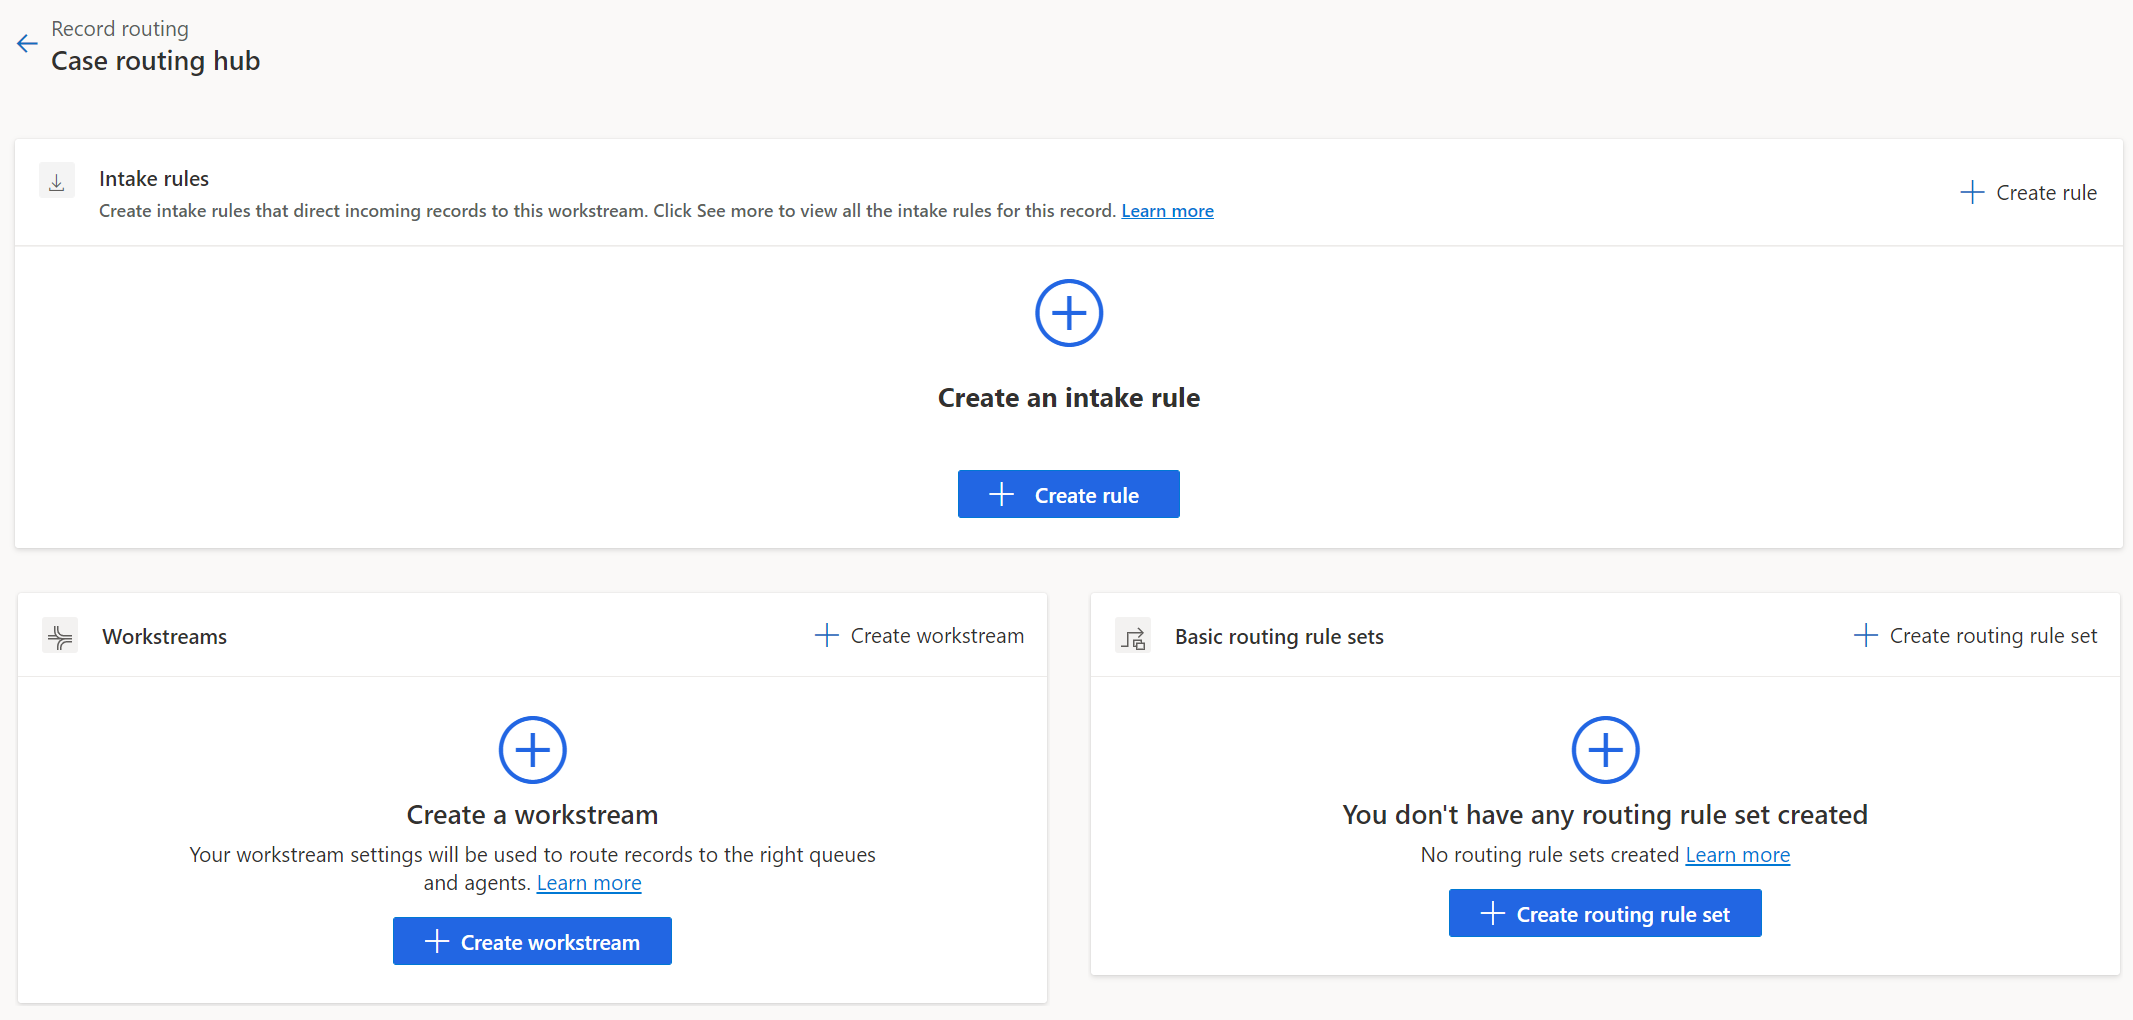
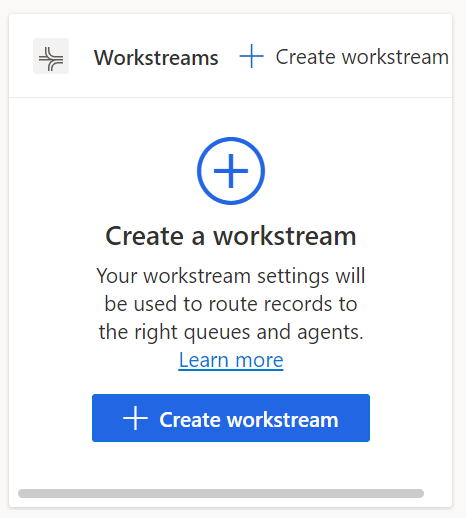
First, let’s create a workstream, which is used to “route records to the right queues and agents”. Click on Create Workstream:
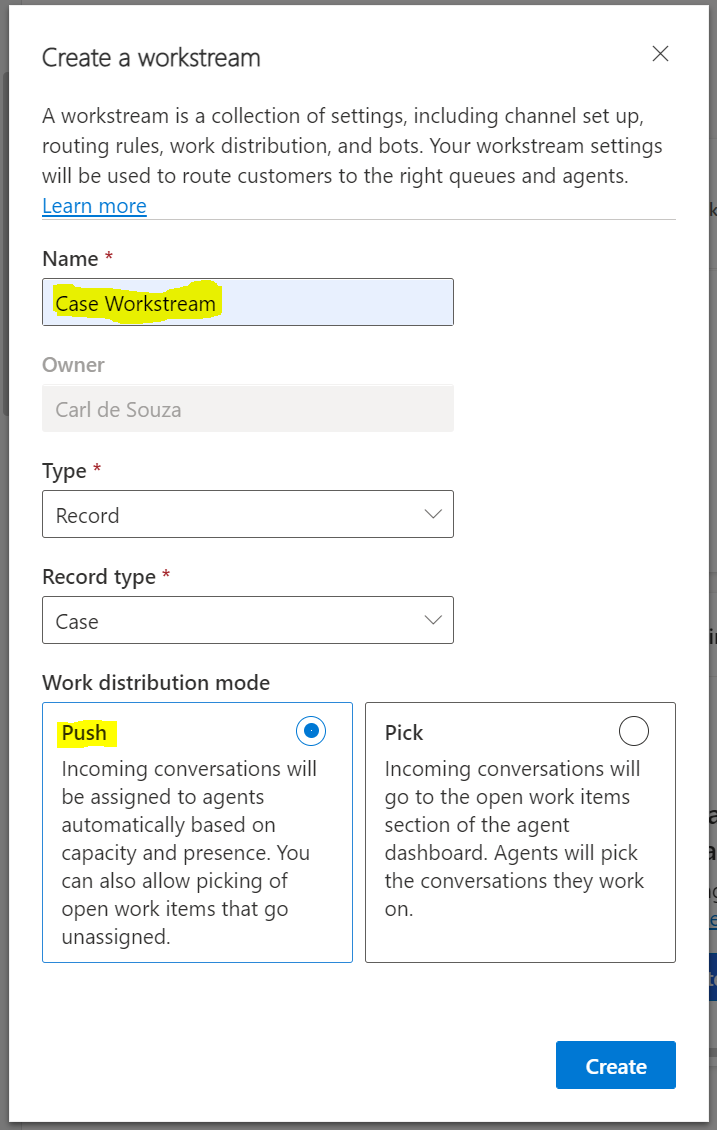
Enter a name. We will call it Case Workstream. Note the ability to choose from Push or Pull. We will choose Push, which will assign the case to agents based on capacity and presence. The click Create:
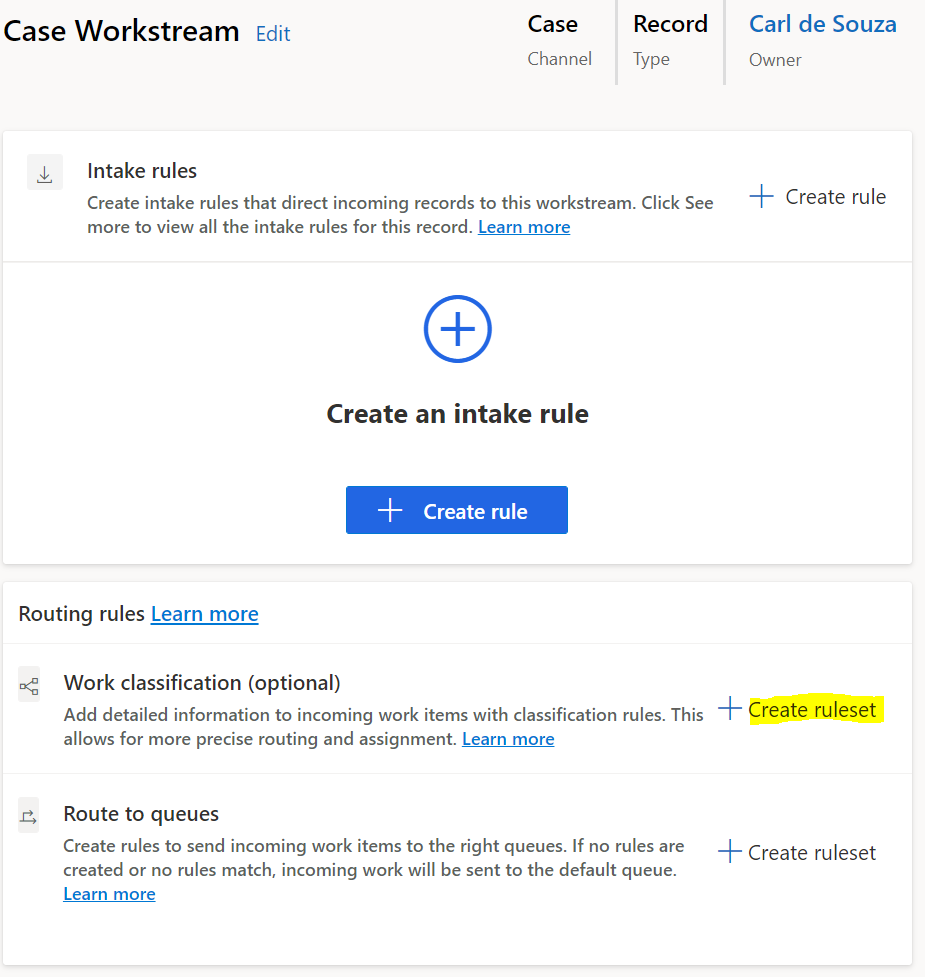
Now let’s create a Work classification ruleset. Click Create ruleset:
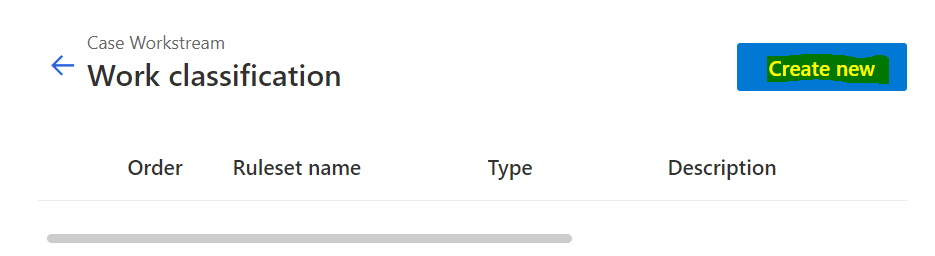
And Create New:
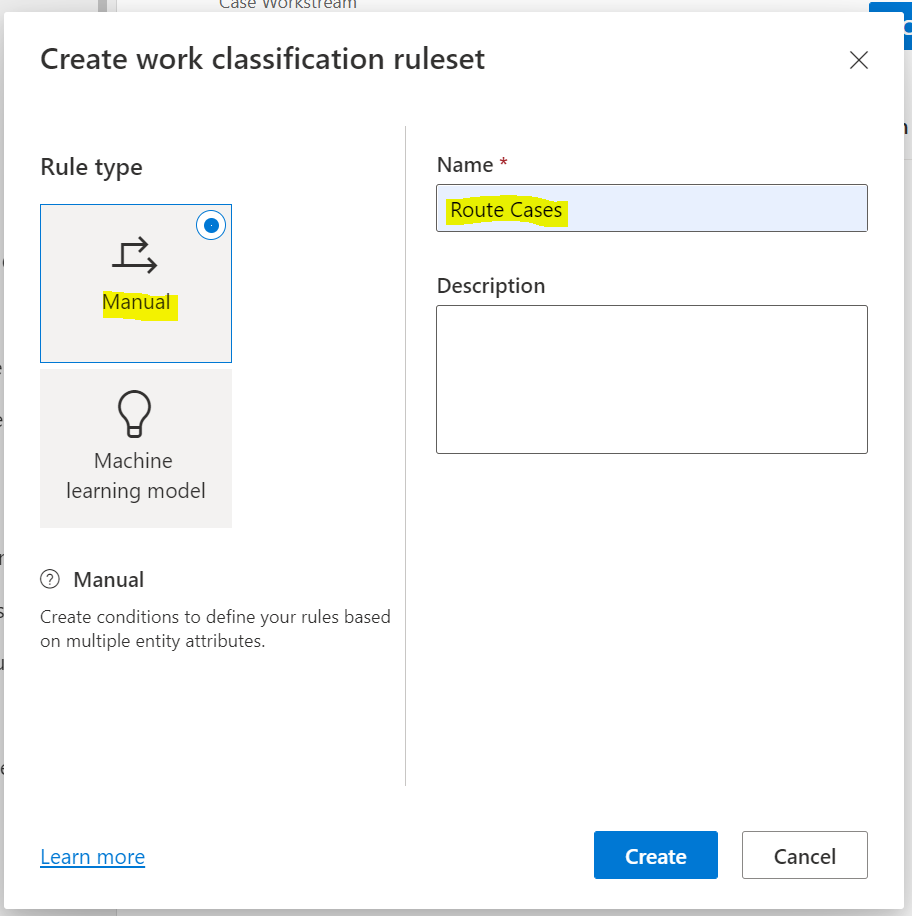
We will call it Route Cases, and select Manual Assign. We will look at using Machine learning model another time:
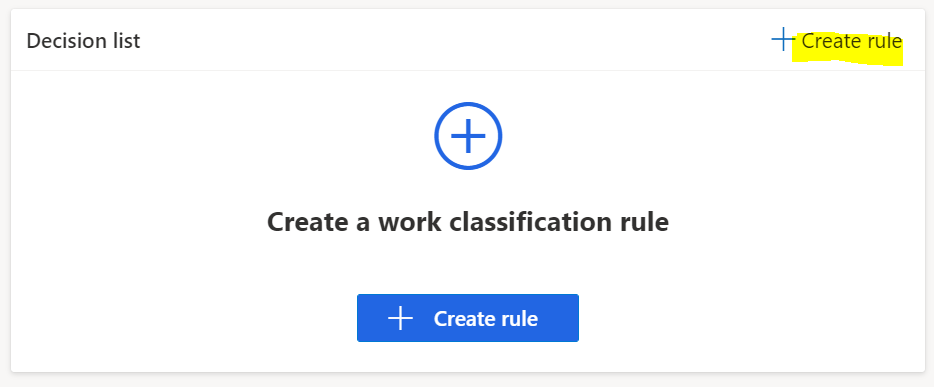
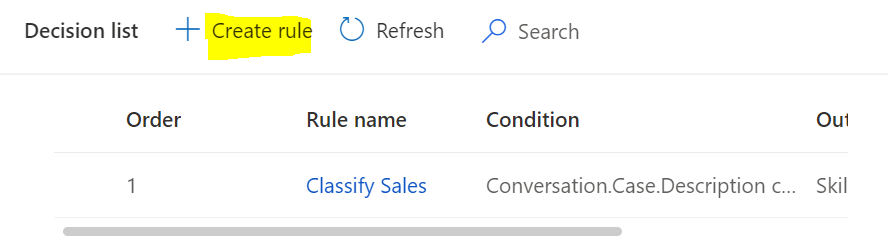
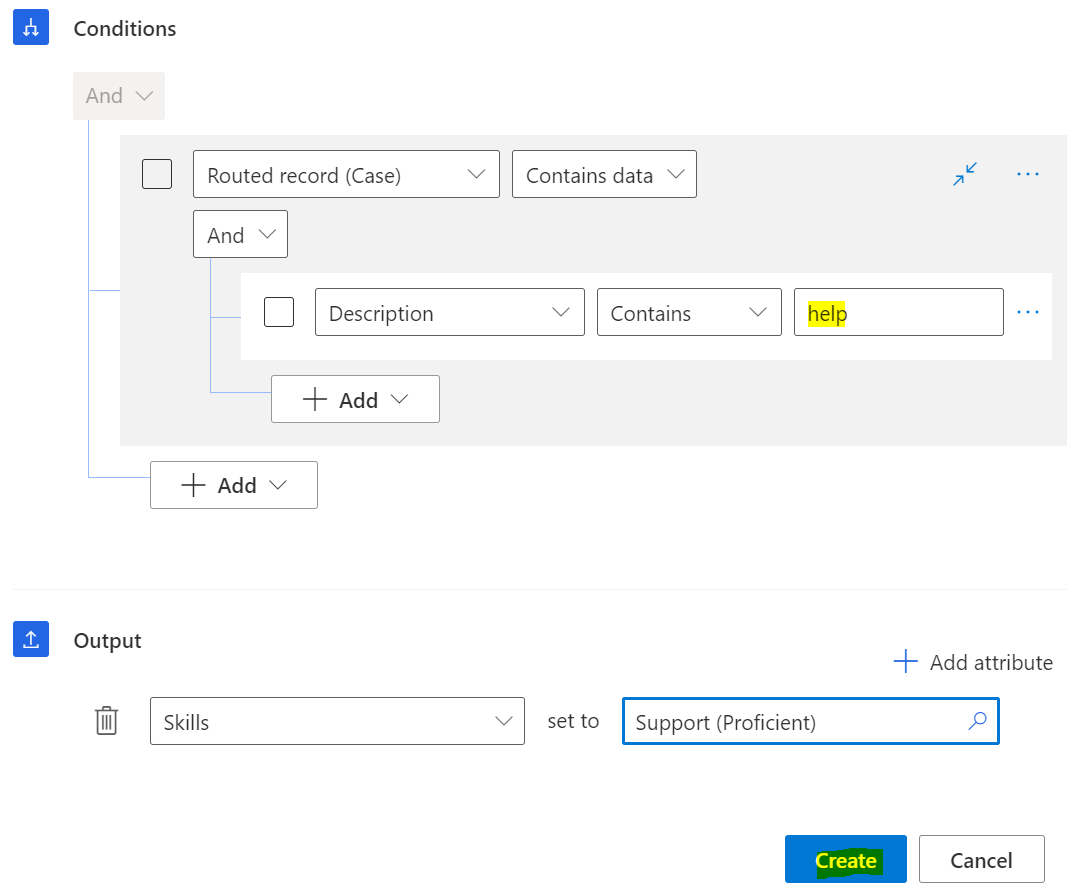
Now let’s create a rule:
We will call it
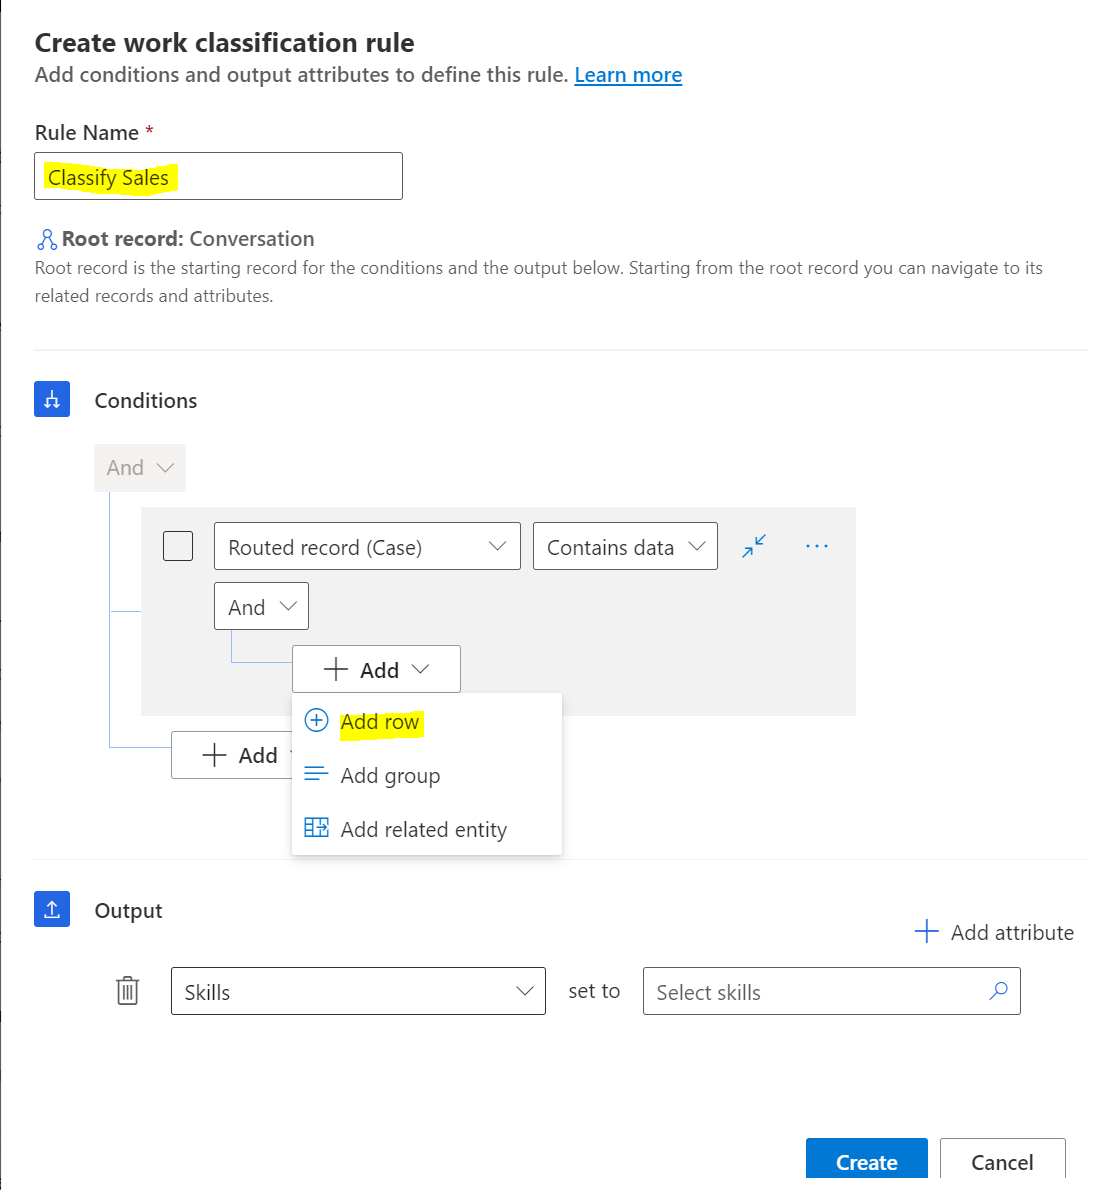
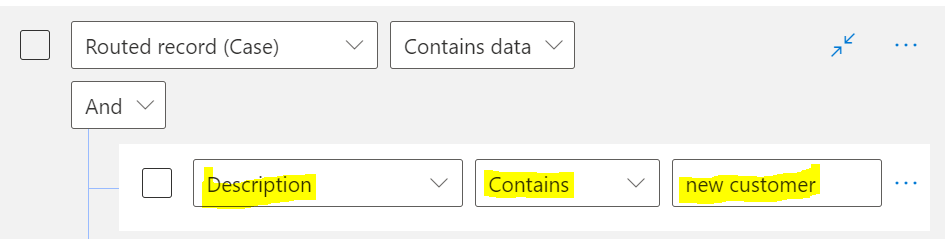
And set the Description to contain New Customer:
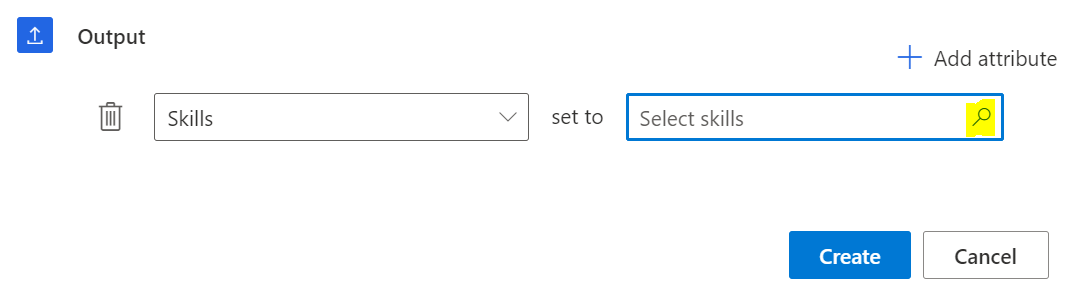
And for the Output, select Skills and click the lookup:
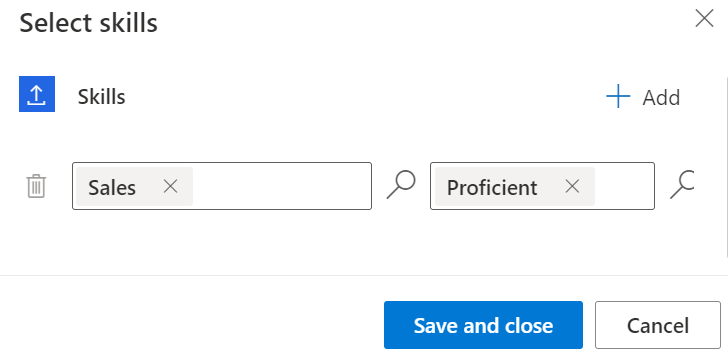
Now we select the Skill to Sales, and the proficiency level to Proficient. I did a video on skill-based routing you can check out, which shows how to set up skills and proficiency levels:
Now on the Work classification page, click Create:

And let’s create another rule to classify a Support case:
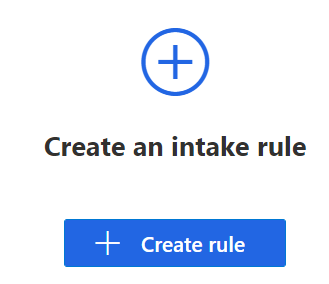
Now the final thing to do is create an Intake rule, so we know what to do to direct cases to this workstream.
Click to create an Intake rule:
We see below. Give the intake rule a name:
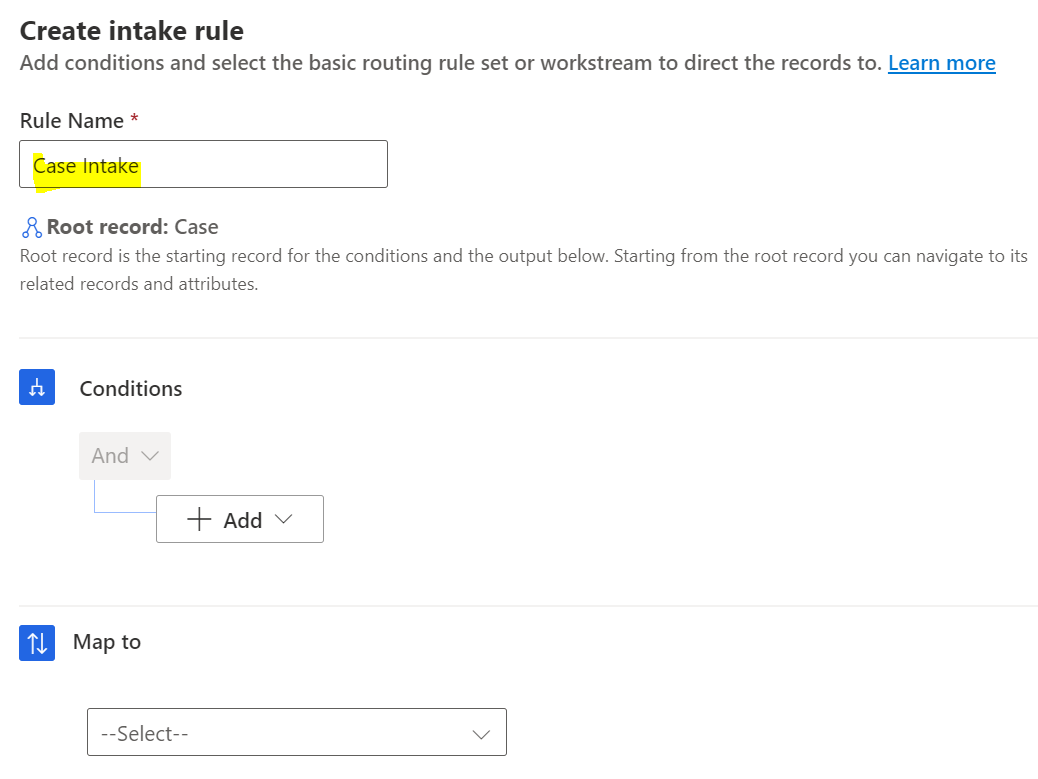
Instead of adding a condition row, we will map the case to our new workstream:
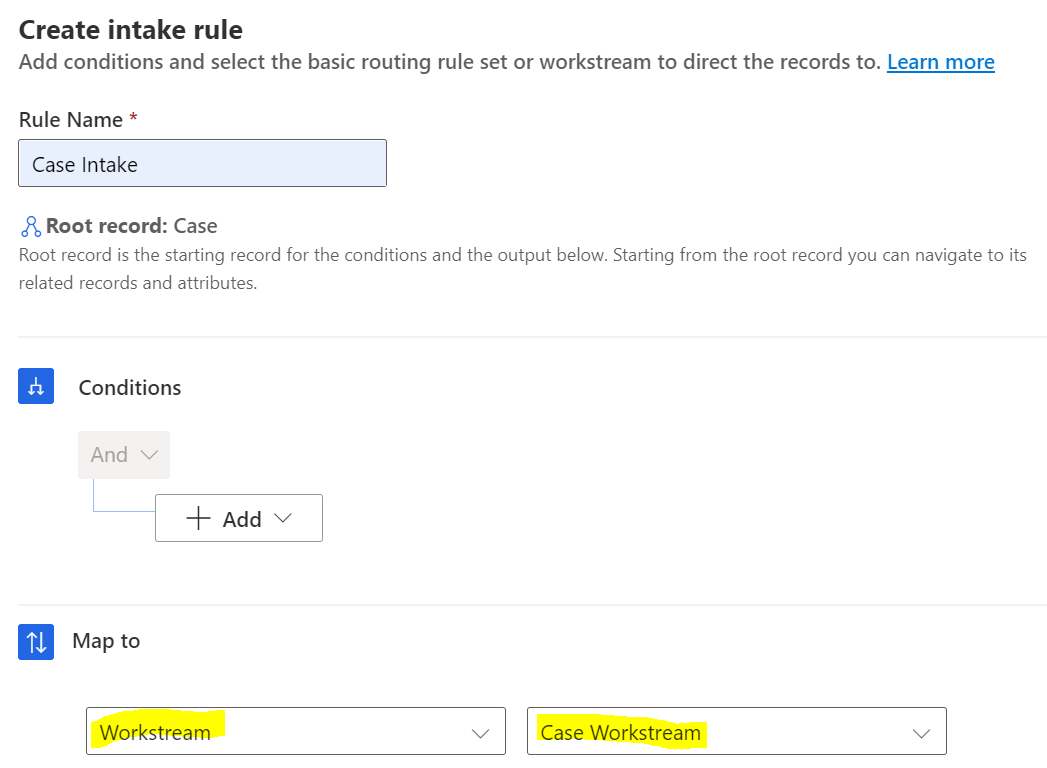
Click to create without a condition (you could add a condition if you wanted to). It should now look like this:

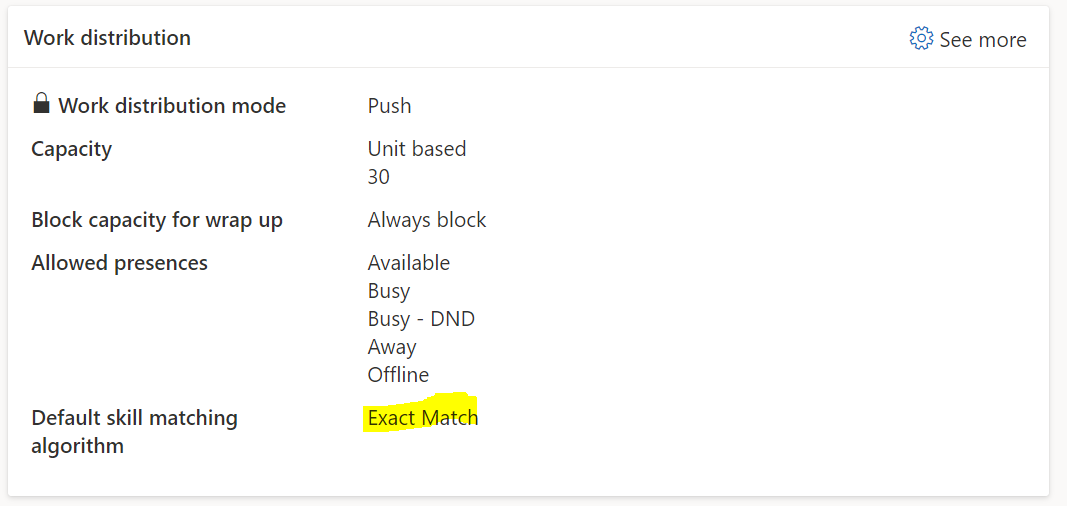
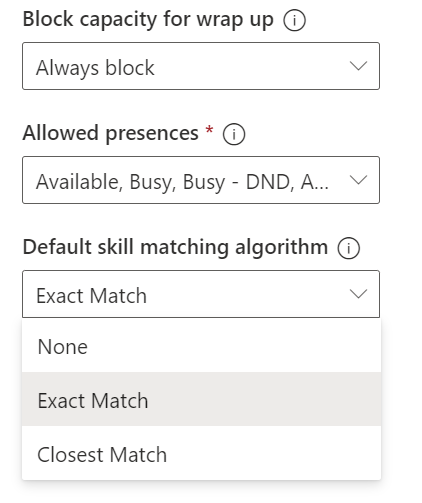
Finally, we will need to assign the default skill matching algorithm here:
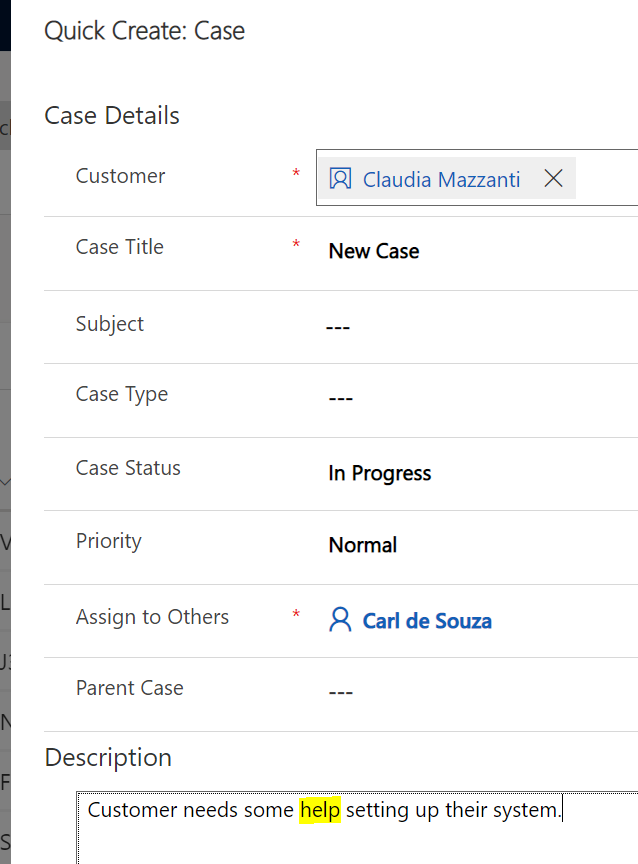
Let’s try it out. In the Customer Service Workspace app, create a new case:
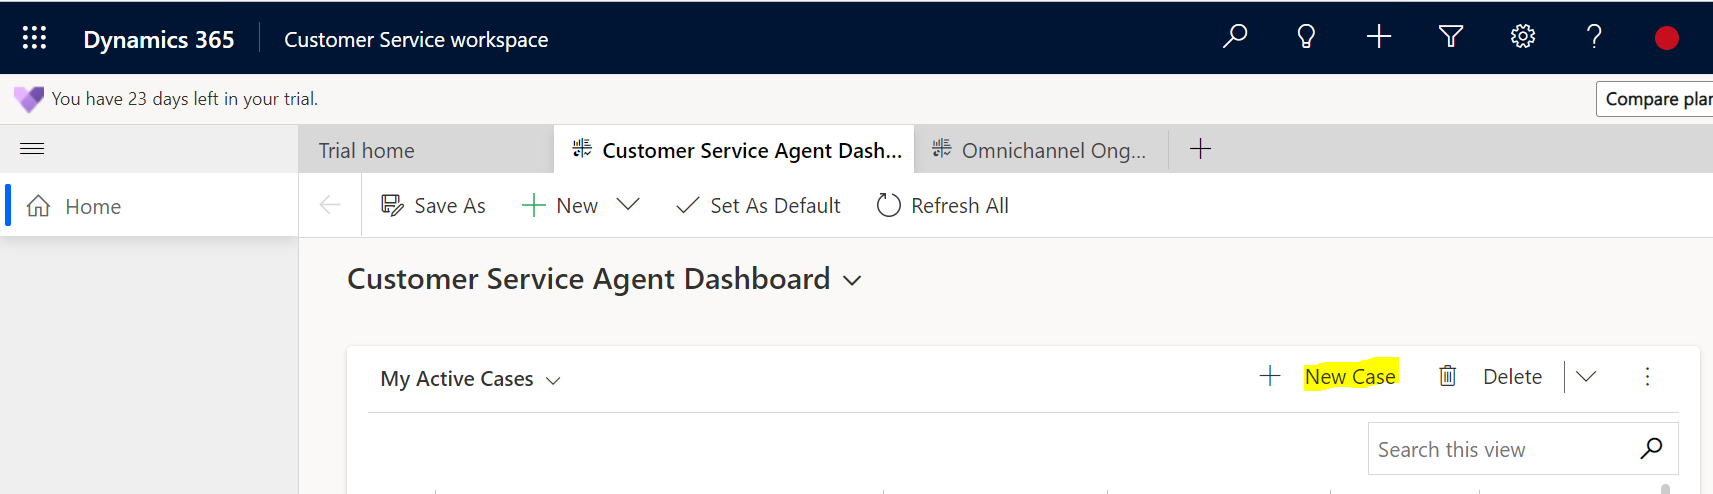
Note the keyword in the case description:
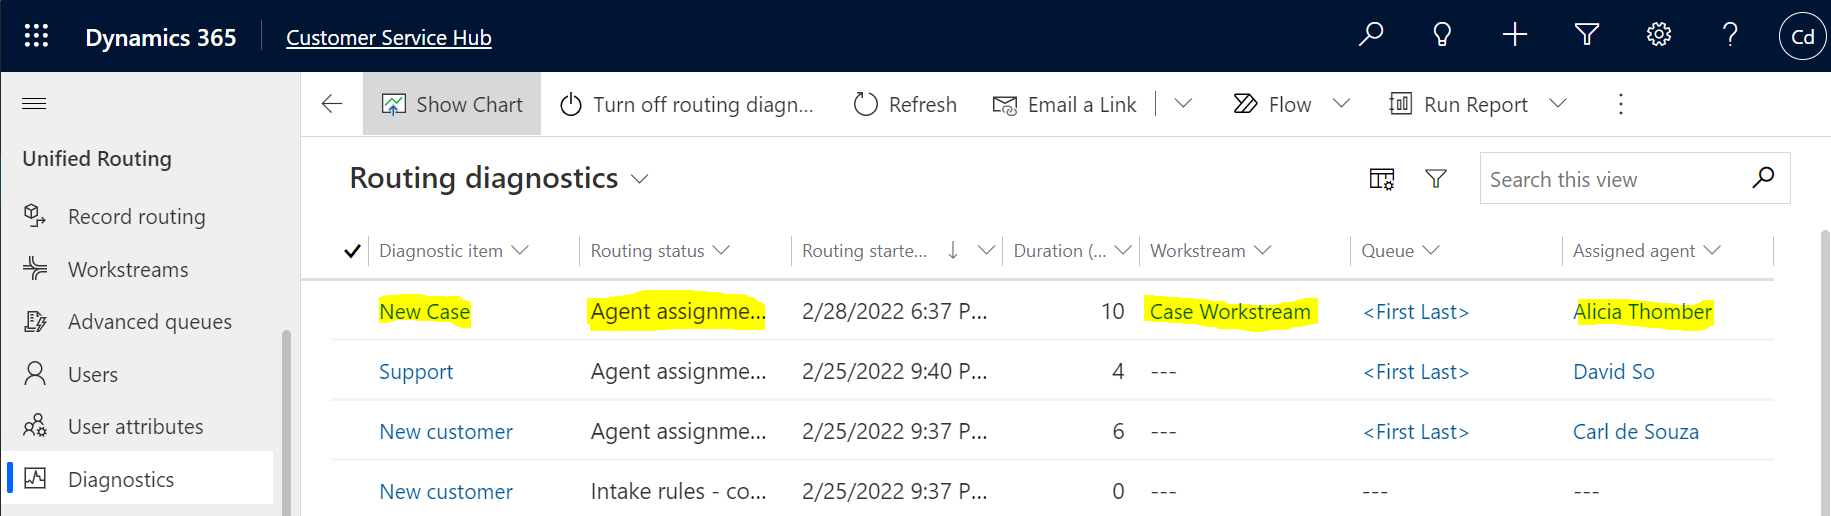
Save the case. Now let’s go to the Unified Routing diagnostics. You may need to click on Refresh as the routing goes through various stages. We see our New Case is in “Agent Assignment – Completed” status. The workstream has been assigned to Case Workstream and we have an agent assigned:
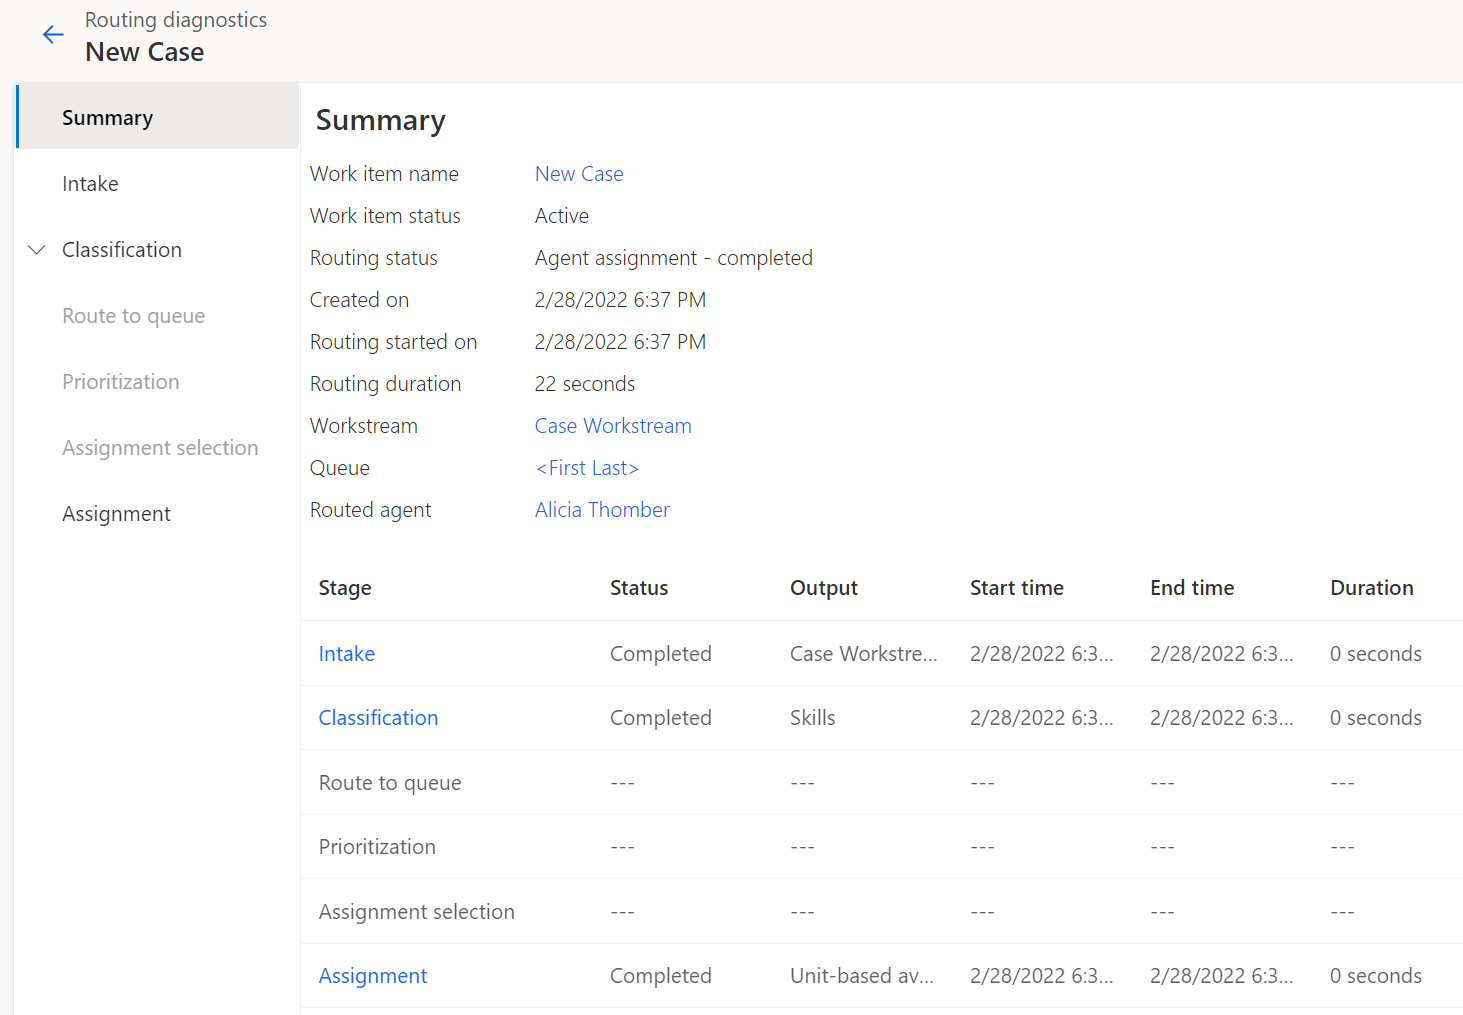
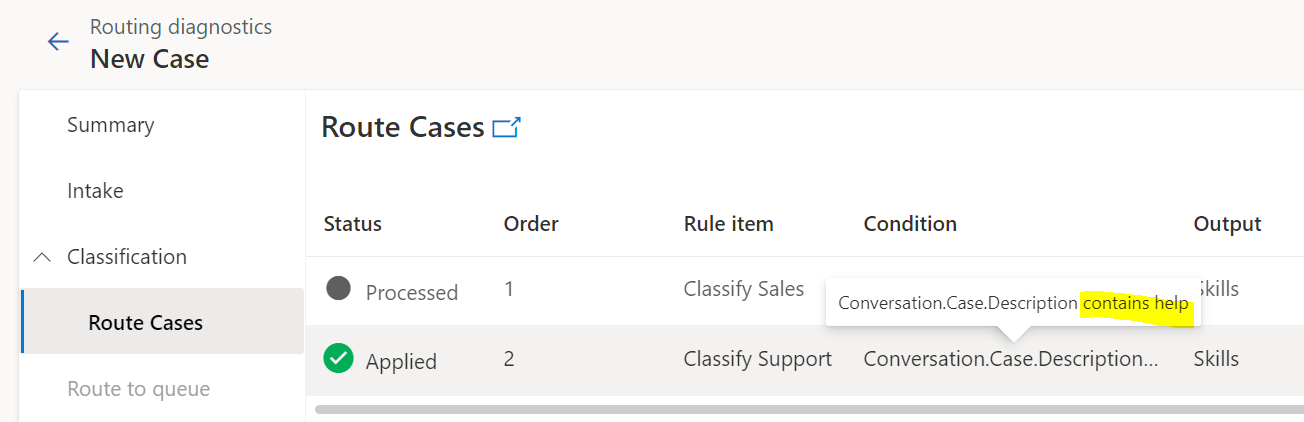
Let’s click on the record. This gives us a nice breakdown of each step of the routing process:
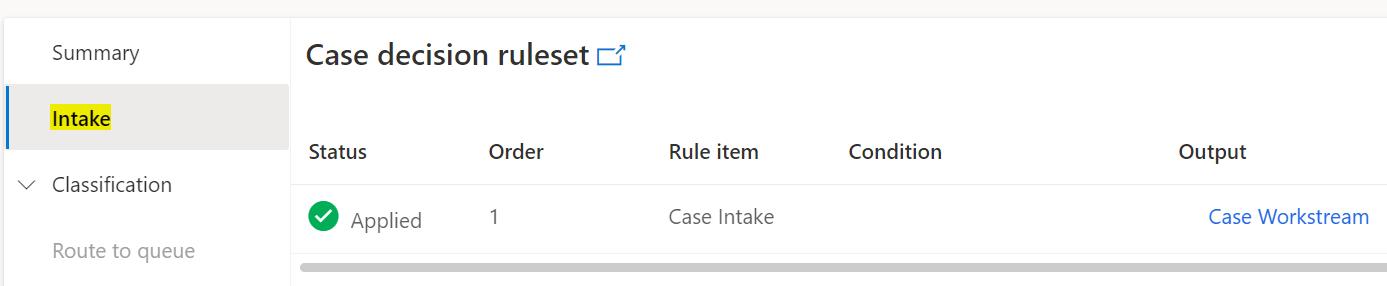
We see the Intake rule ran:
Then Classify Support ran:
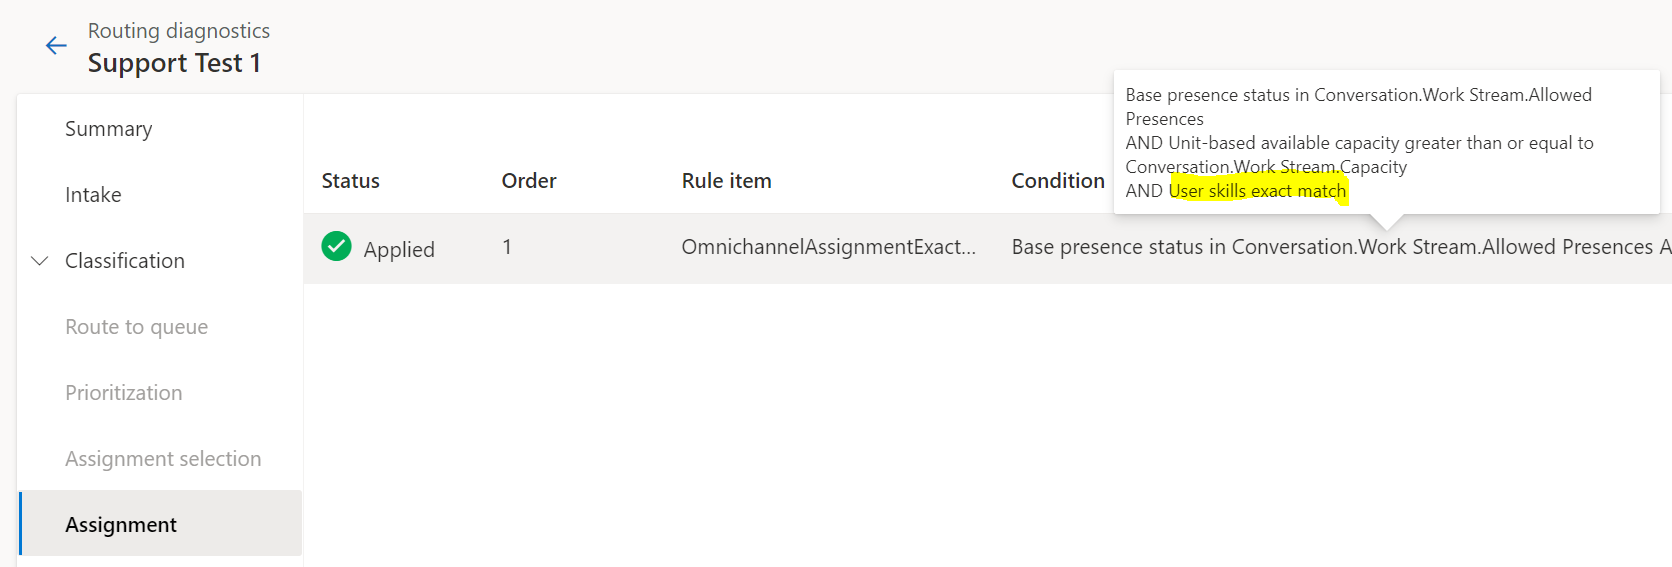
Then the assignment was run:
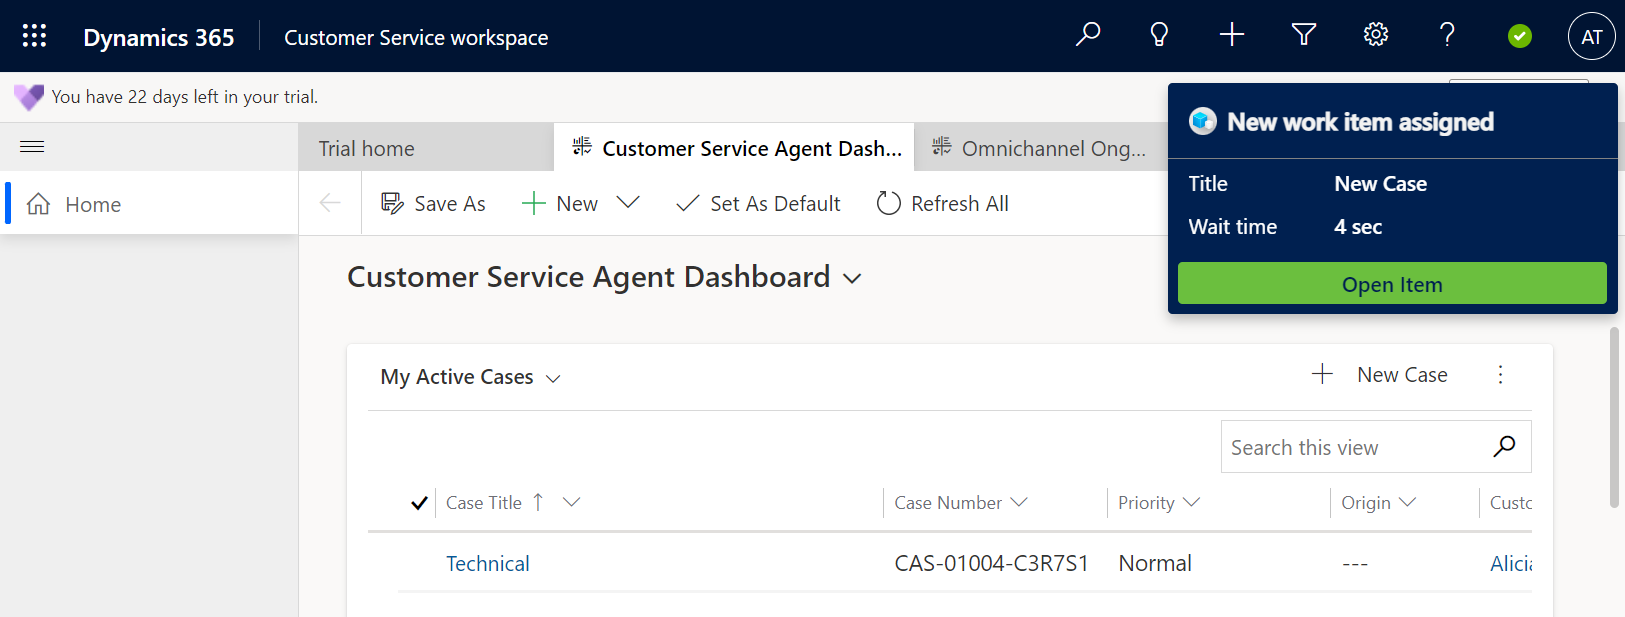
The agent that gets assigned the case gets an alert. In this case, our agent with skill level proficient in support:
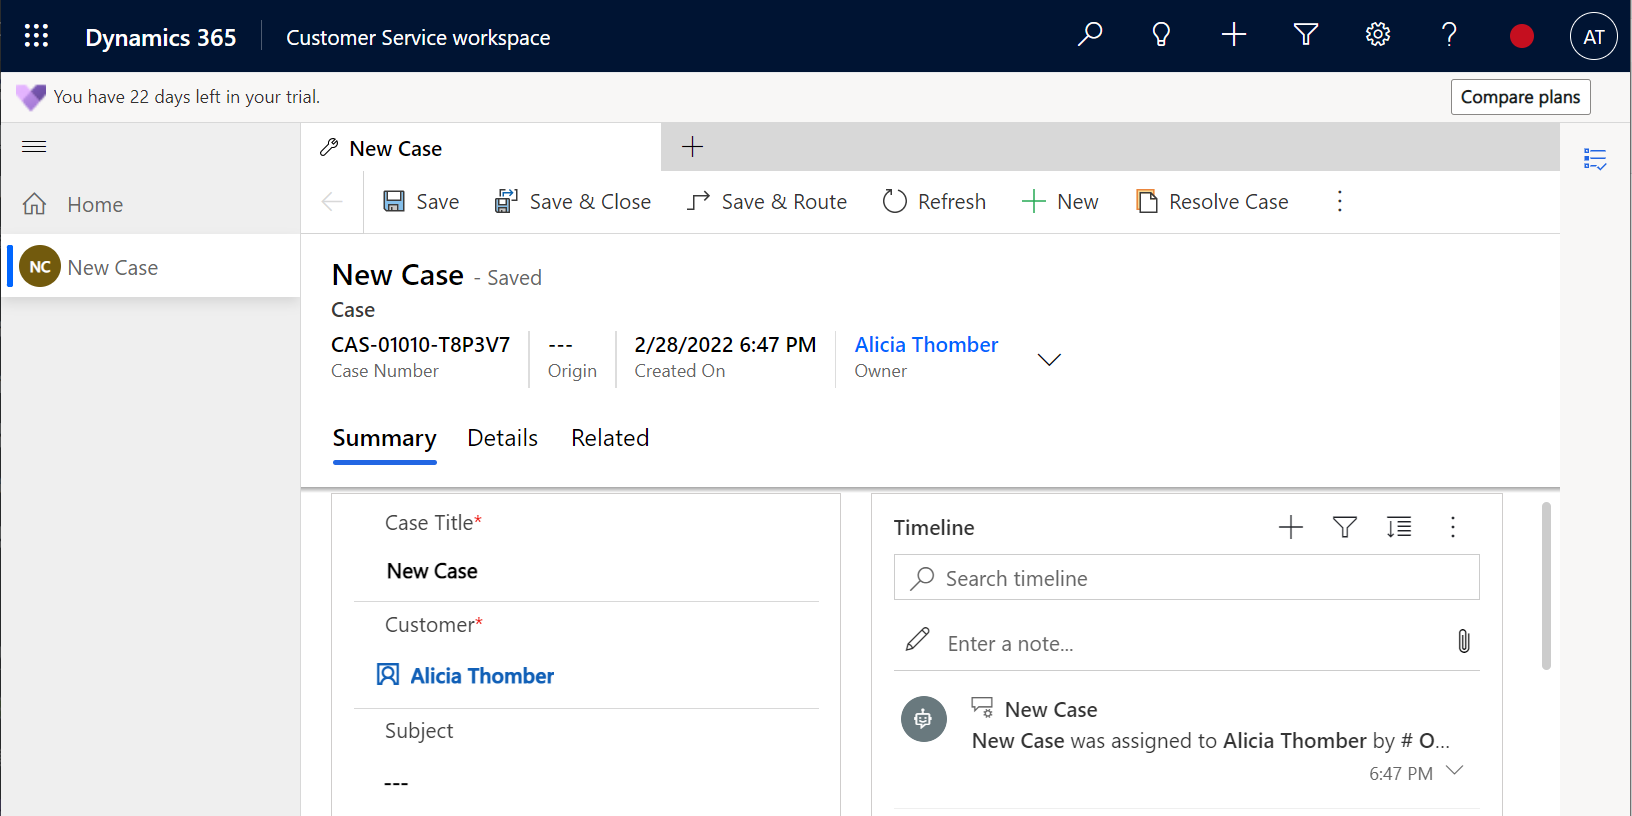
And they can then deal with the case accordingly:
That’s Unified Routing in Customer Service. Looks like lots of cool functionality.
The post First Look at Unified Routing in Dynamics 365 Customer Service appeared first on Carl de Souza.